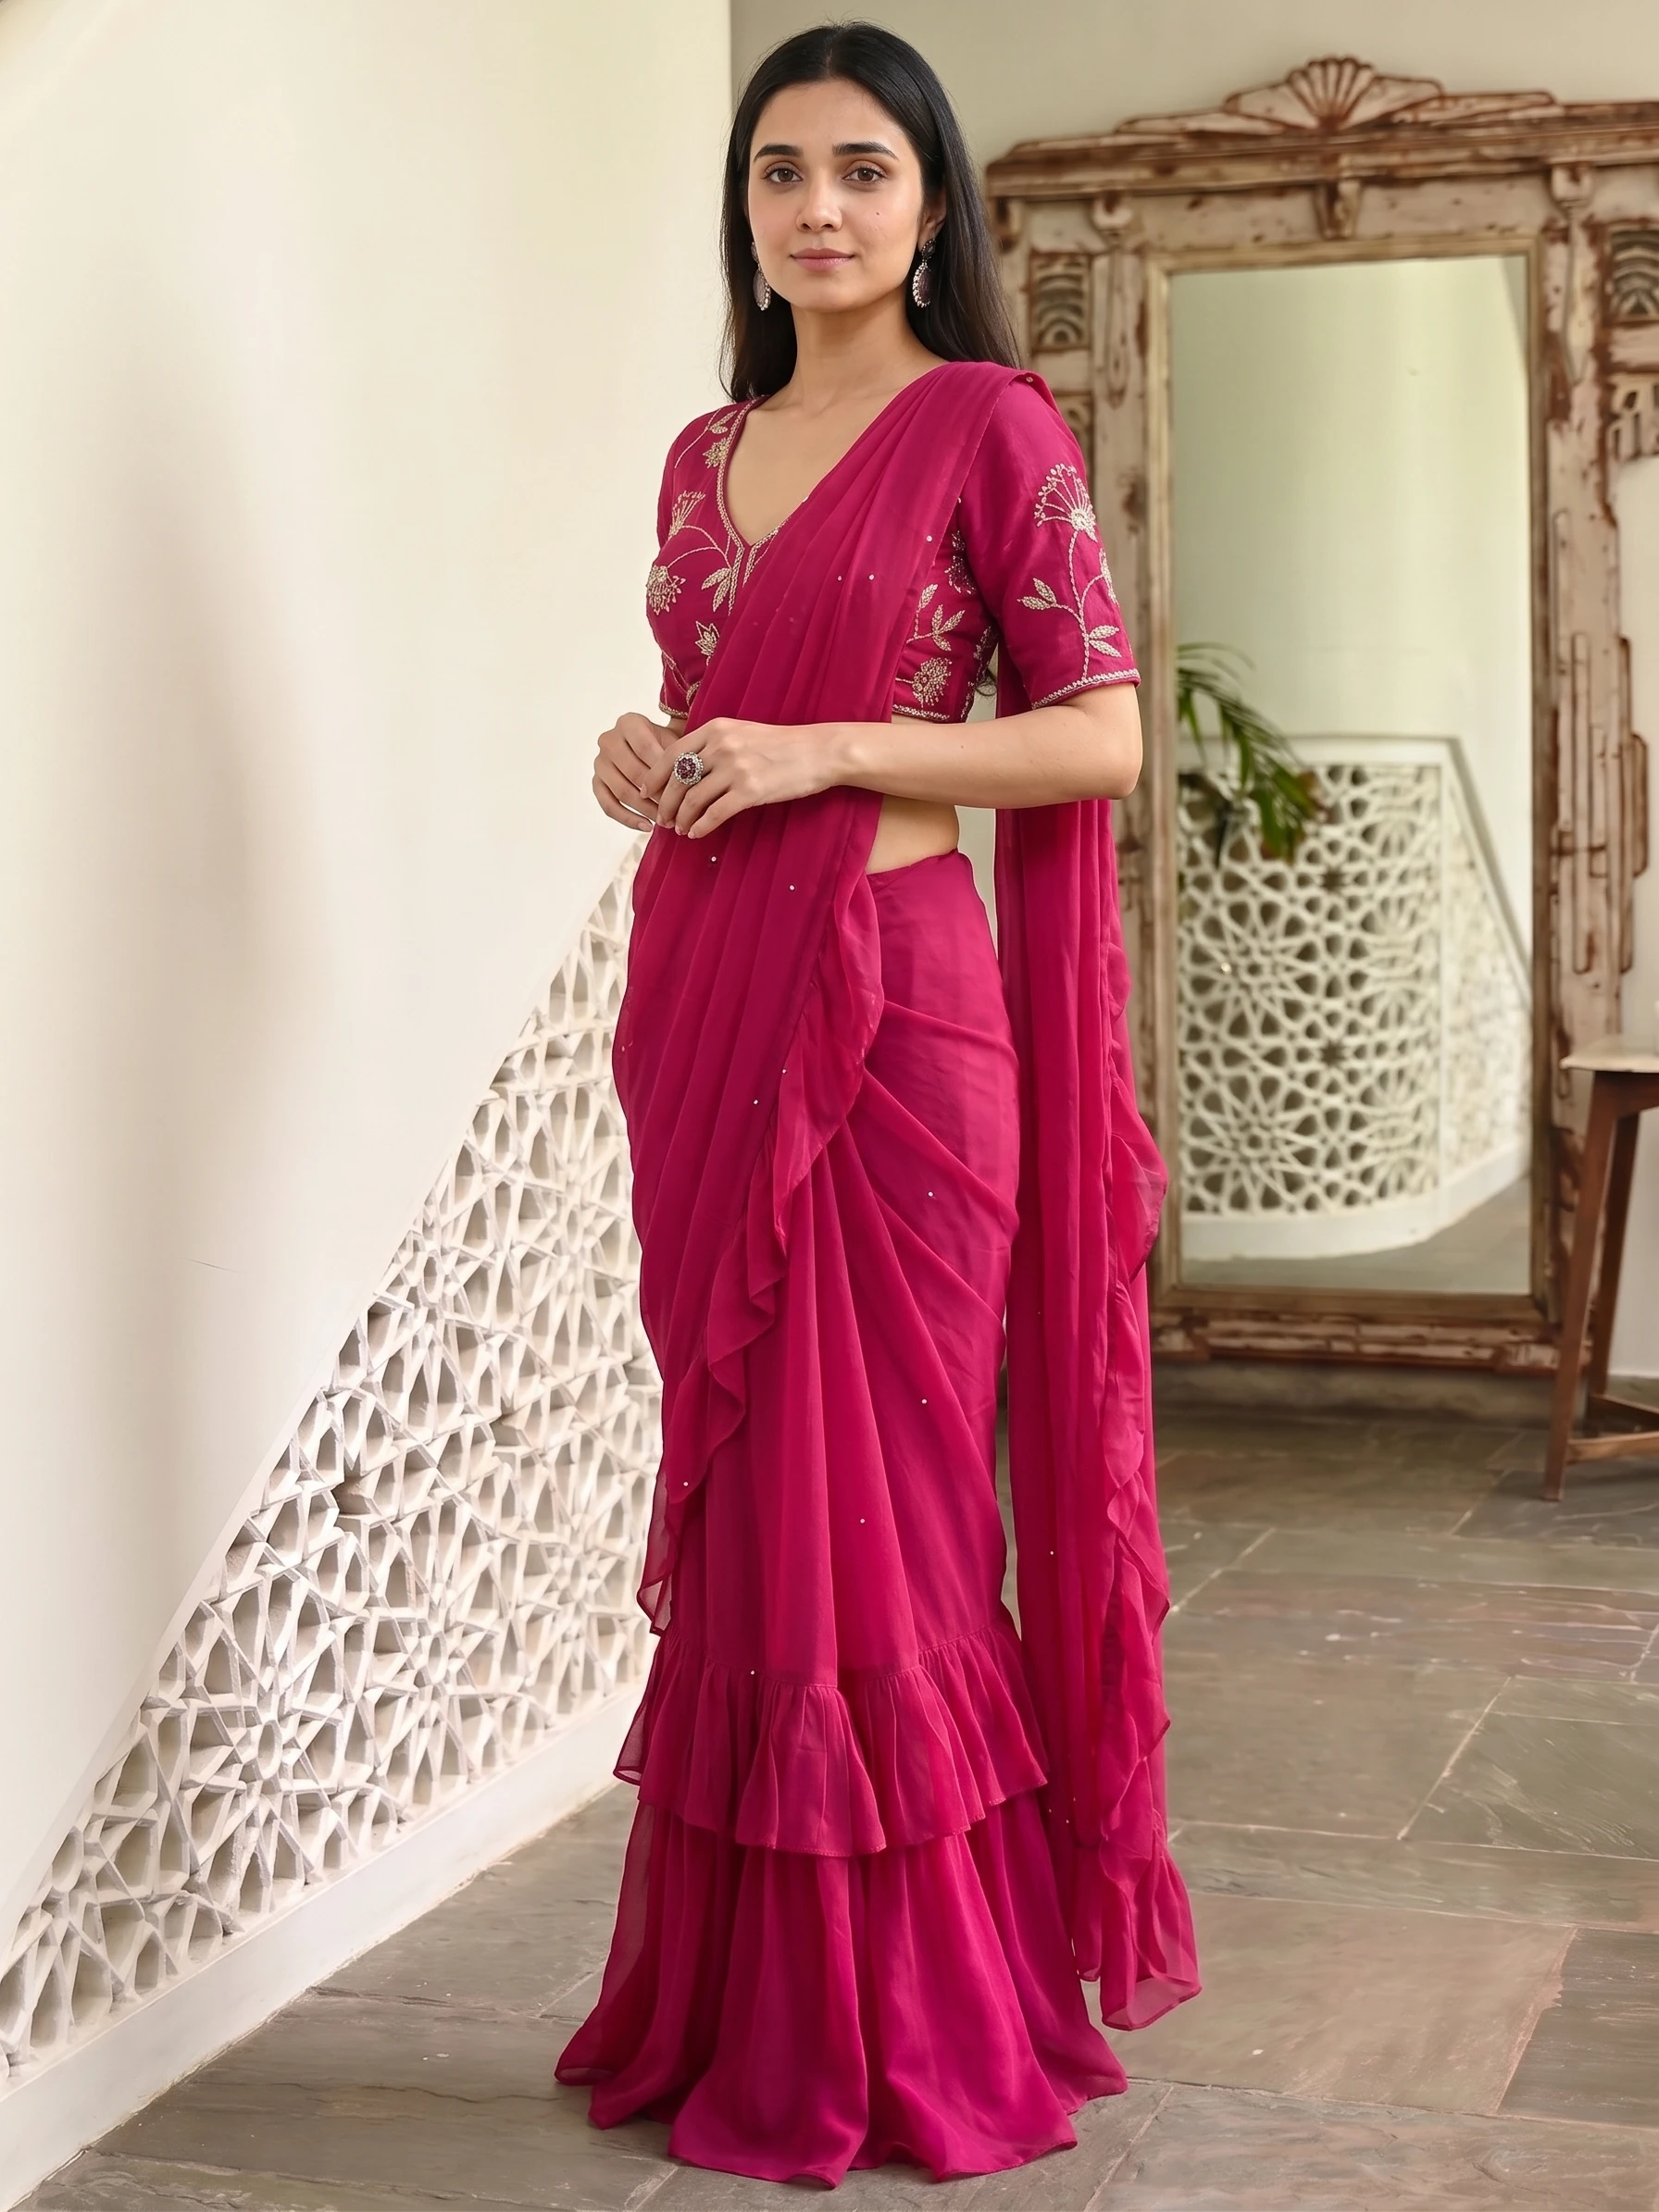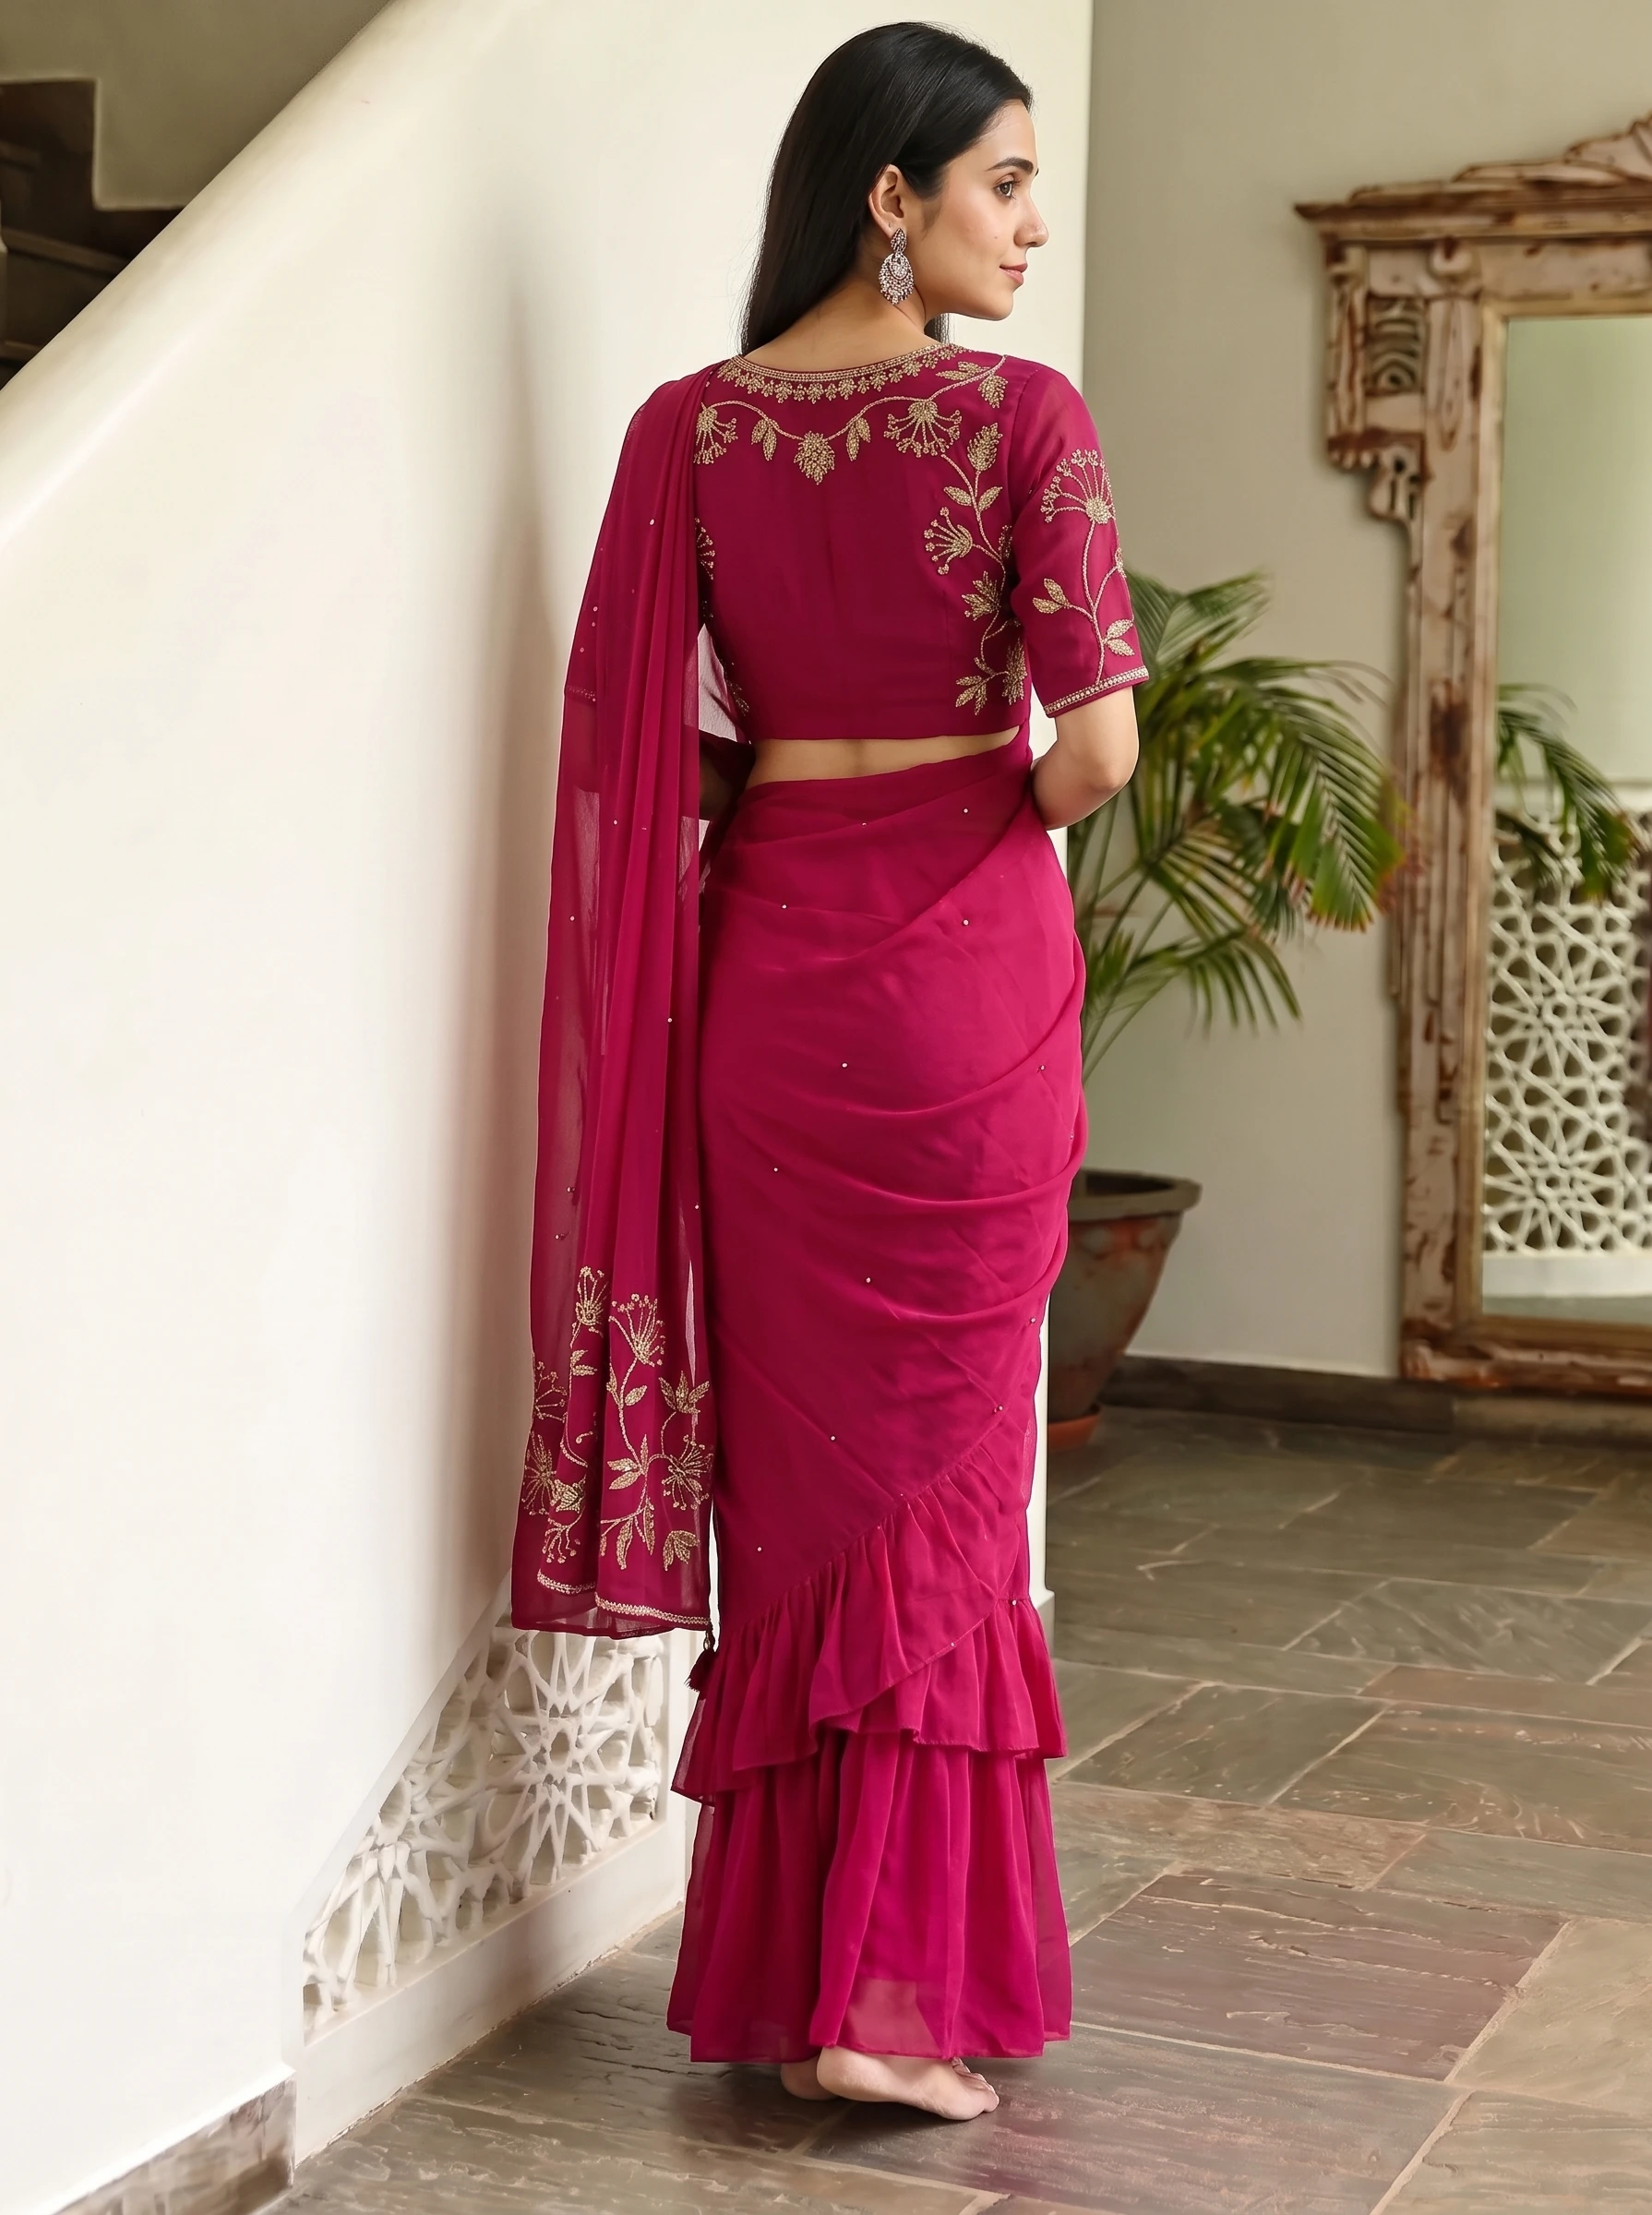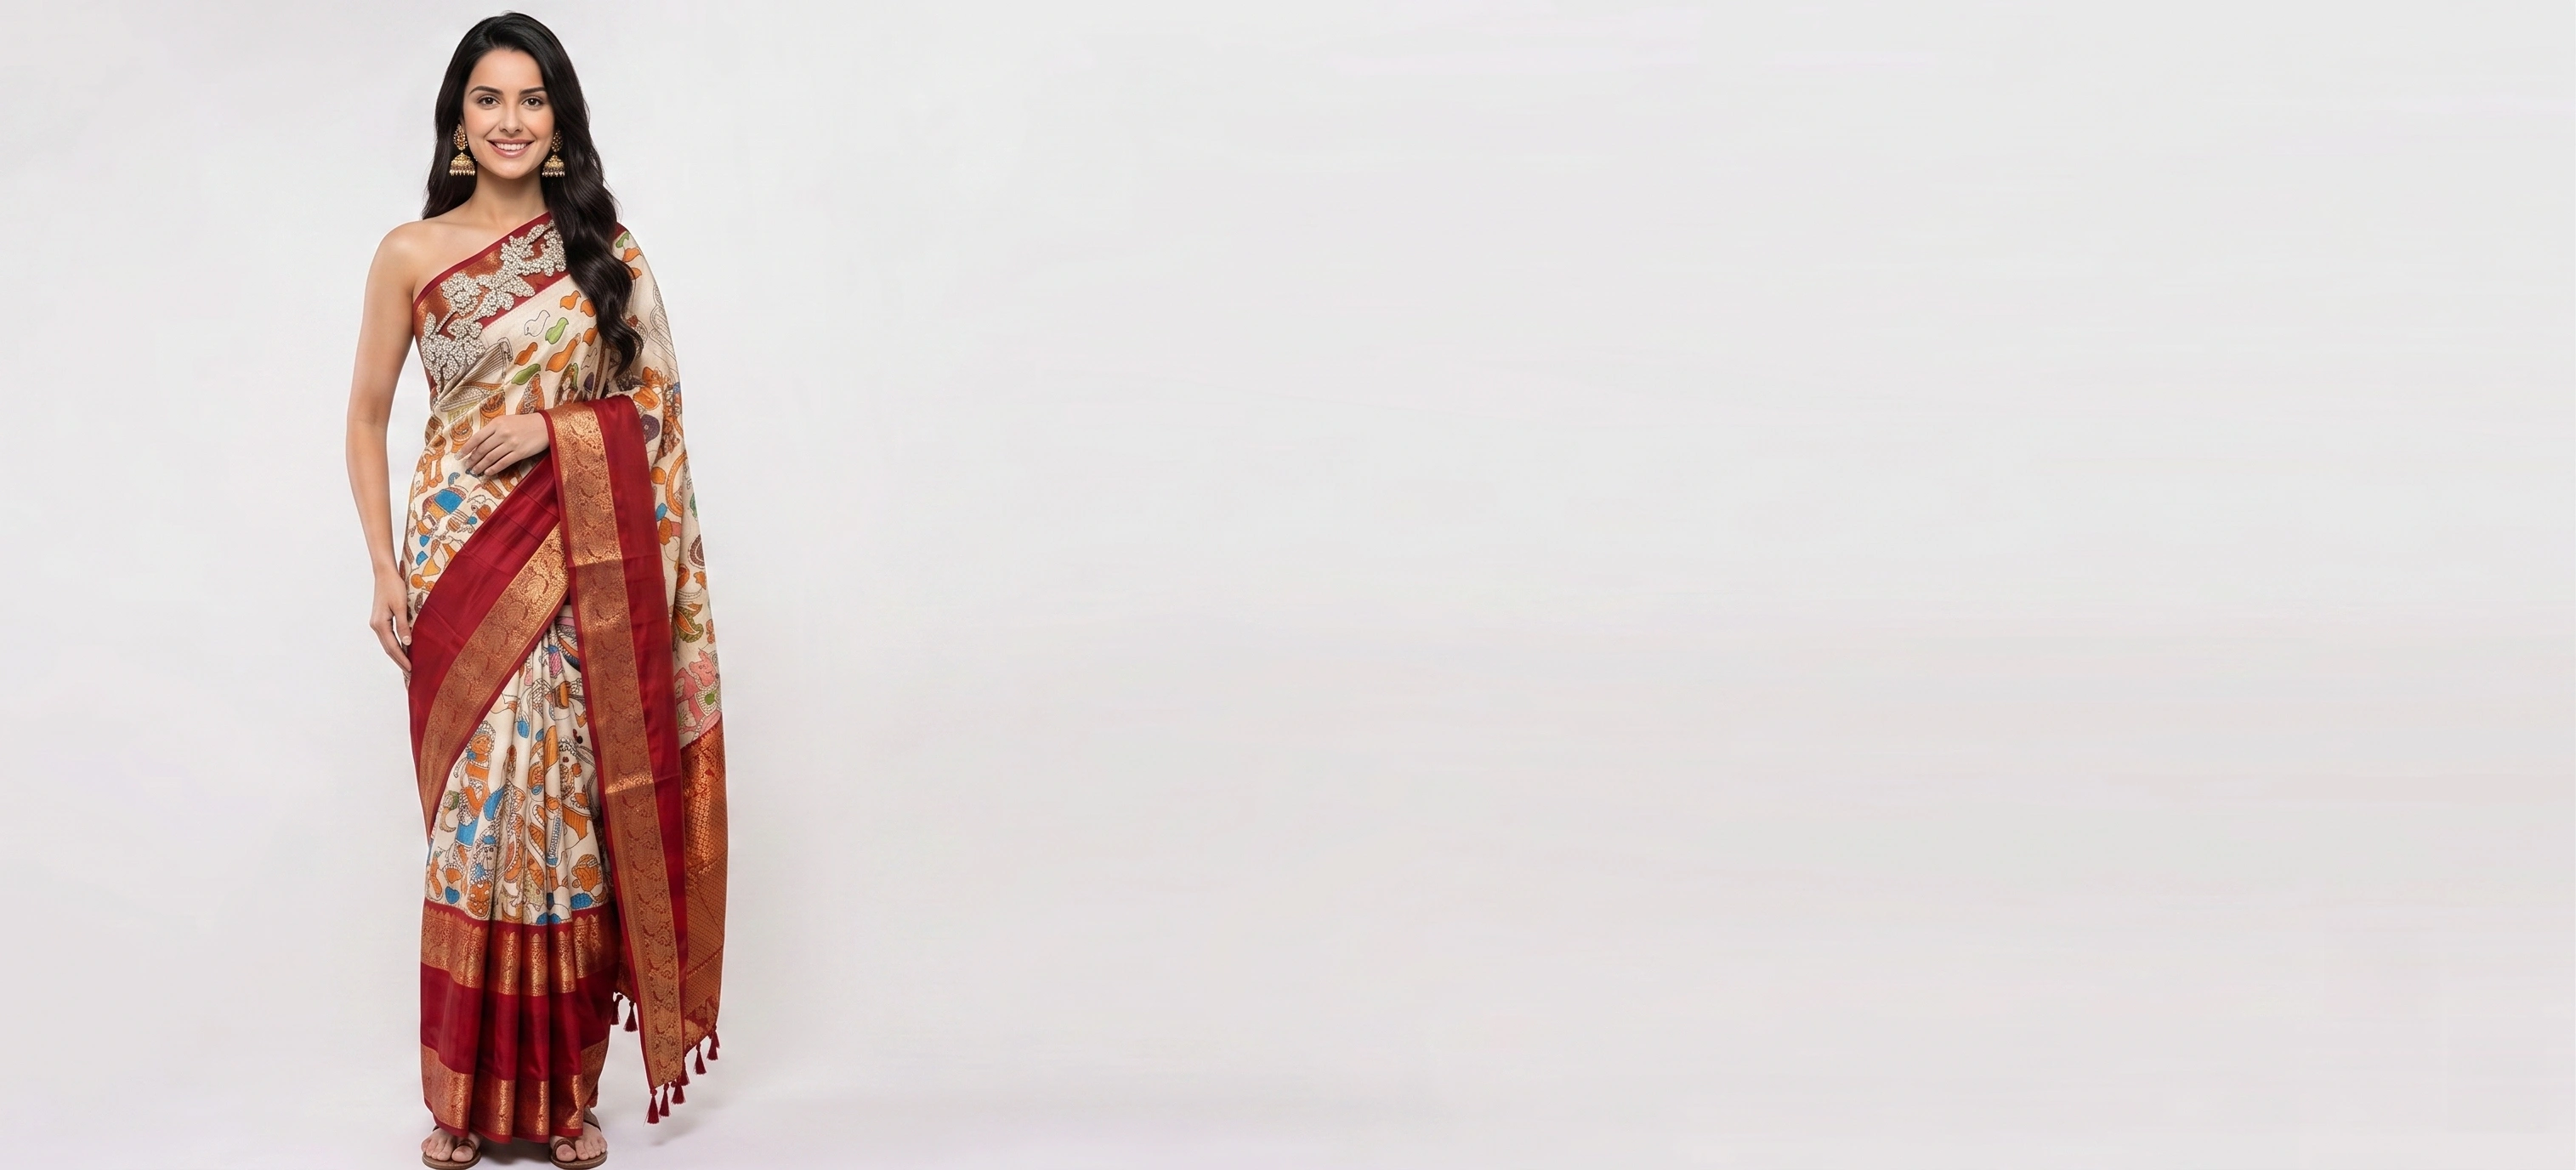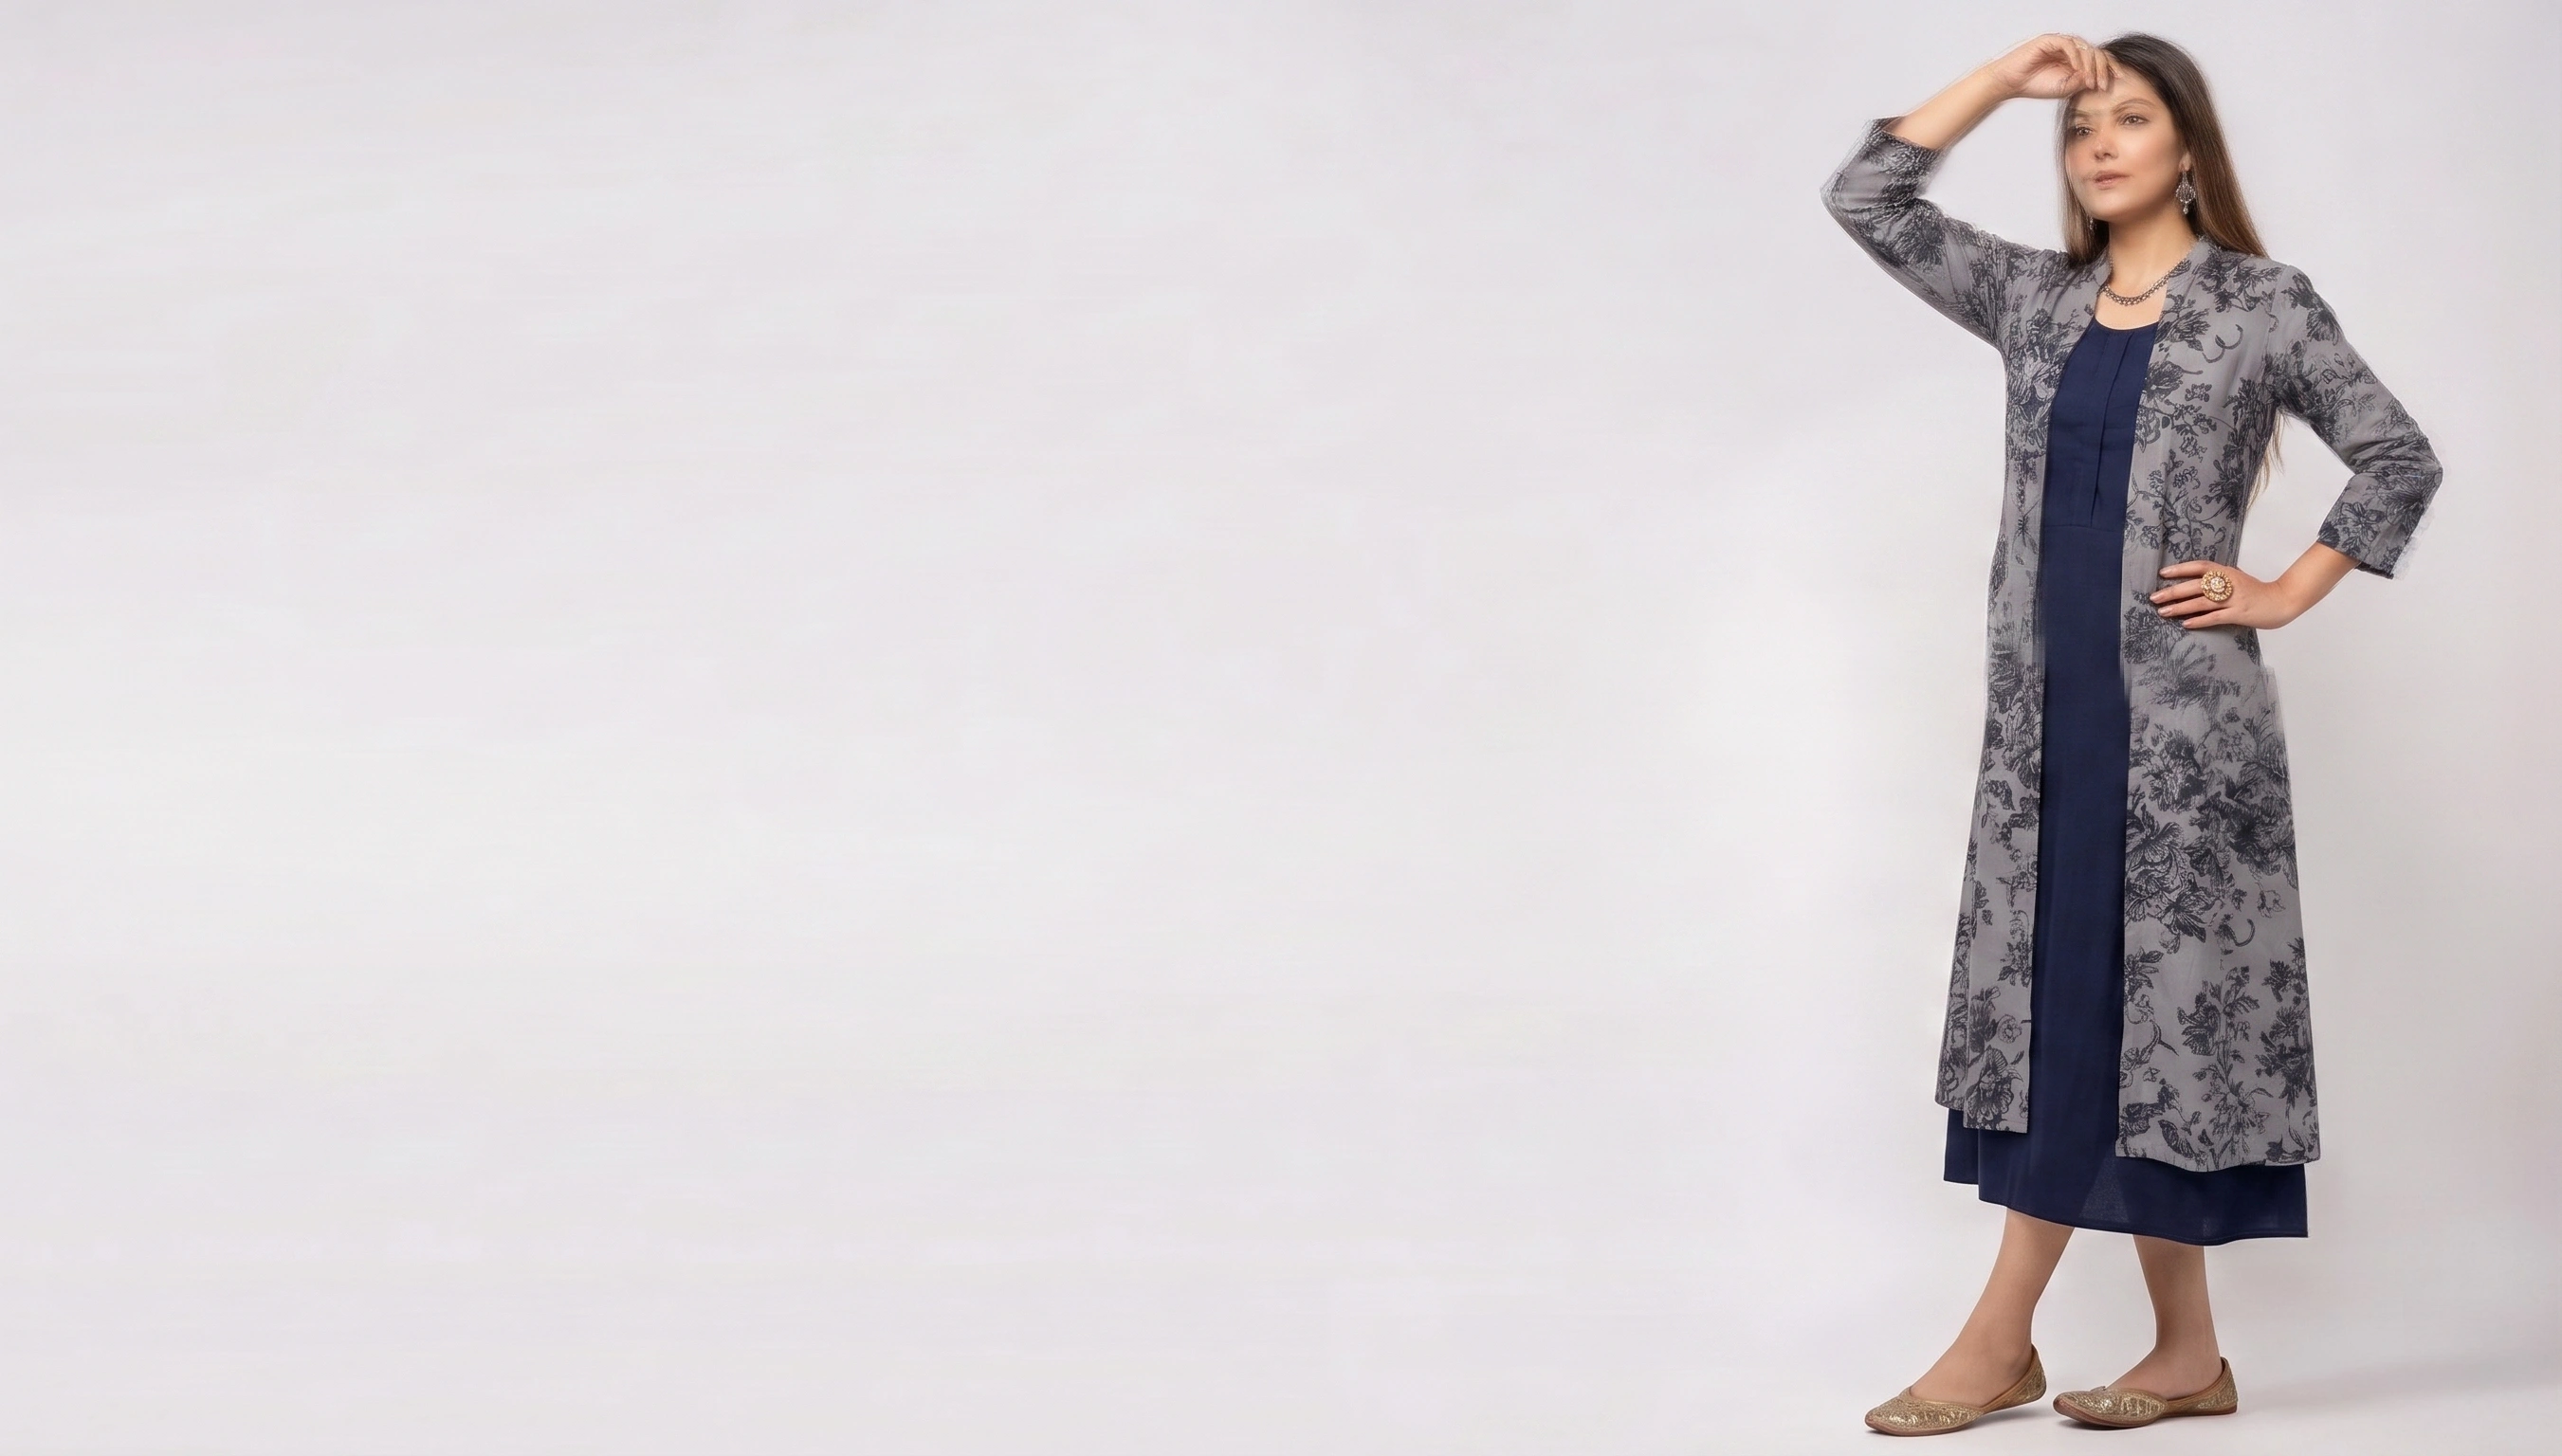
Generation quality is decided at upload. A clean flat-lay produces a clean on-model shot; a creased garment photographed under mixed lighting produces something you will spend twenty minutes correcting. The good news is that the requirements are undemanding — a phone near a window beats a studio setup done carelessly.
Shoot flat, shoot square, shoot bright
- Lay the garment flat and straight, shot from directly overhead. Angled shots make the model infer proportions that are not there.
- Use a plain, contrasting background. White garment on white paper is the most common avoidable mistake — the edge disappears and so does the silhouette.
- Steam or press first. Creases are read as design details and get faithfully reproduced.
- Diffused daylight beats a hard lamp. Harsh directional light bakes shadows into the fabric that then survive into every generated shot.
- Fill the frame, but leave a small margin. Cropped sleeves cannot be recovered.
Capture what actually matters about the garment
For anything with a print, photograph it at a scale where the repeat is clearly visible. A pattern that reads as noise in your source will read as noise in the output. If a garment has an important detail — a specific button, an embroidered cuff, a label — include a second close-up frame of it.
For anything structured, the shoulder line and hem are the two places that tell the model how the piece is meant to hang. Make sure both are square and unobstructed.
- Garment steamed or pressed, no visible creases
- Lit evenly — no shadow falling across the print or seams
- Shot straight on, camera parallel to the garment
- Fills most of the frame, with a small even margin
- Plain background that contrasts with the garment
- In focus edge to edge, at the highest resolution your phone offers
- Auto-enhance, beauty filters and colour presets all off
Can I use a phone camera?
Yes. A recent phone at its highest resolution, near a window, is genuinely enough. Lighting and how flat the garment is matter far more than the sensor.
Flat lay or on a hanger?
Either works. Flat gives you the most even lighting and the fewest distortions; a hanger is faster and shows the natural fall of the shoulders. Be consistent across a batch, whichever you pick.
Does the background colour matter?
It needs to contrast with the garment so the edges are unambiguous. A white sheet is wrong for a white shirt. Mid-grey is the safest all-rounder.
How many photos of one garment do I need?
One good front shot is the minimum. Add a back and a detail shot for anything where the construction or fabric is part of the sell.
The mistakes worth avoiding
- Hangers left in shot — they get interpreted as part of the neckline.
- Heavy phone HDR, which flattens fabric texture until silk reads as cotton.
- Shadows from the photographer leaning over the garment.
- Mixed light sources: window plus warm ceiling bulb produces a colour cast that shifts your brand colours.
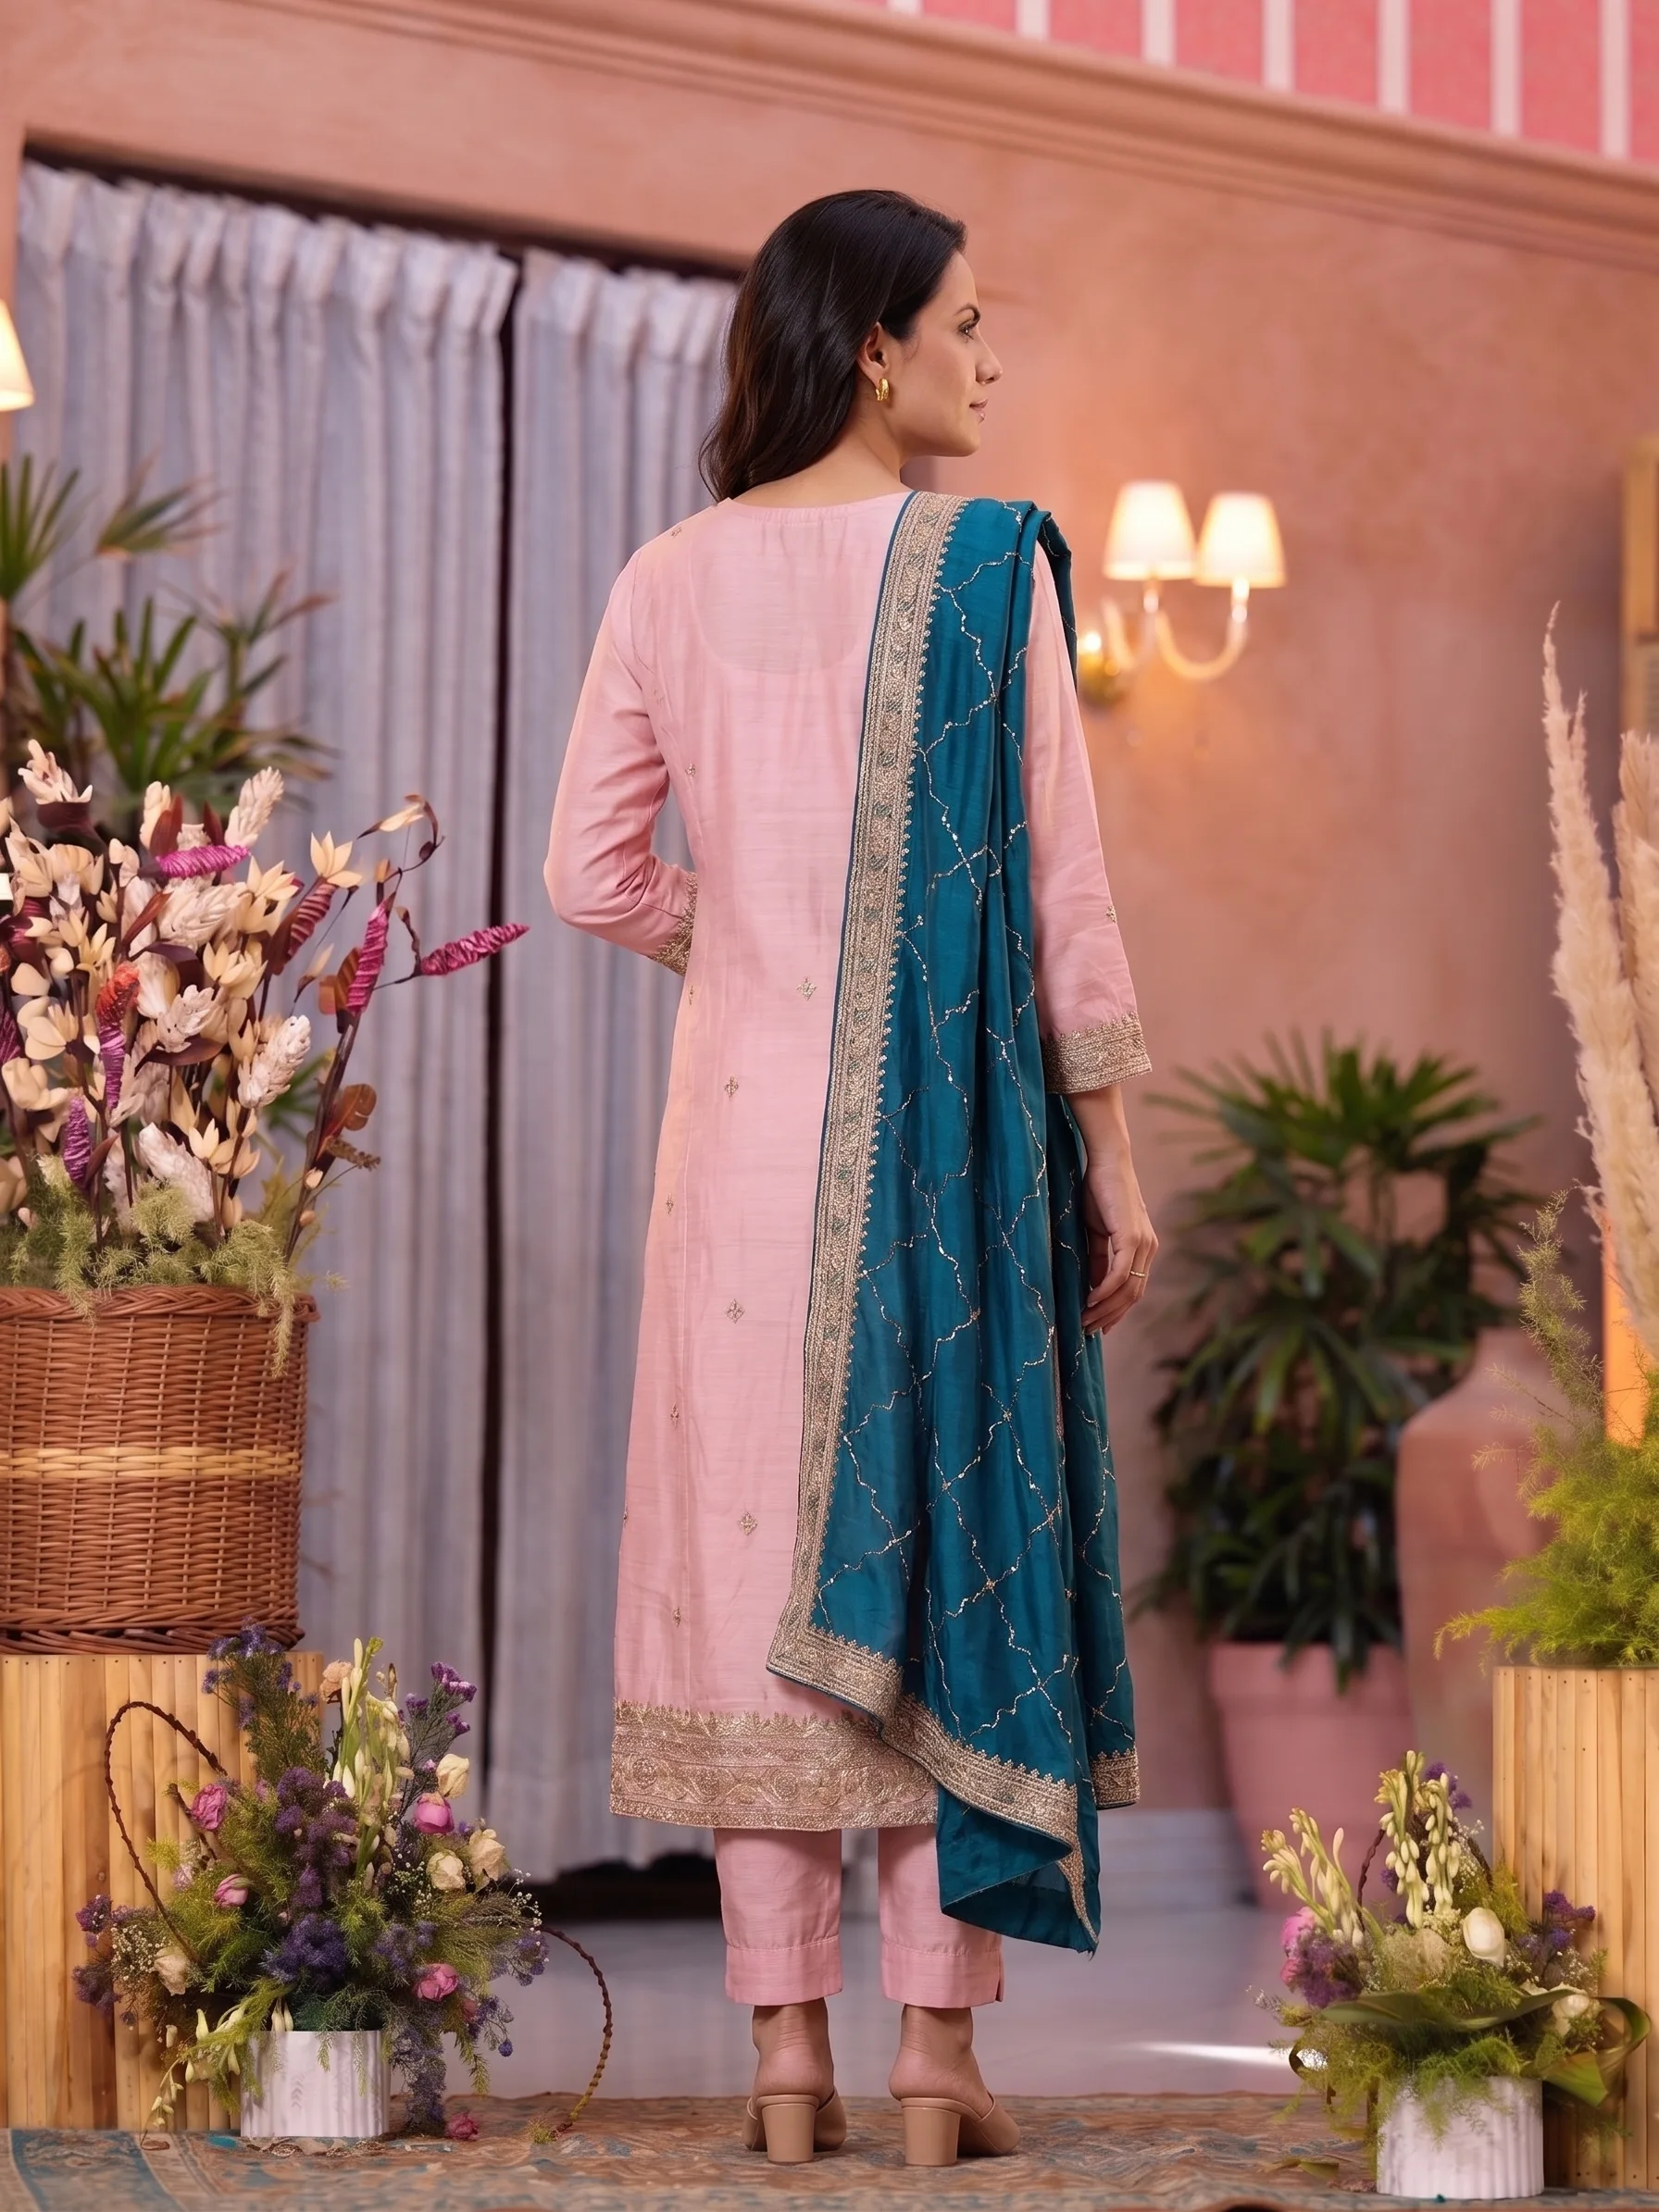
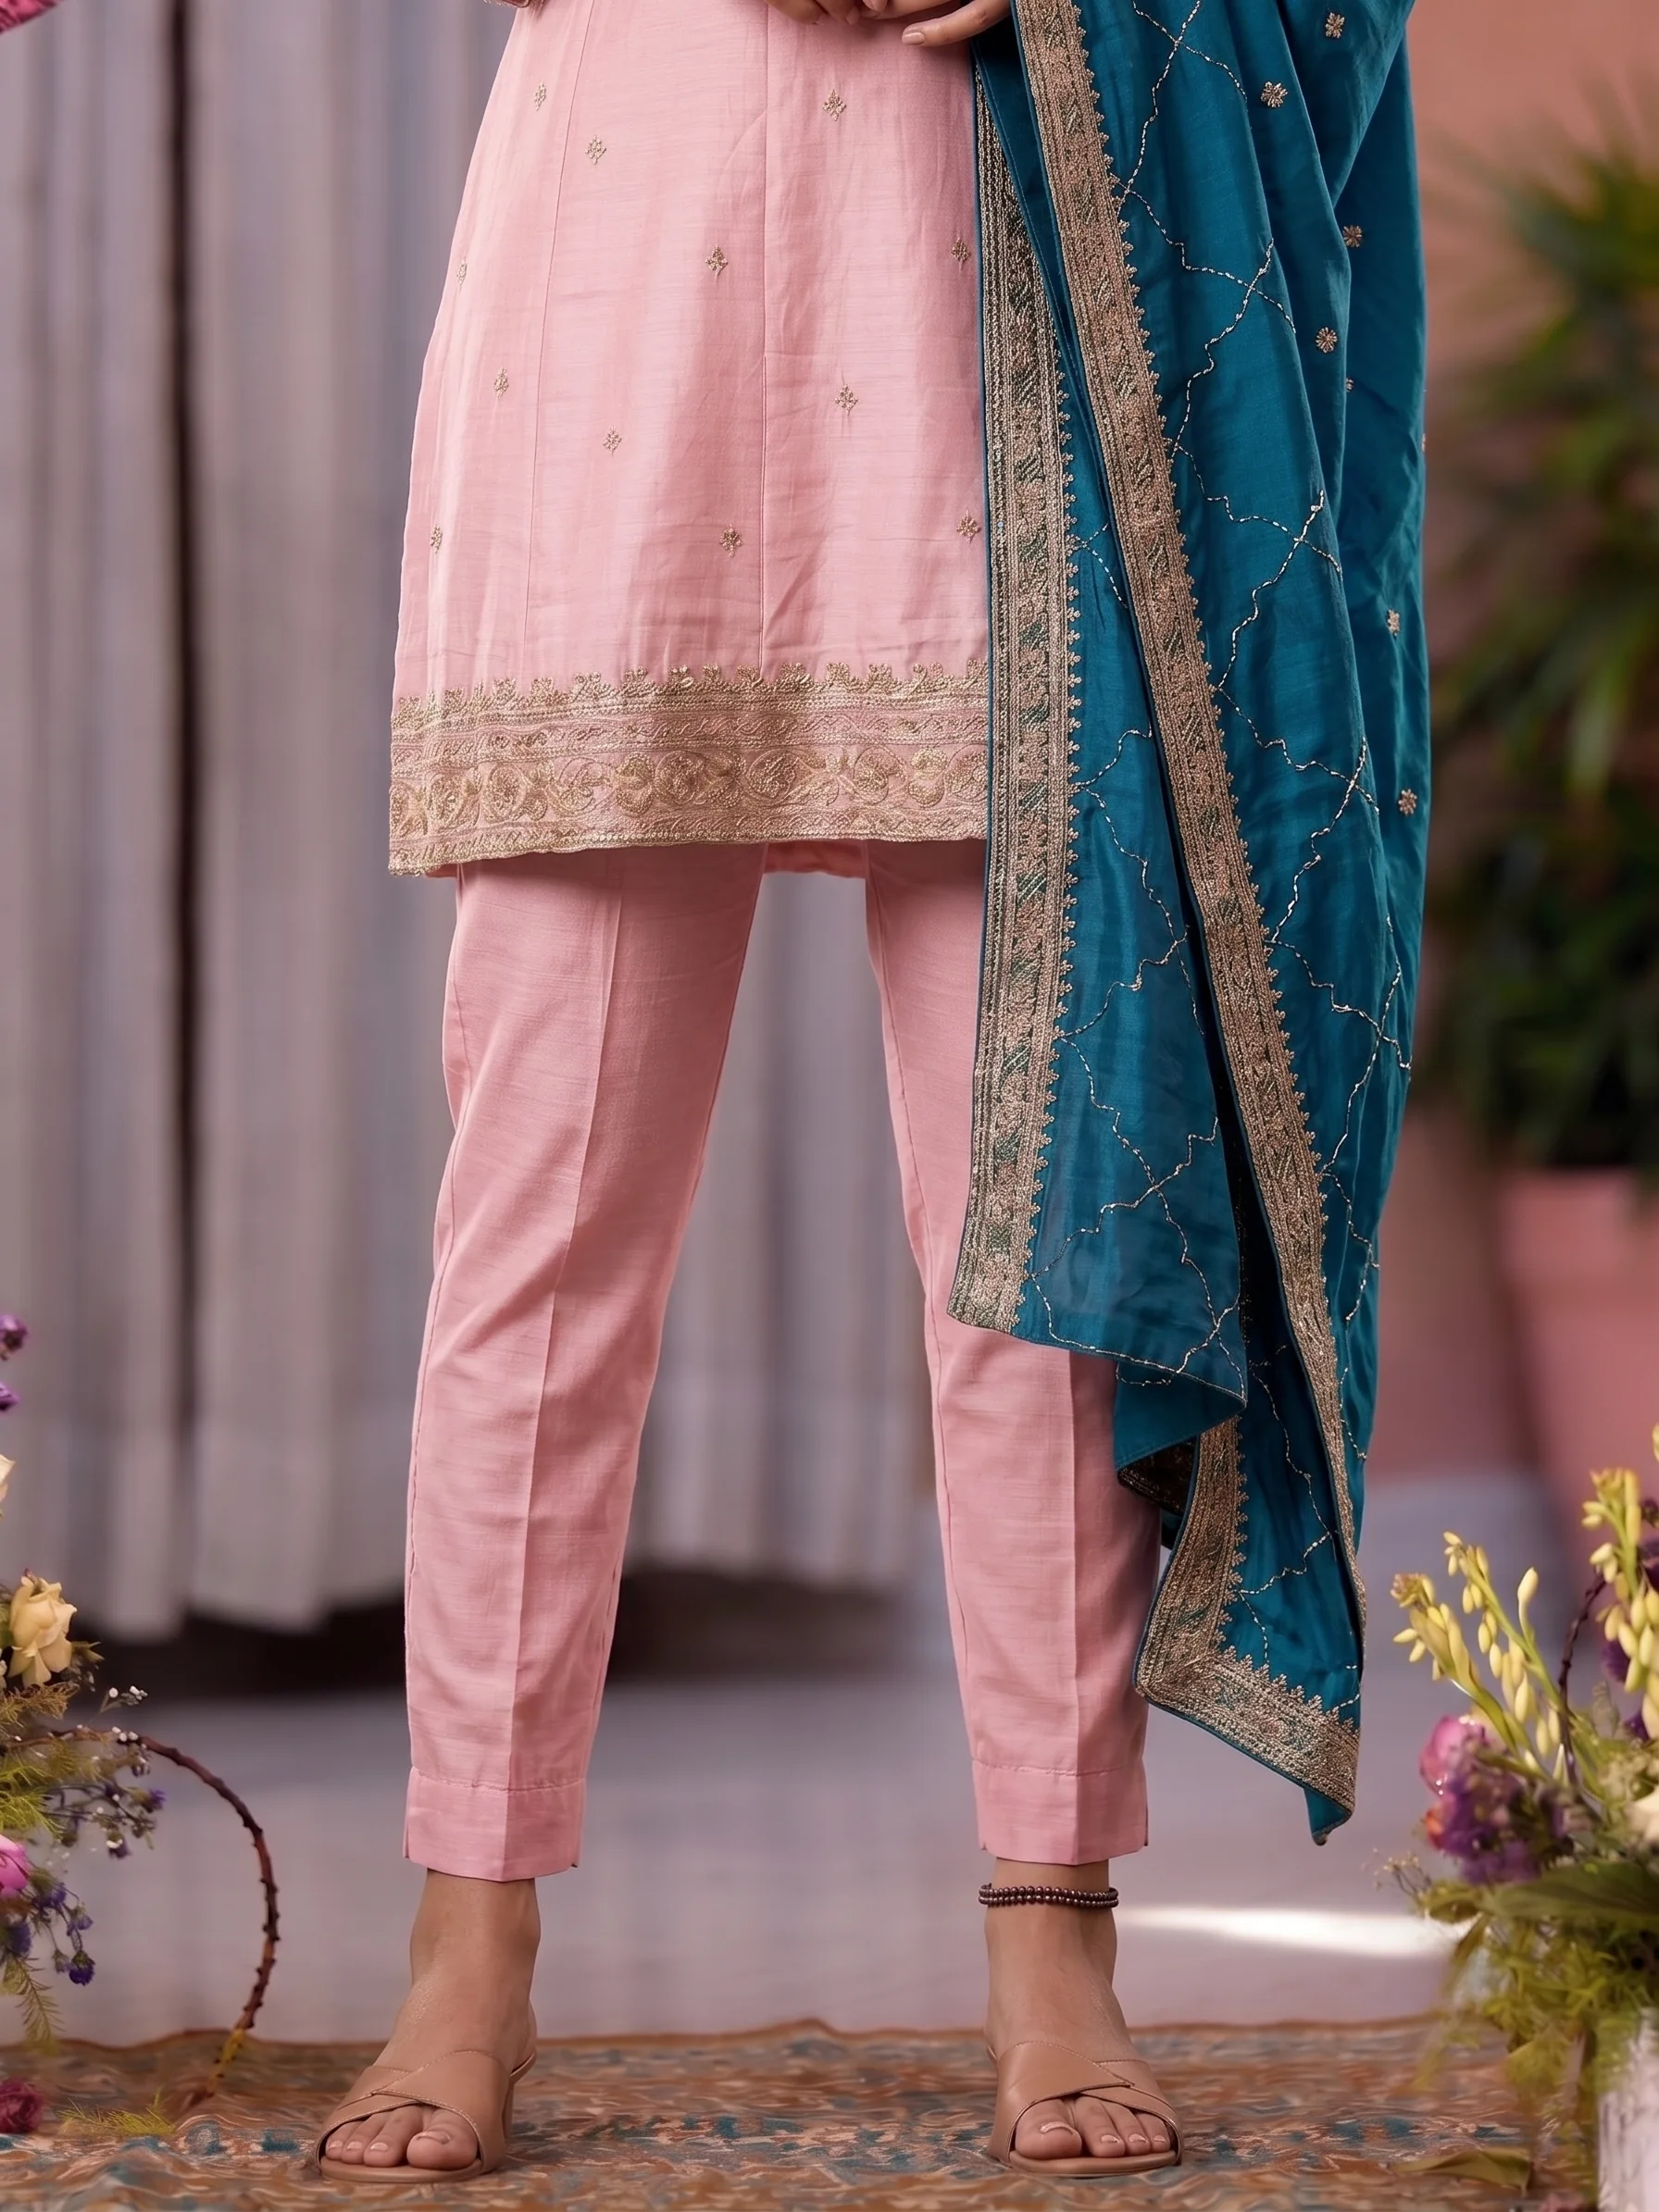
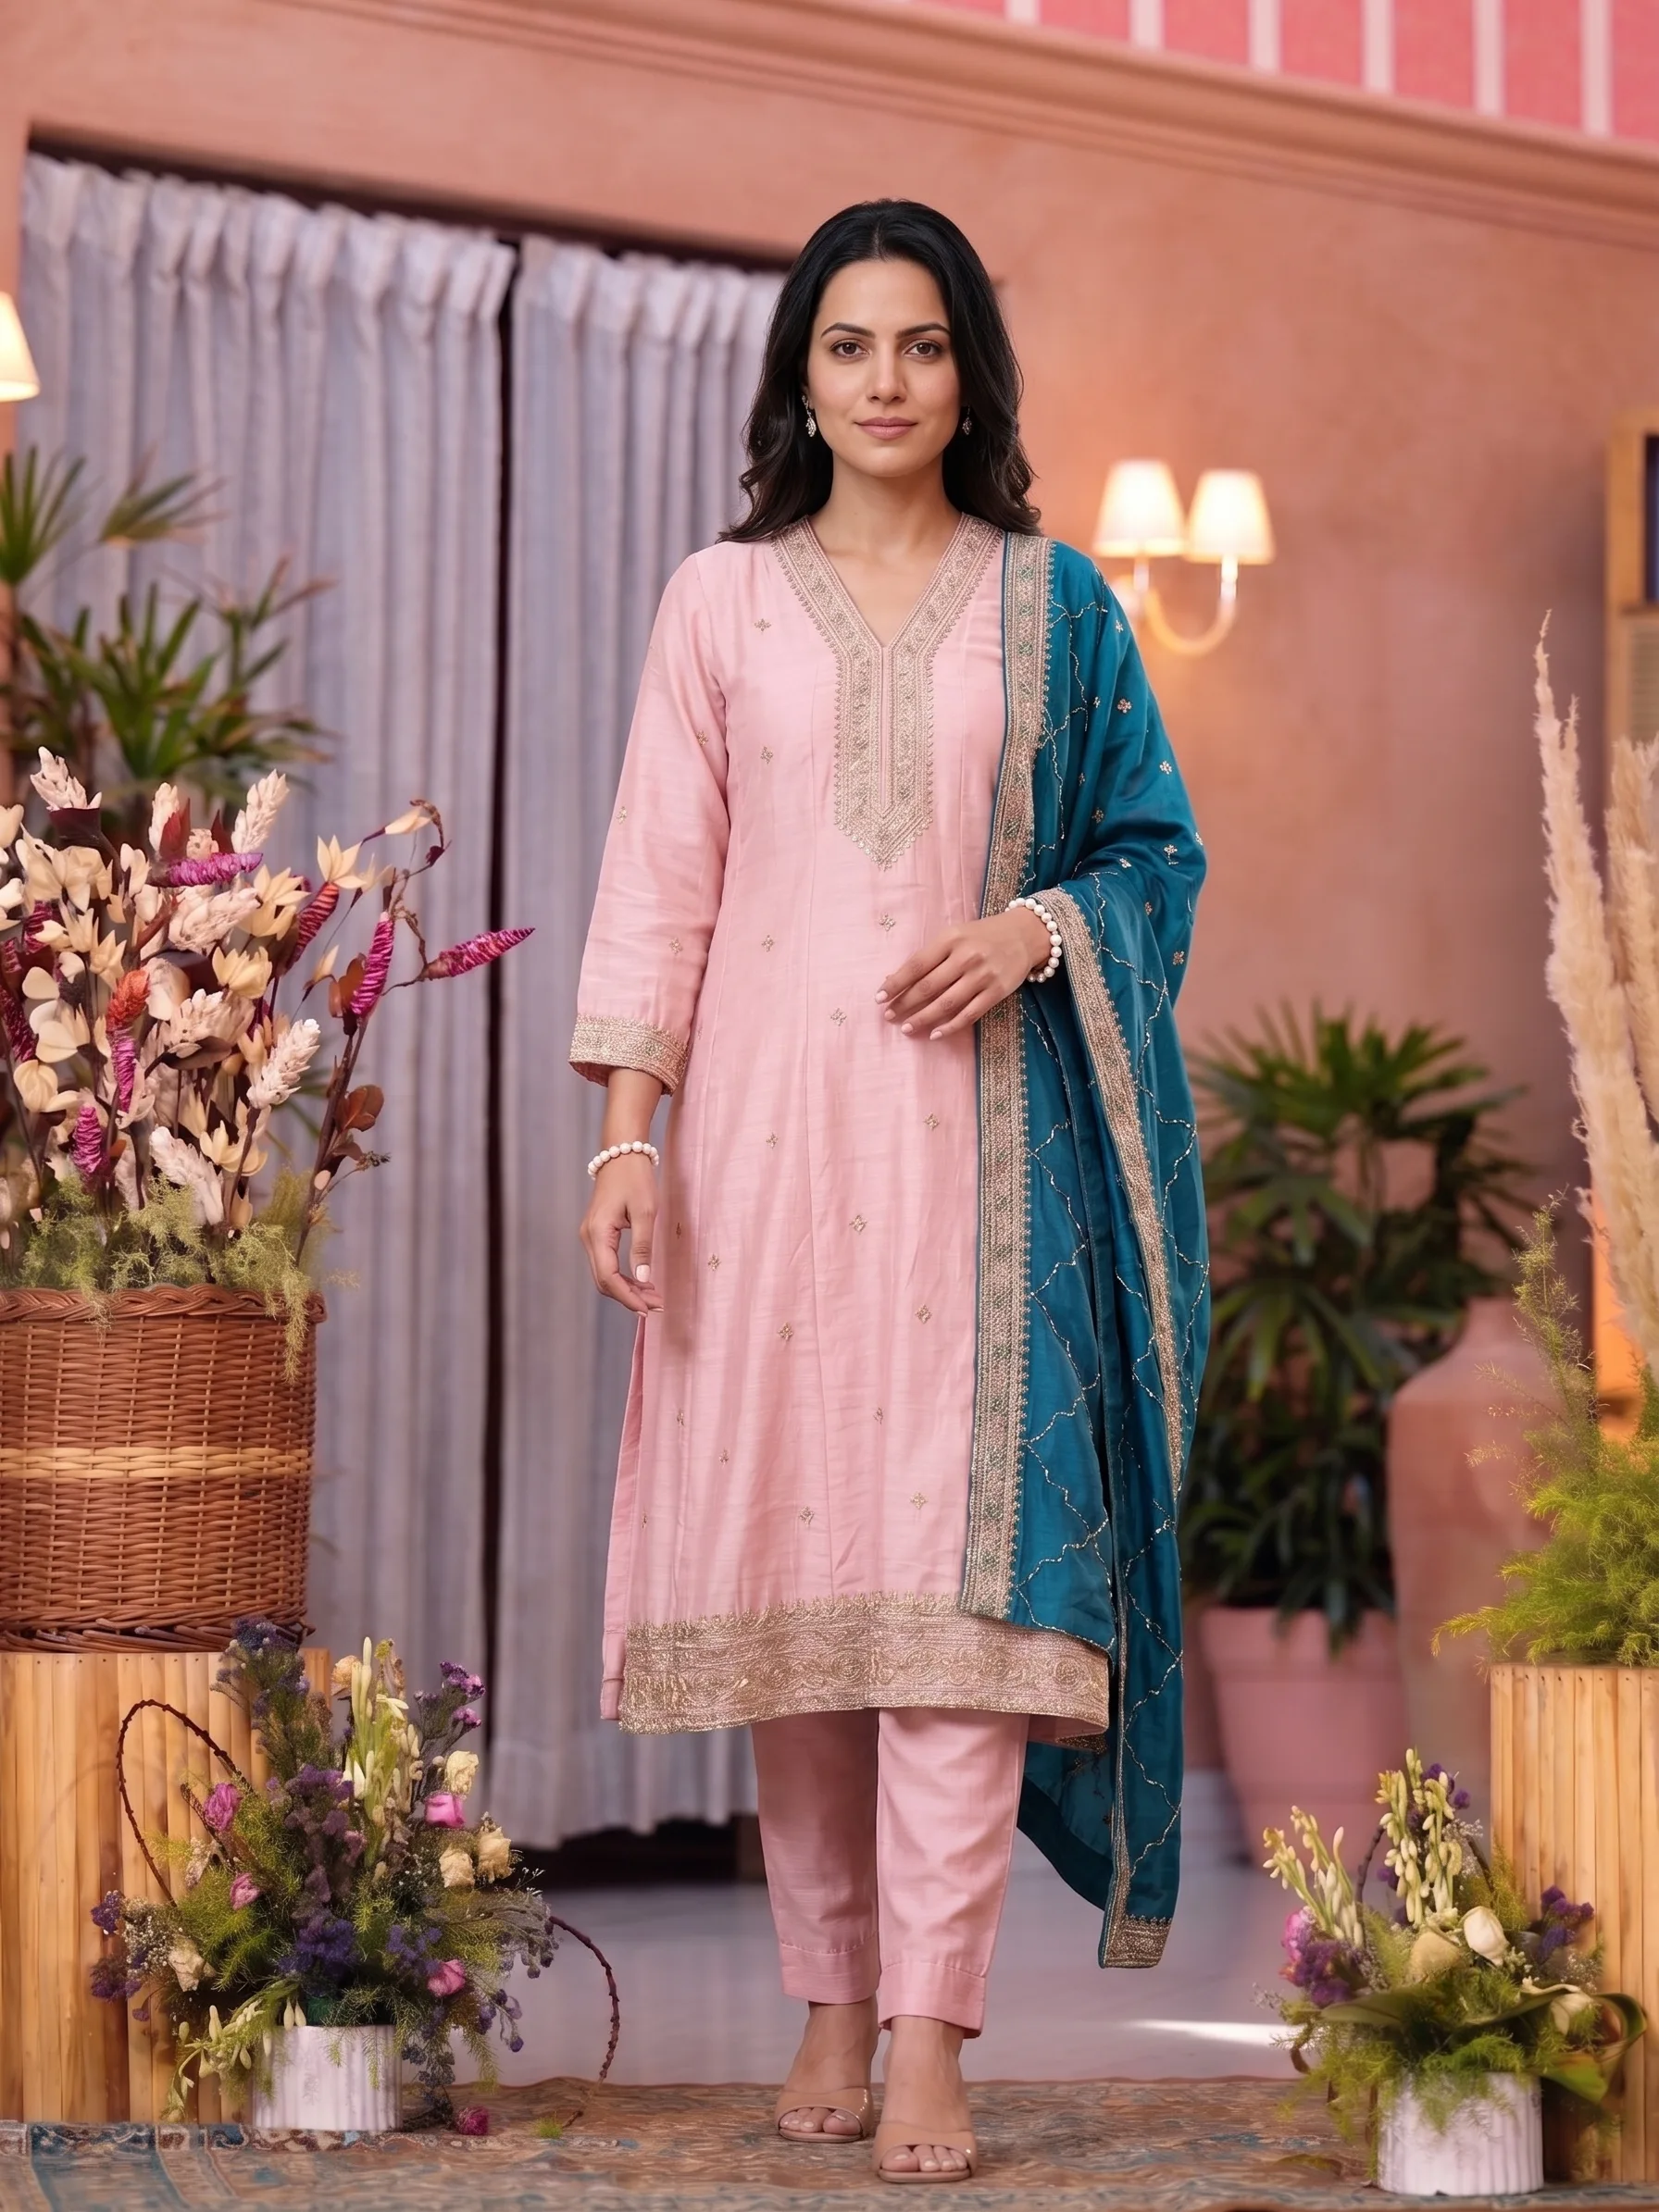
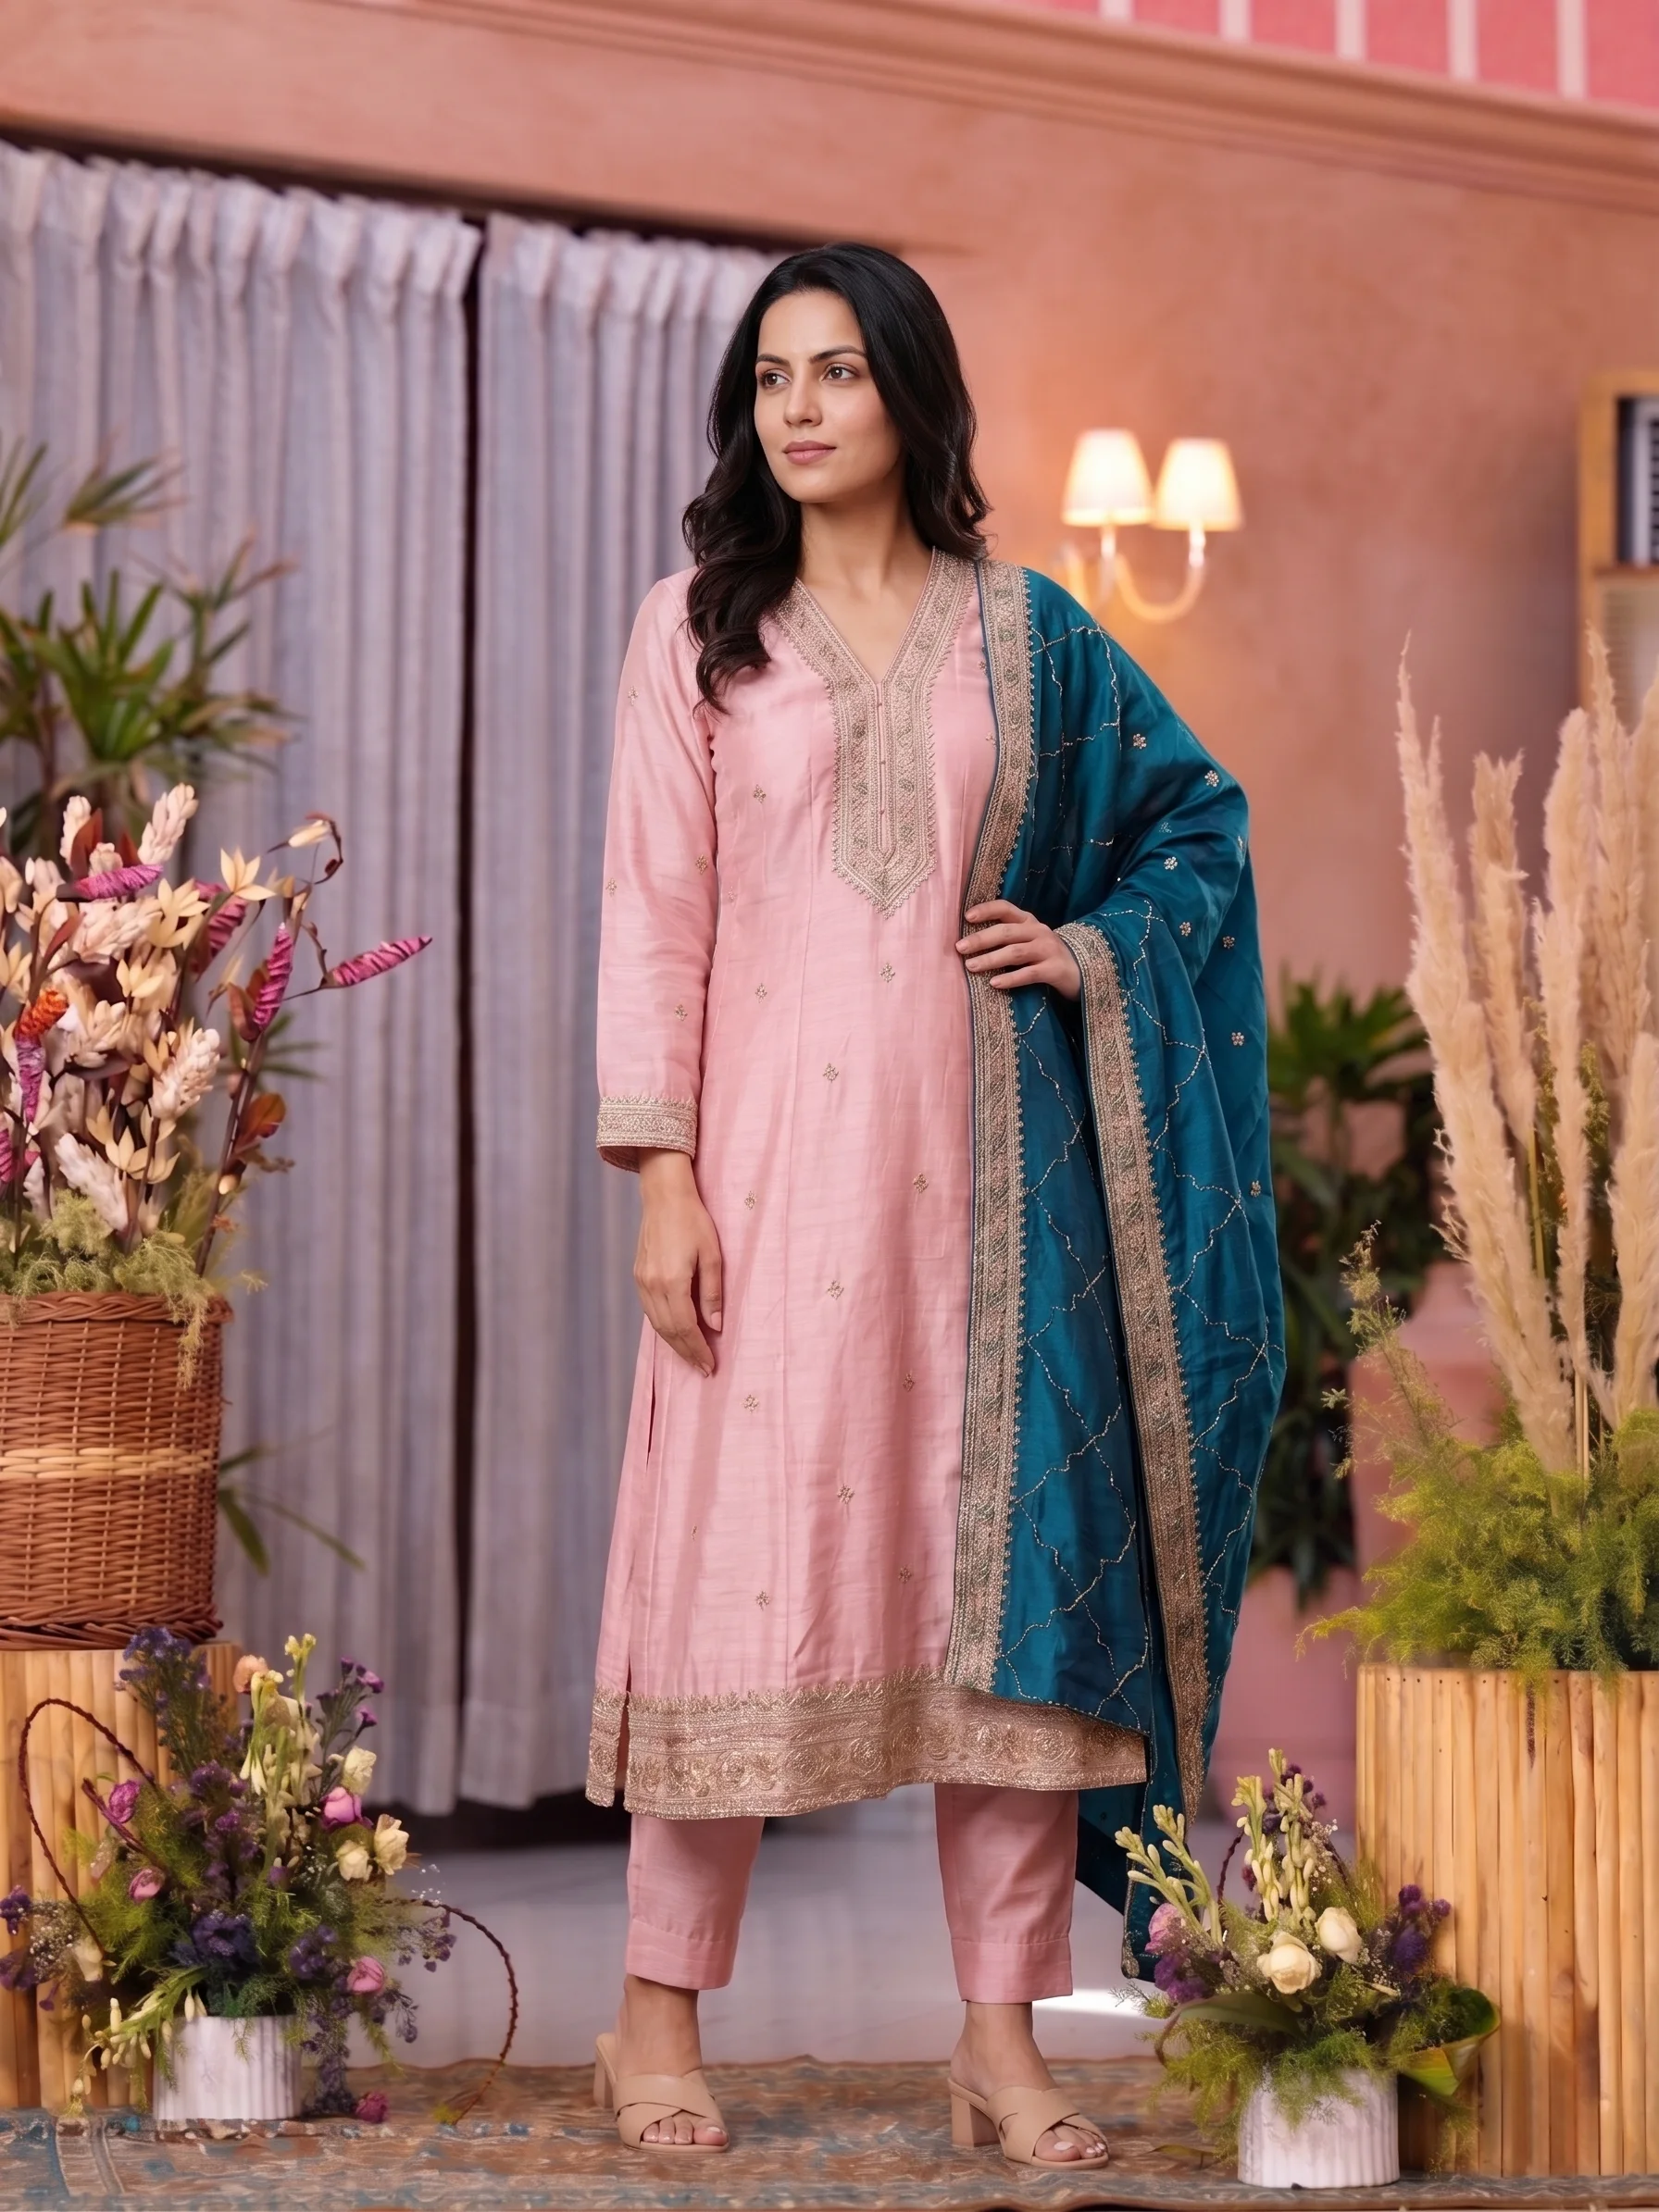
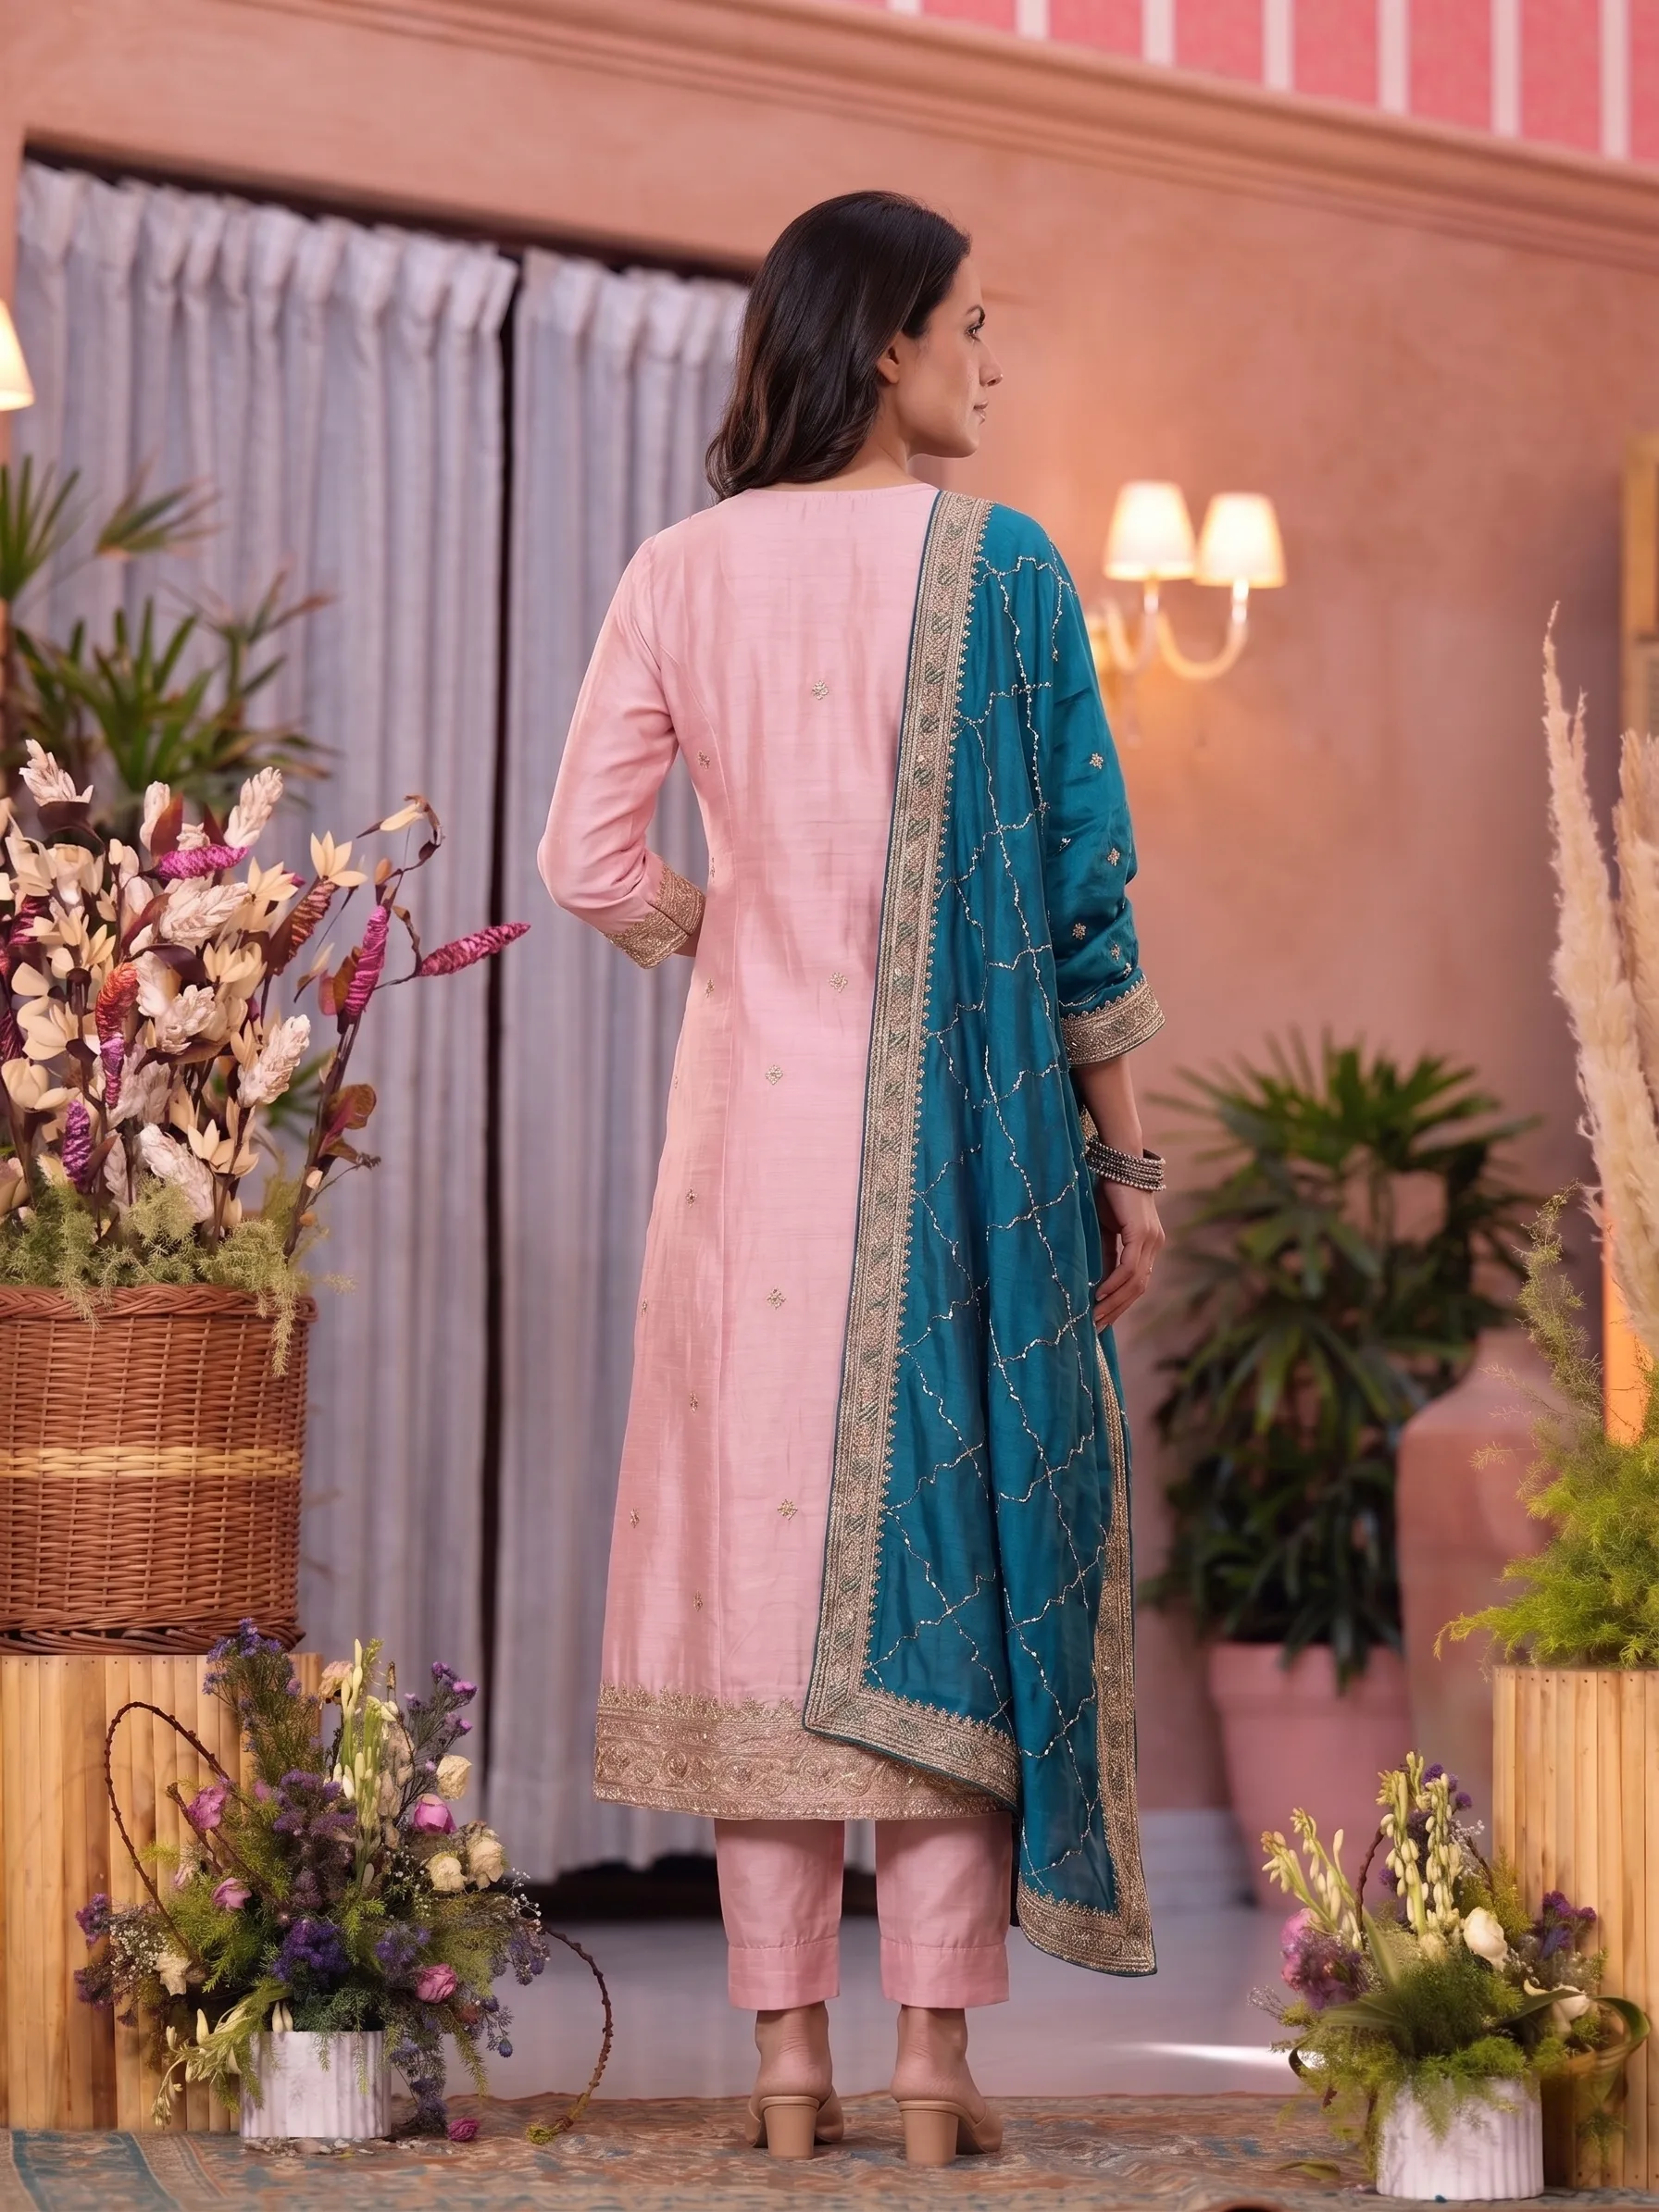
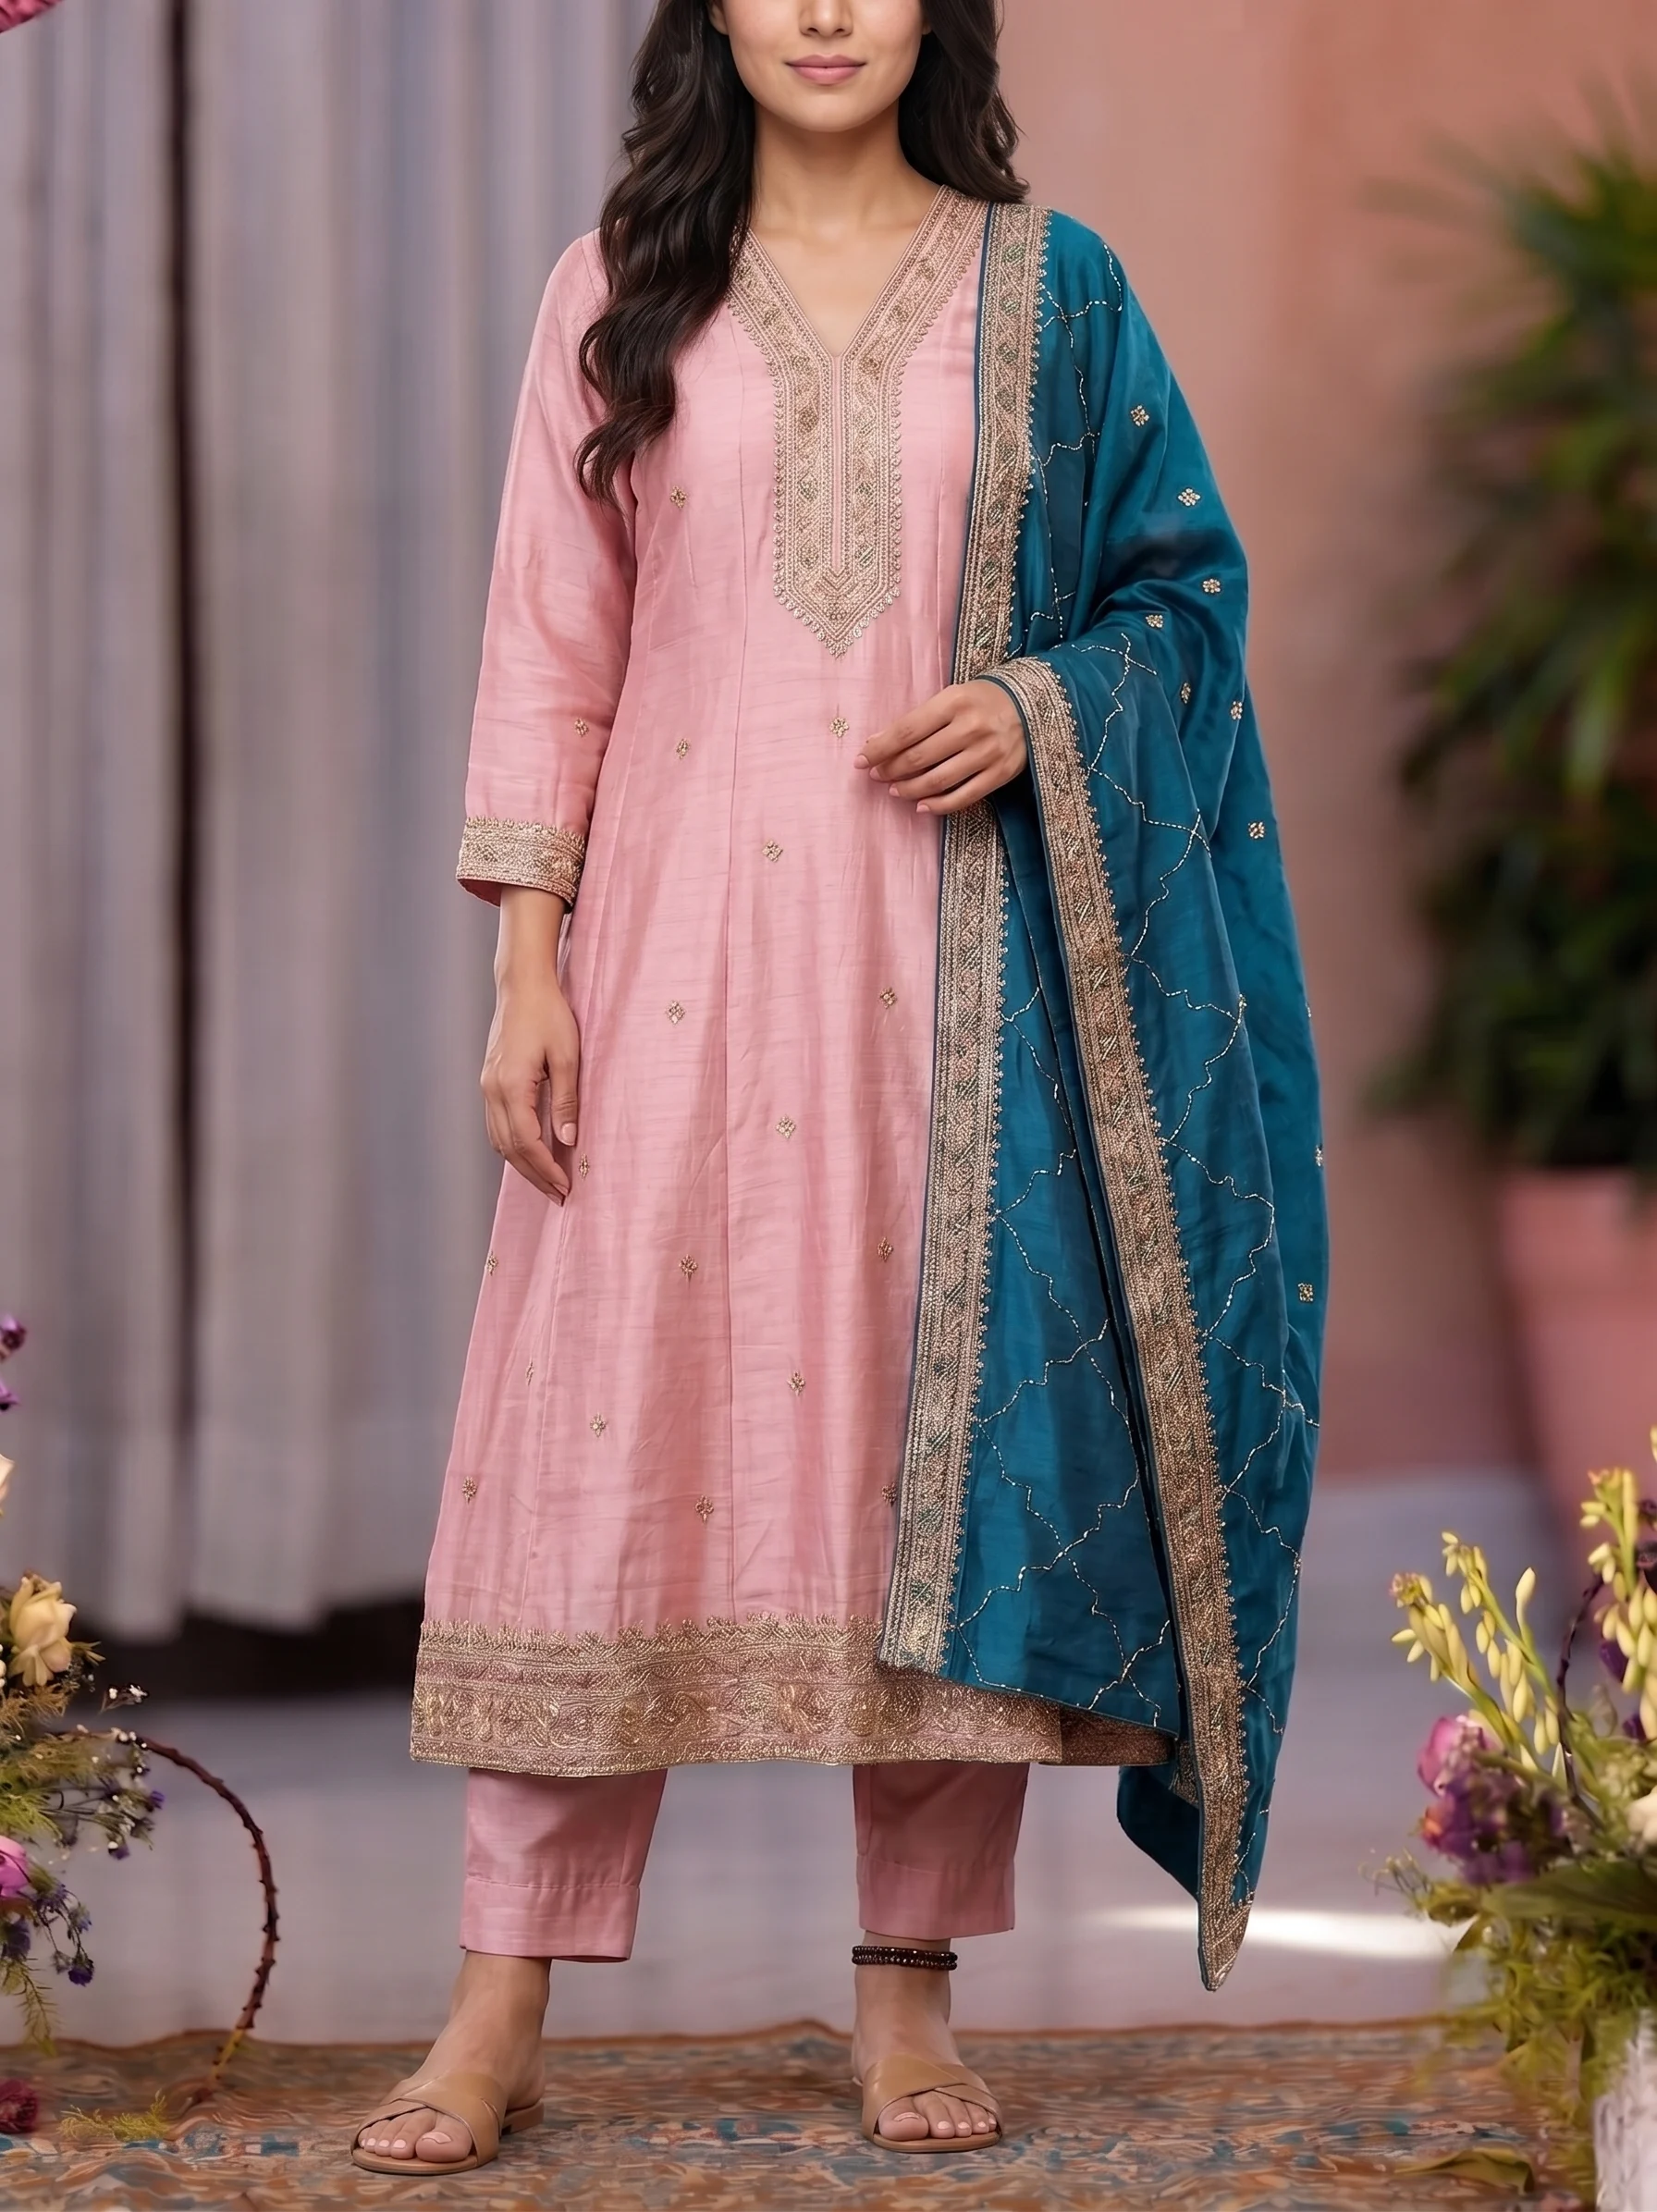
Every frame here came from a single flat photograph of the same kurta set. That is the return on fifteen minutes with a steamer and a window — and equally, a shadow or a crease in that one source photo would have shown up in all six.
A repeatable setup
Pick one spot near a window, one background sheet, and one height to shoot from. Mark it. Consistency in your inputs is what makes consistency in your outputs cheap — once the setup is fixed, a person with no photography background can shoot forty garments in an afternoon and every one will generate the same way.