How to photograph Slip Dress
Dresses & long silhouettes · 11 reference shots in our library. Everything below applies to slip dress specifically — the general rules are in the main guide.
Lay it out like this
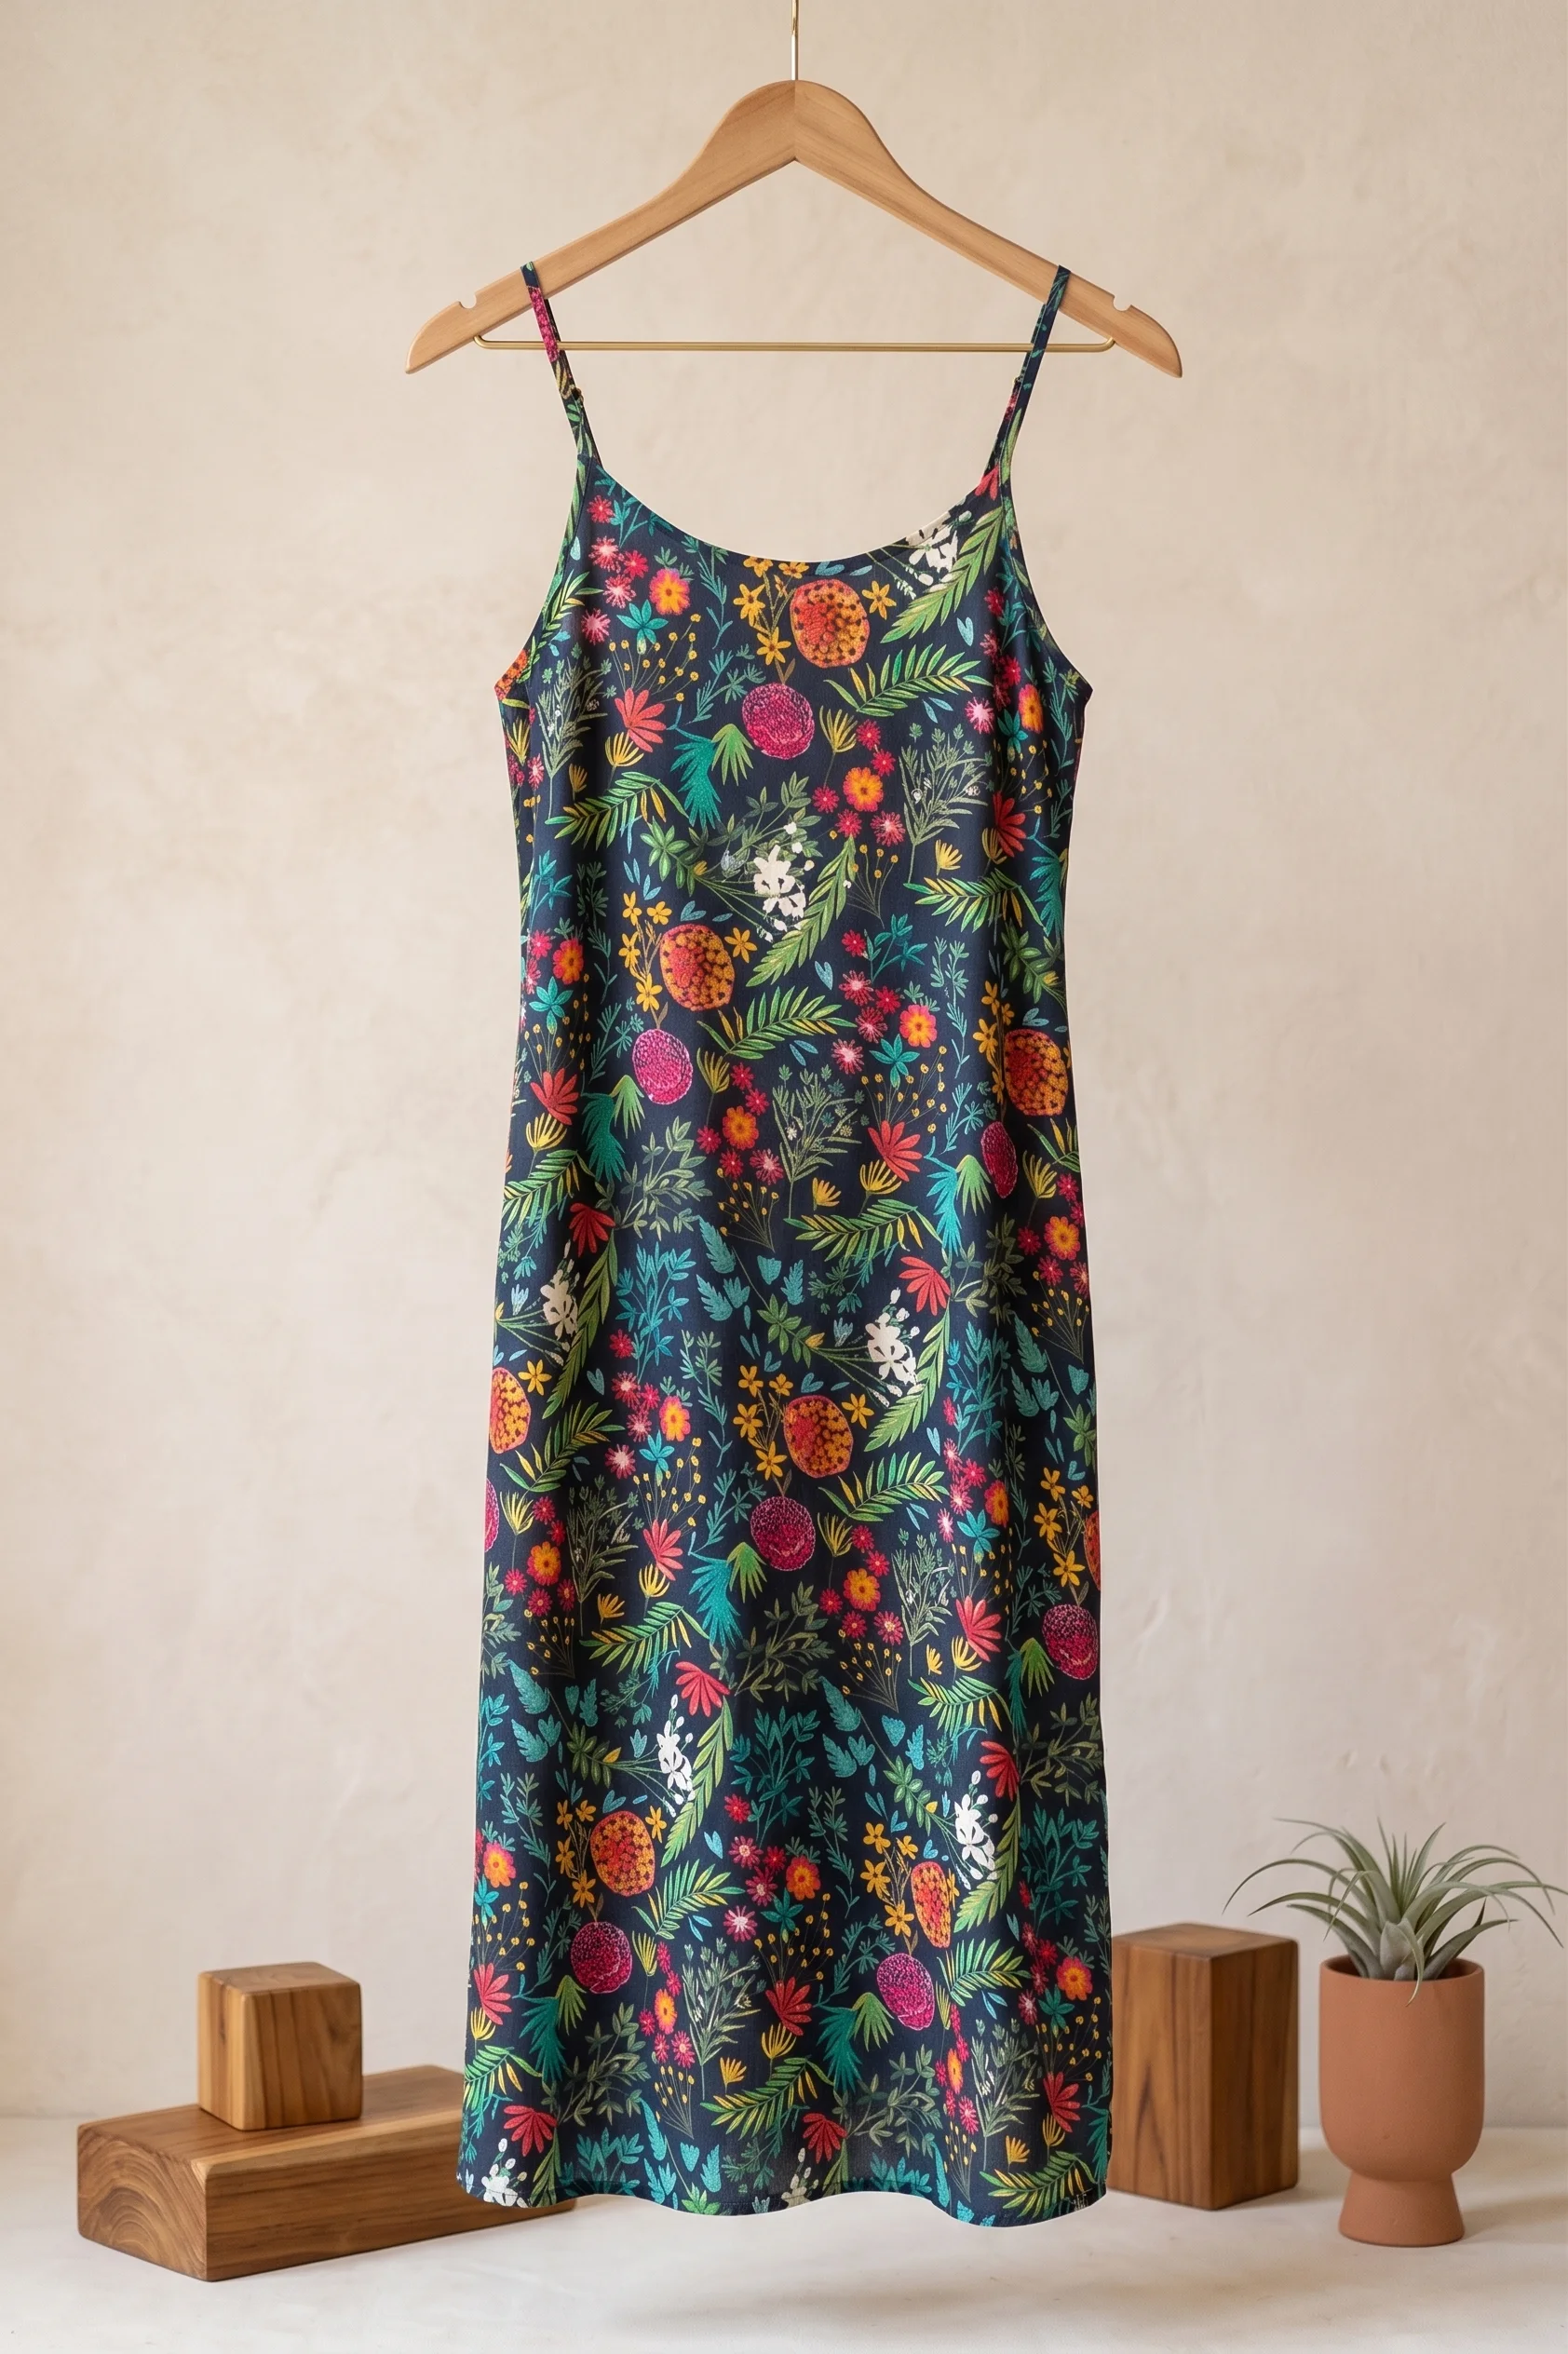
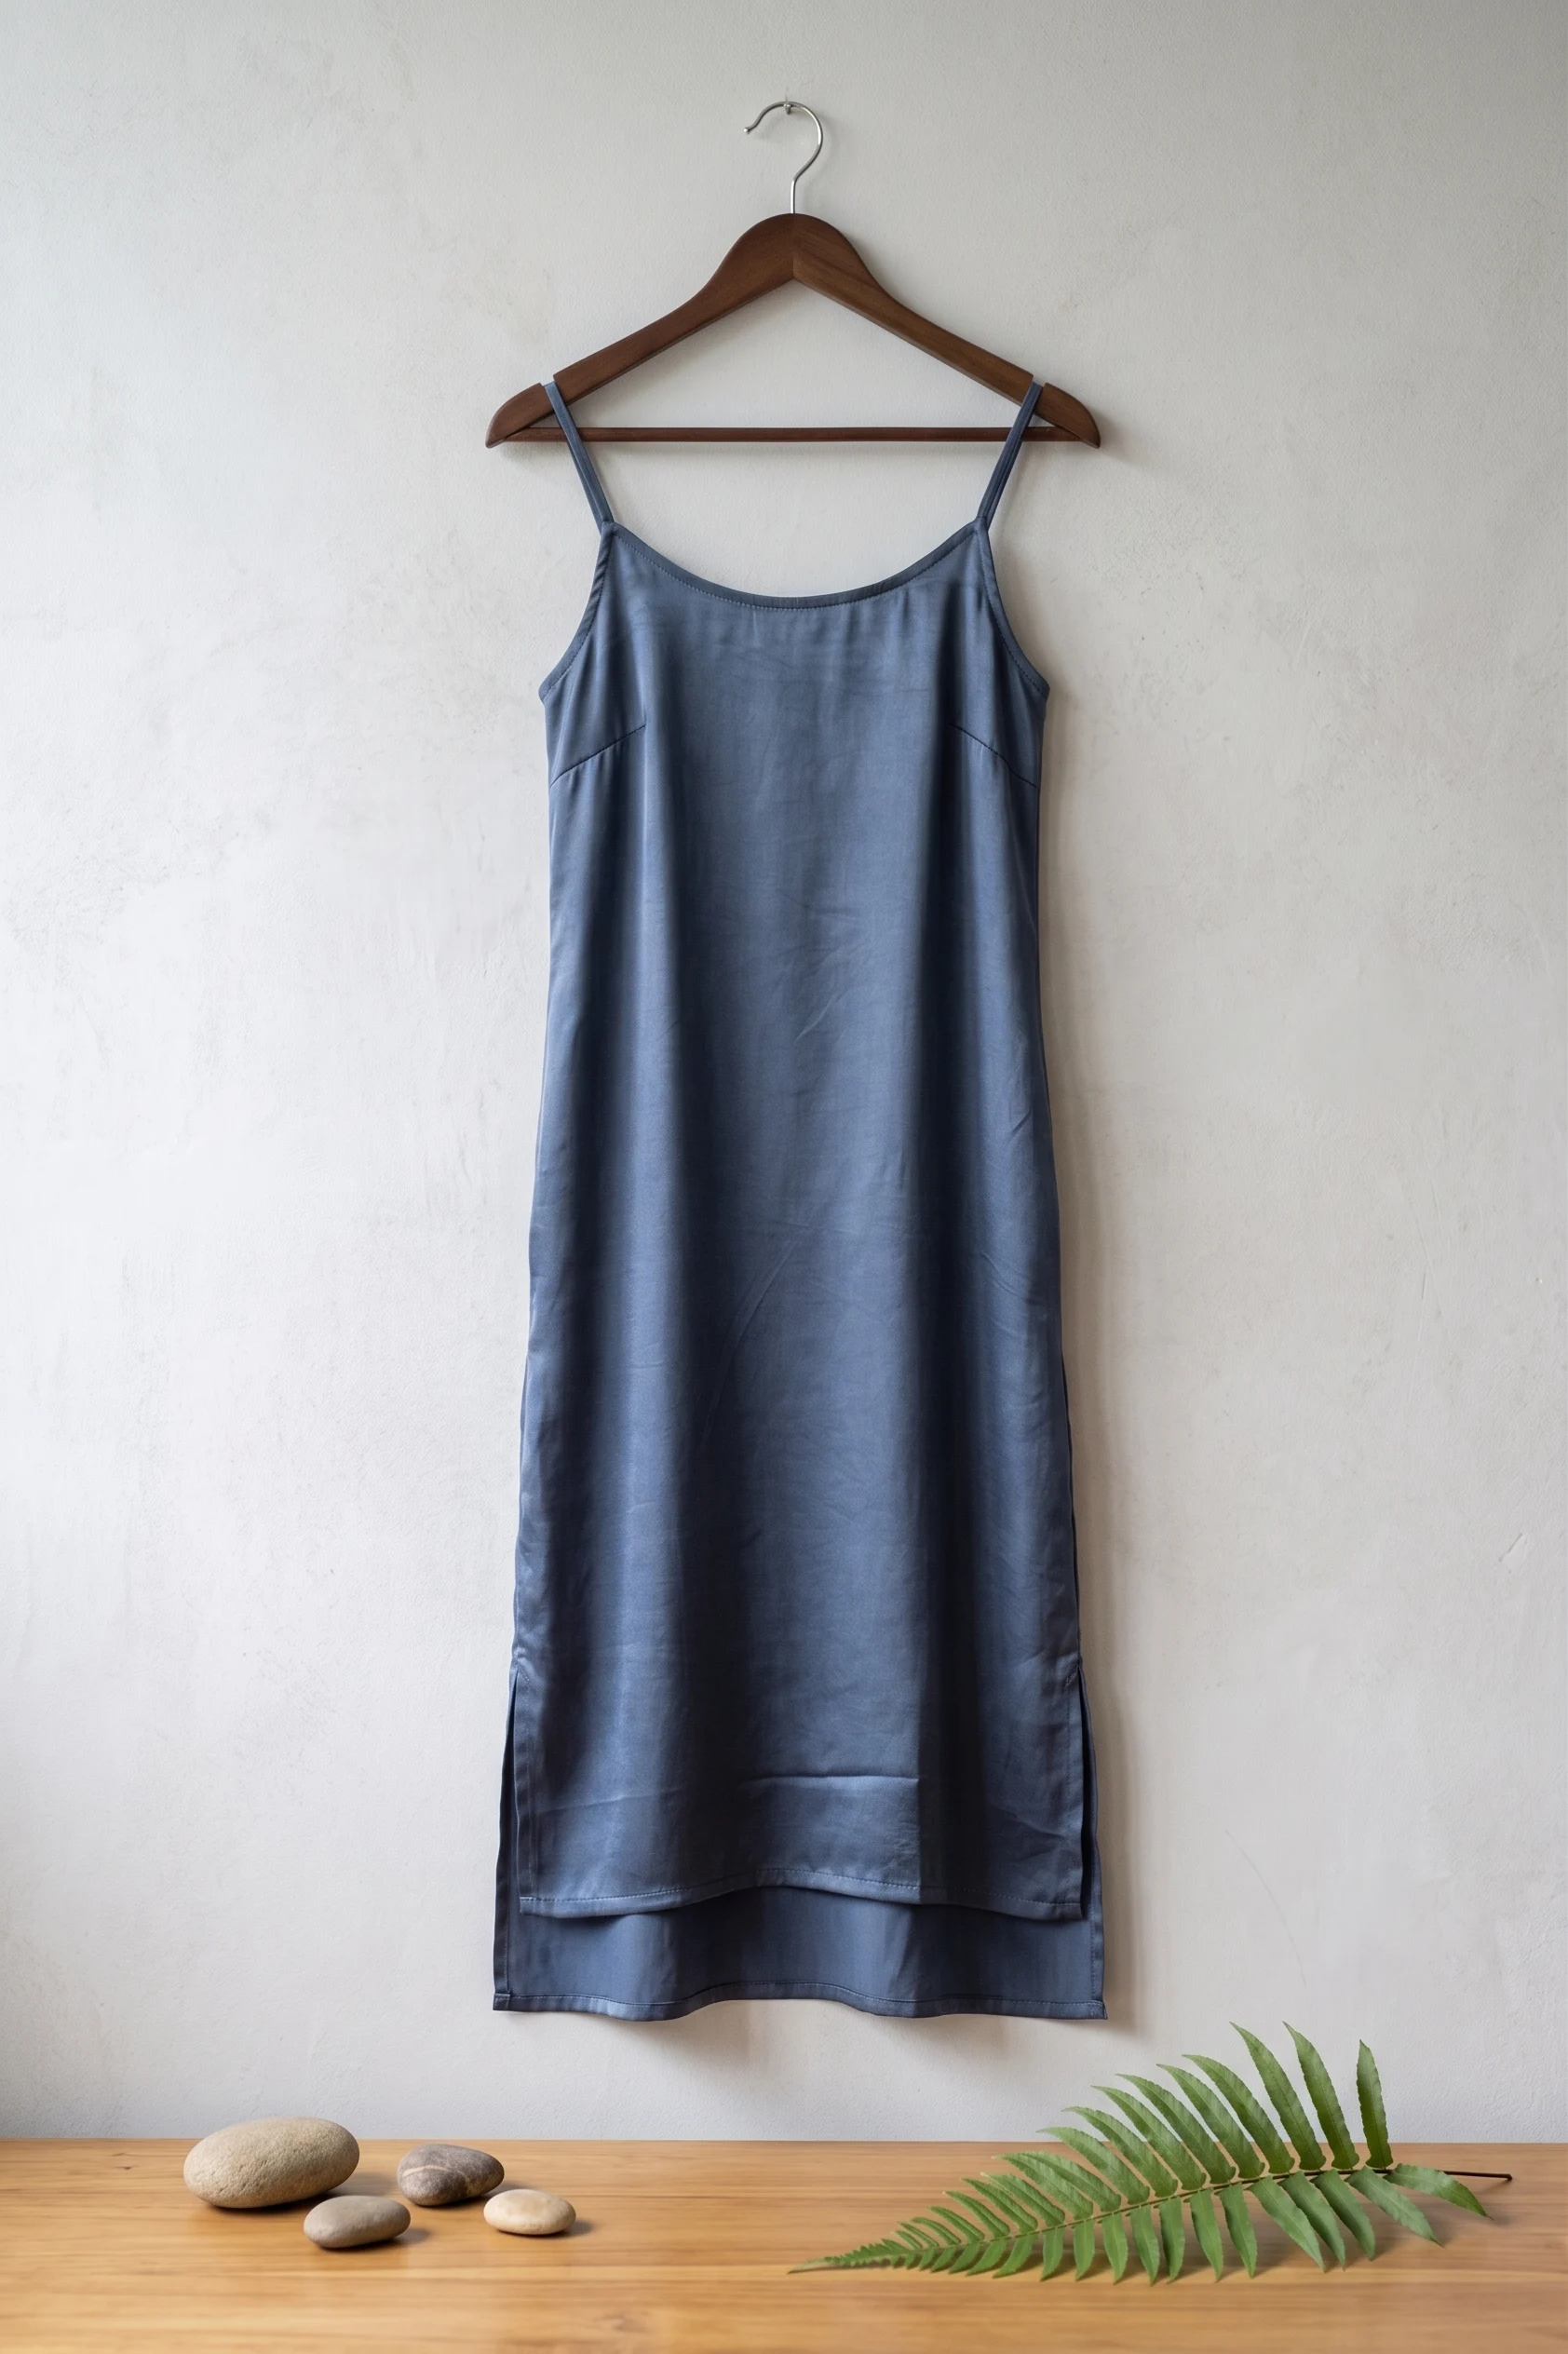
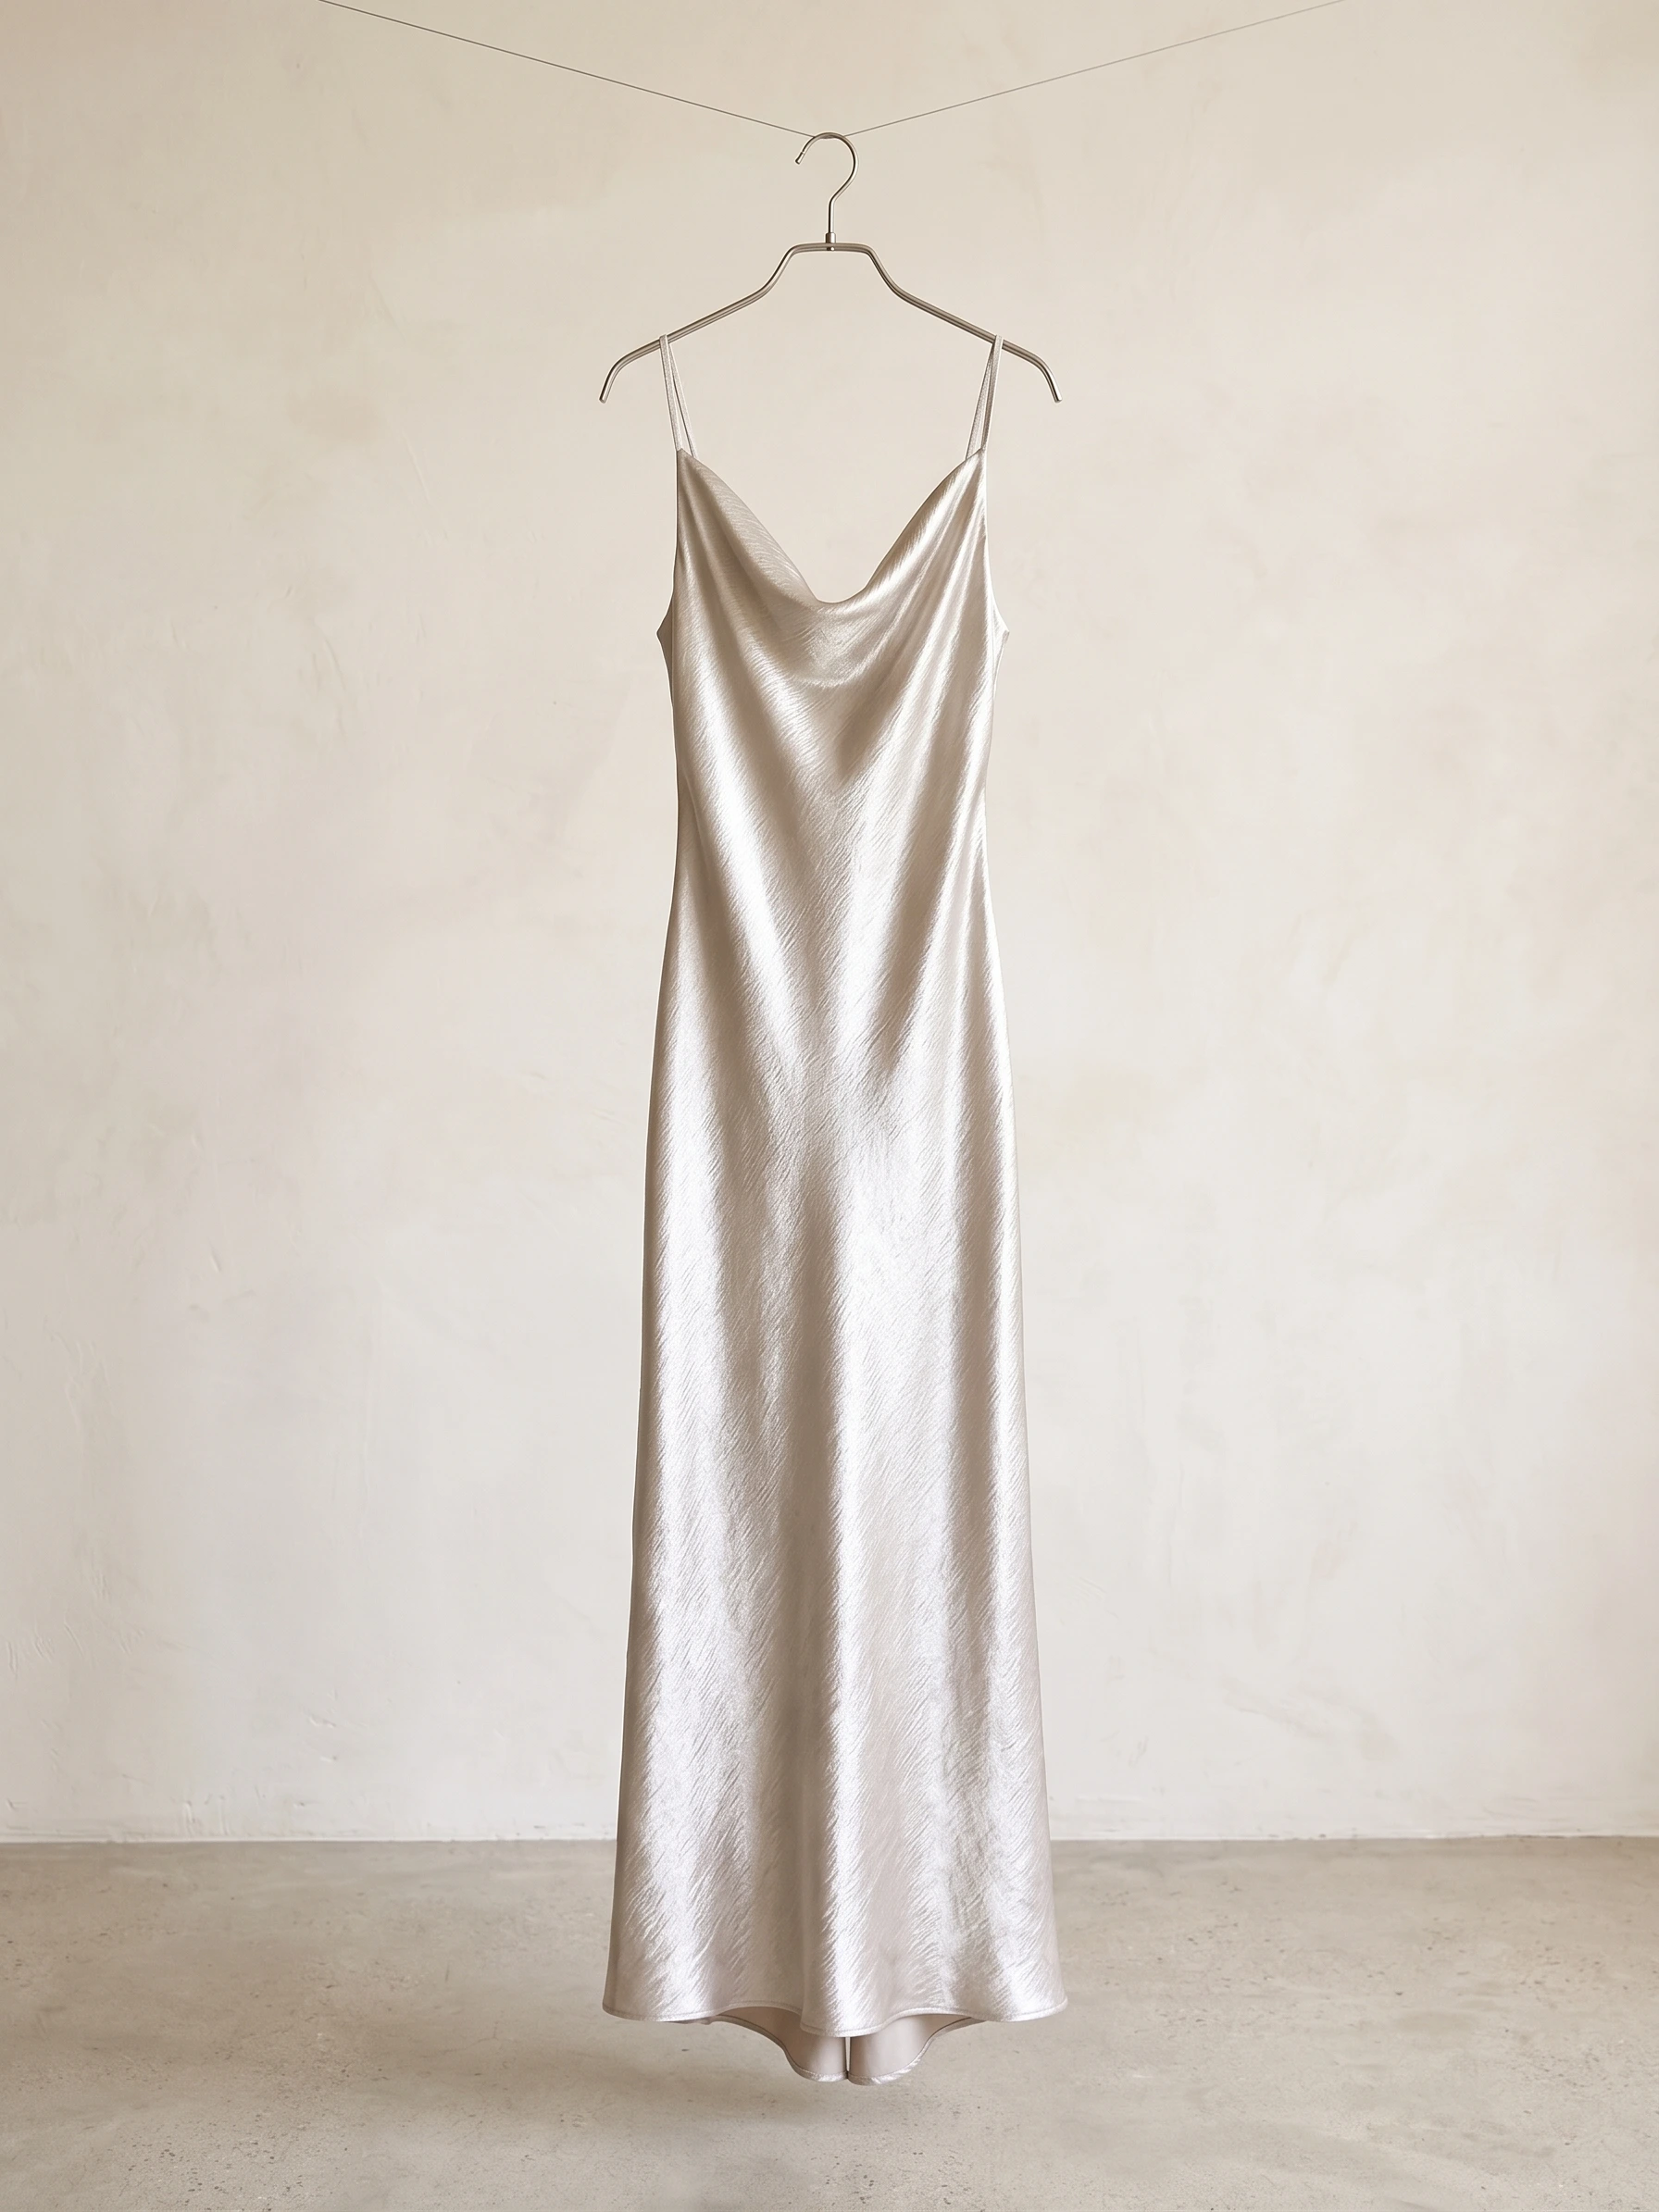
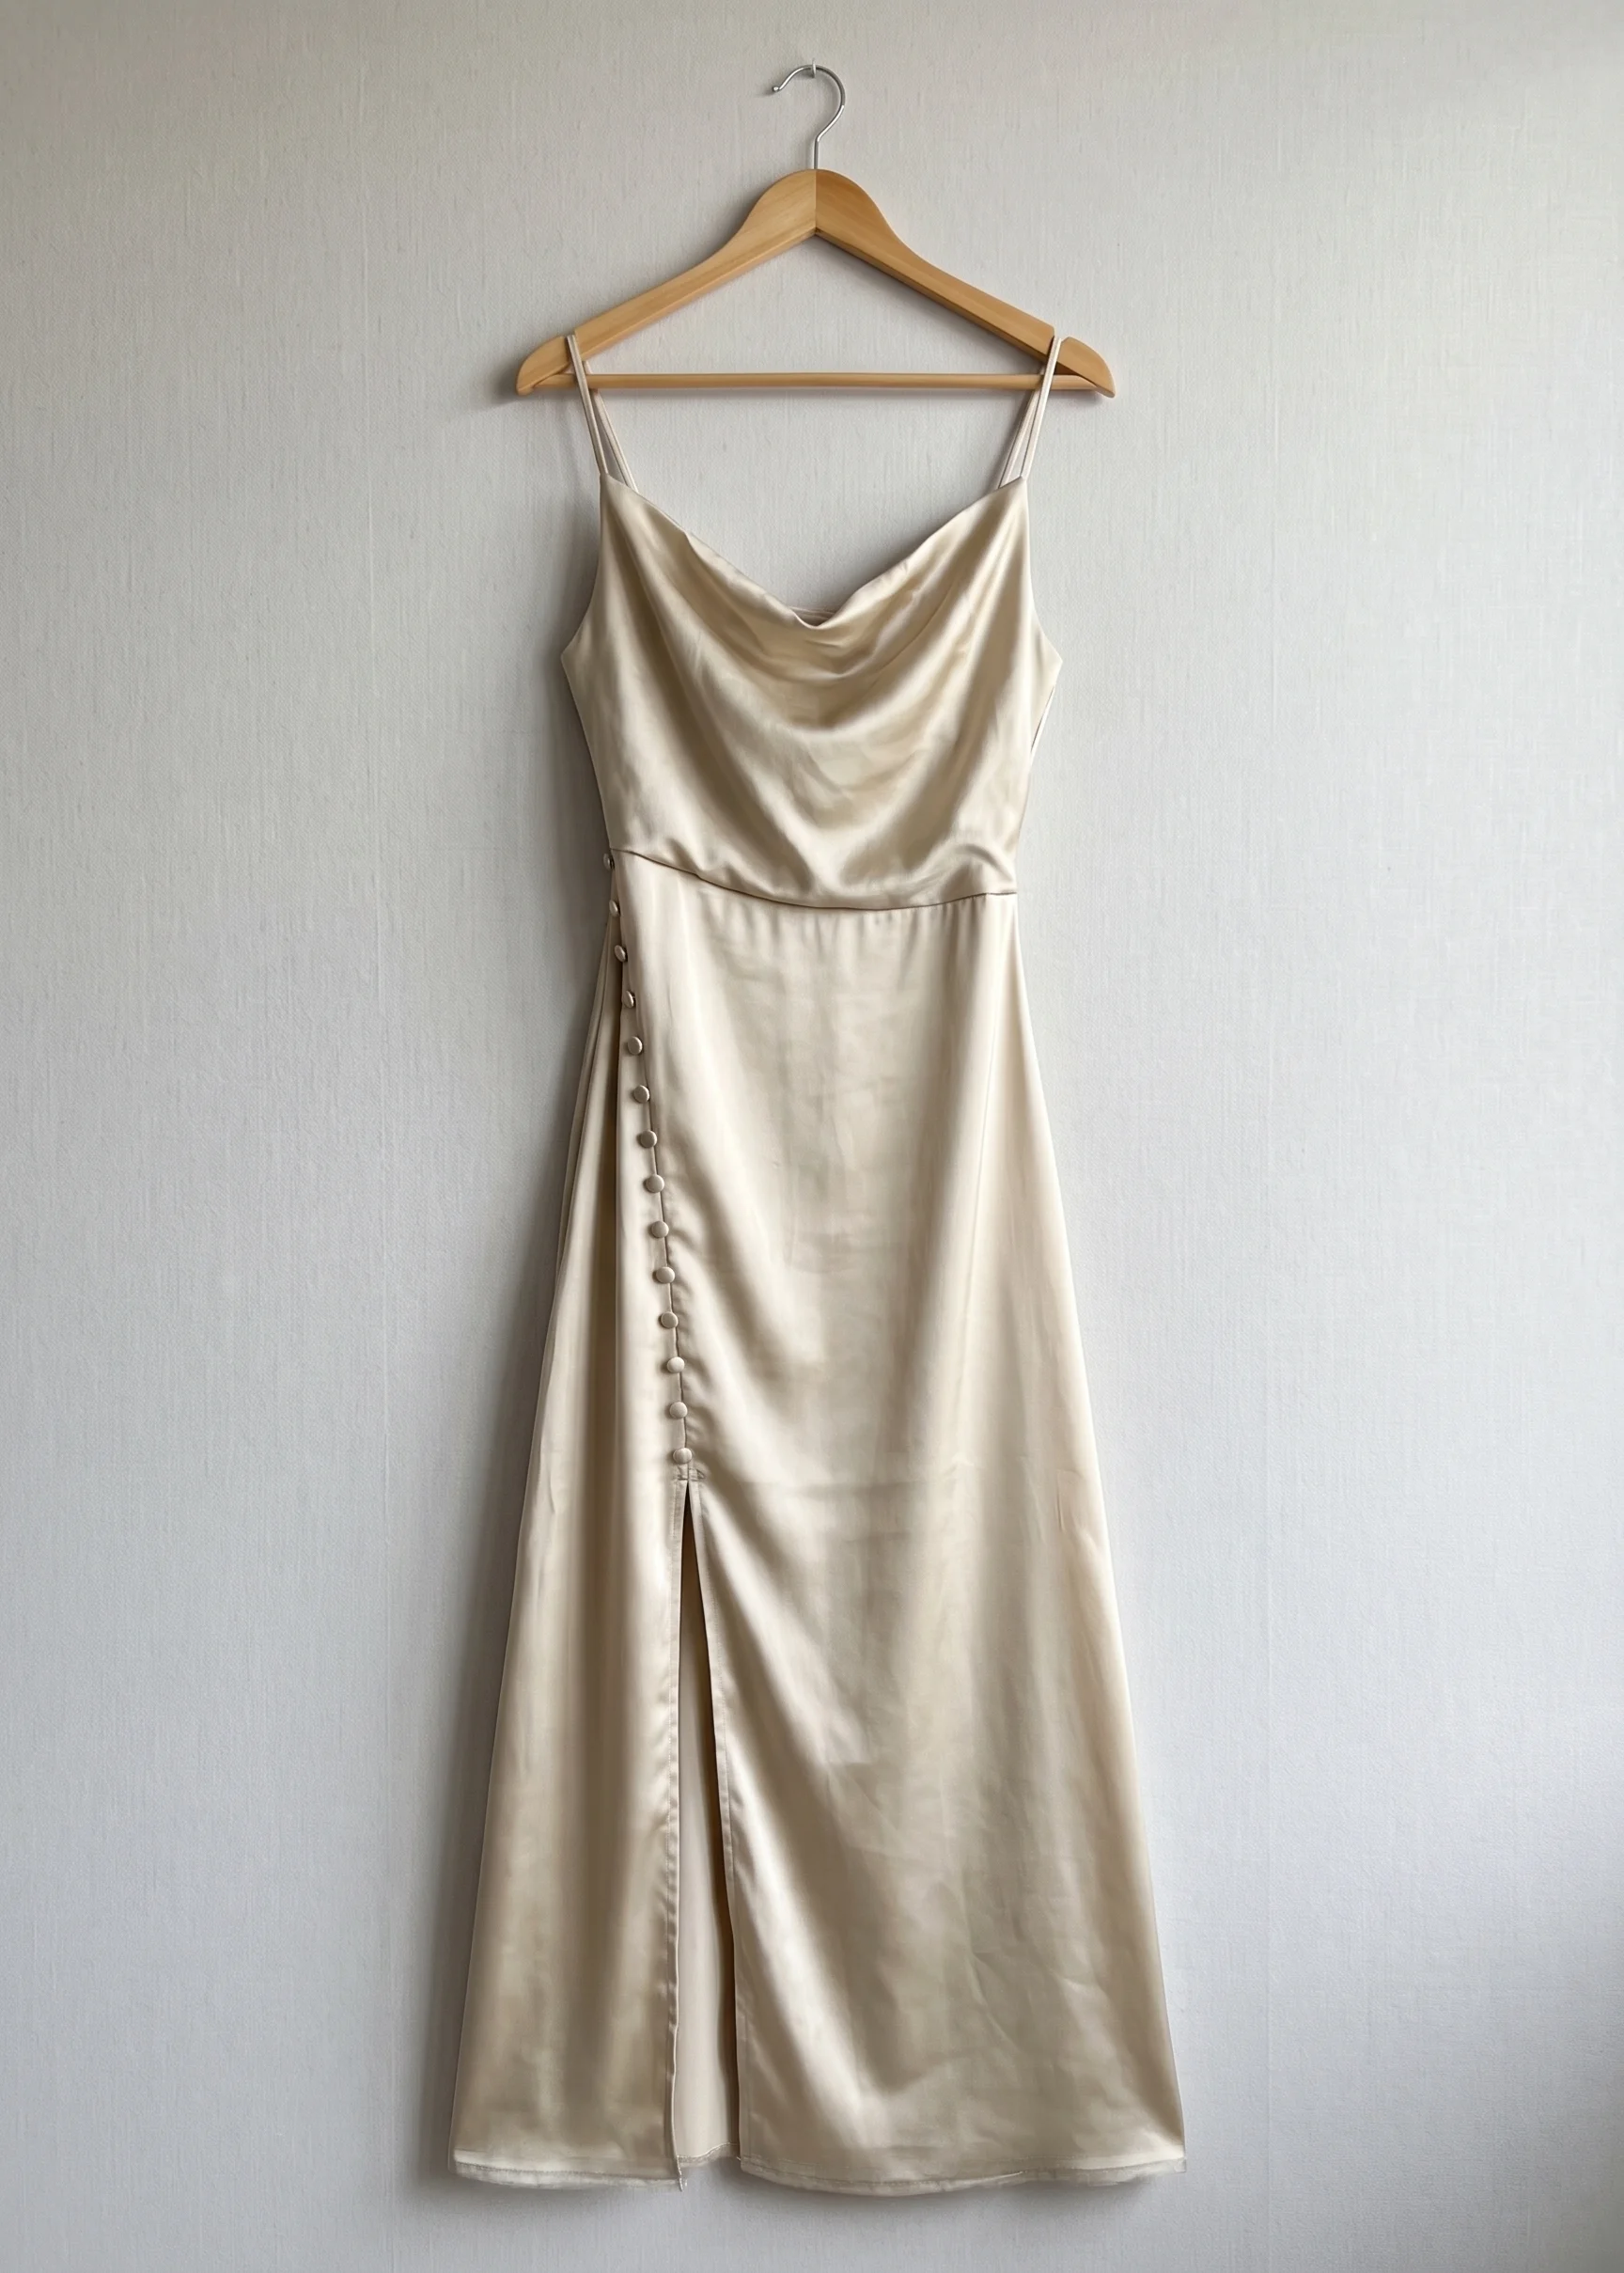
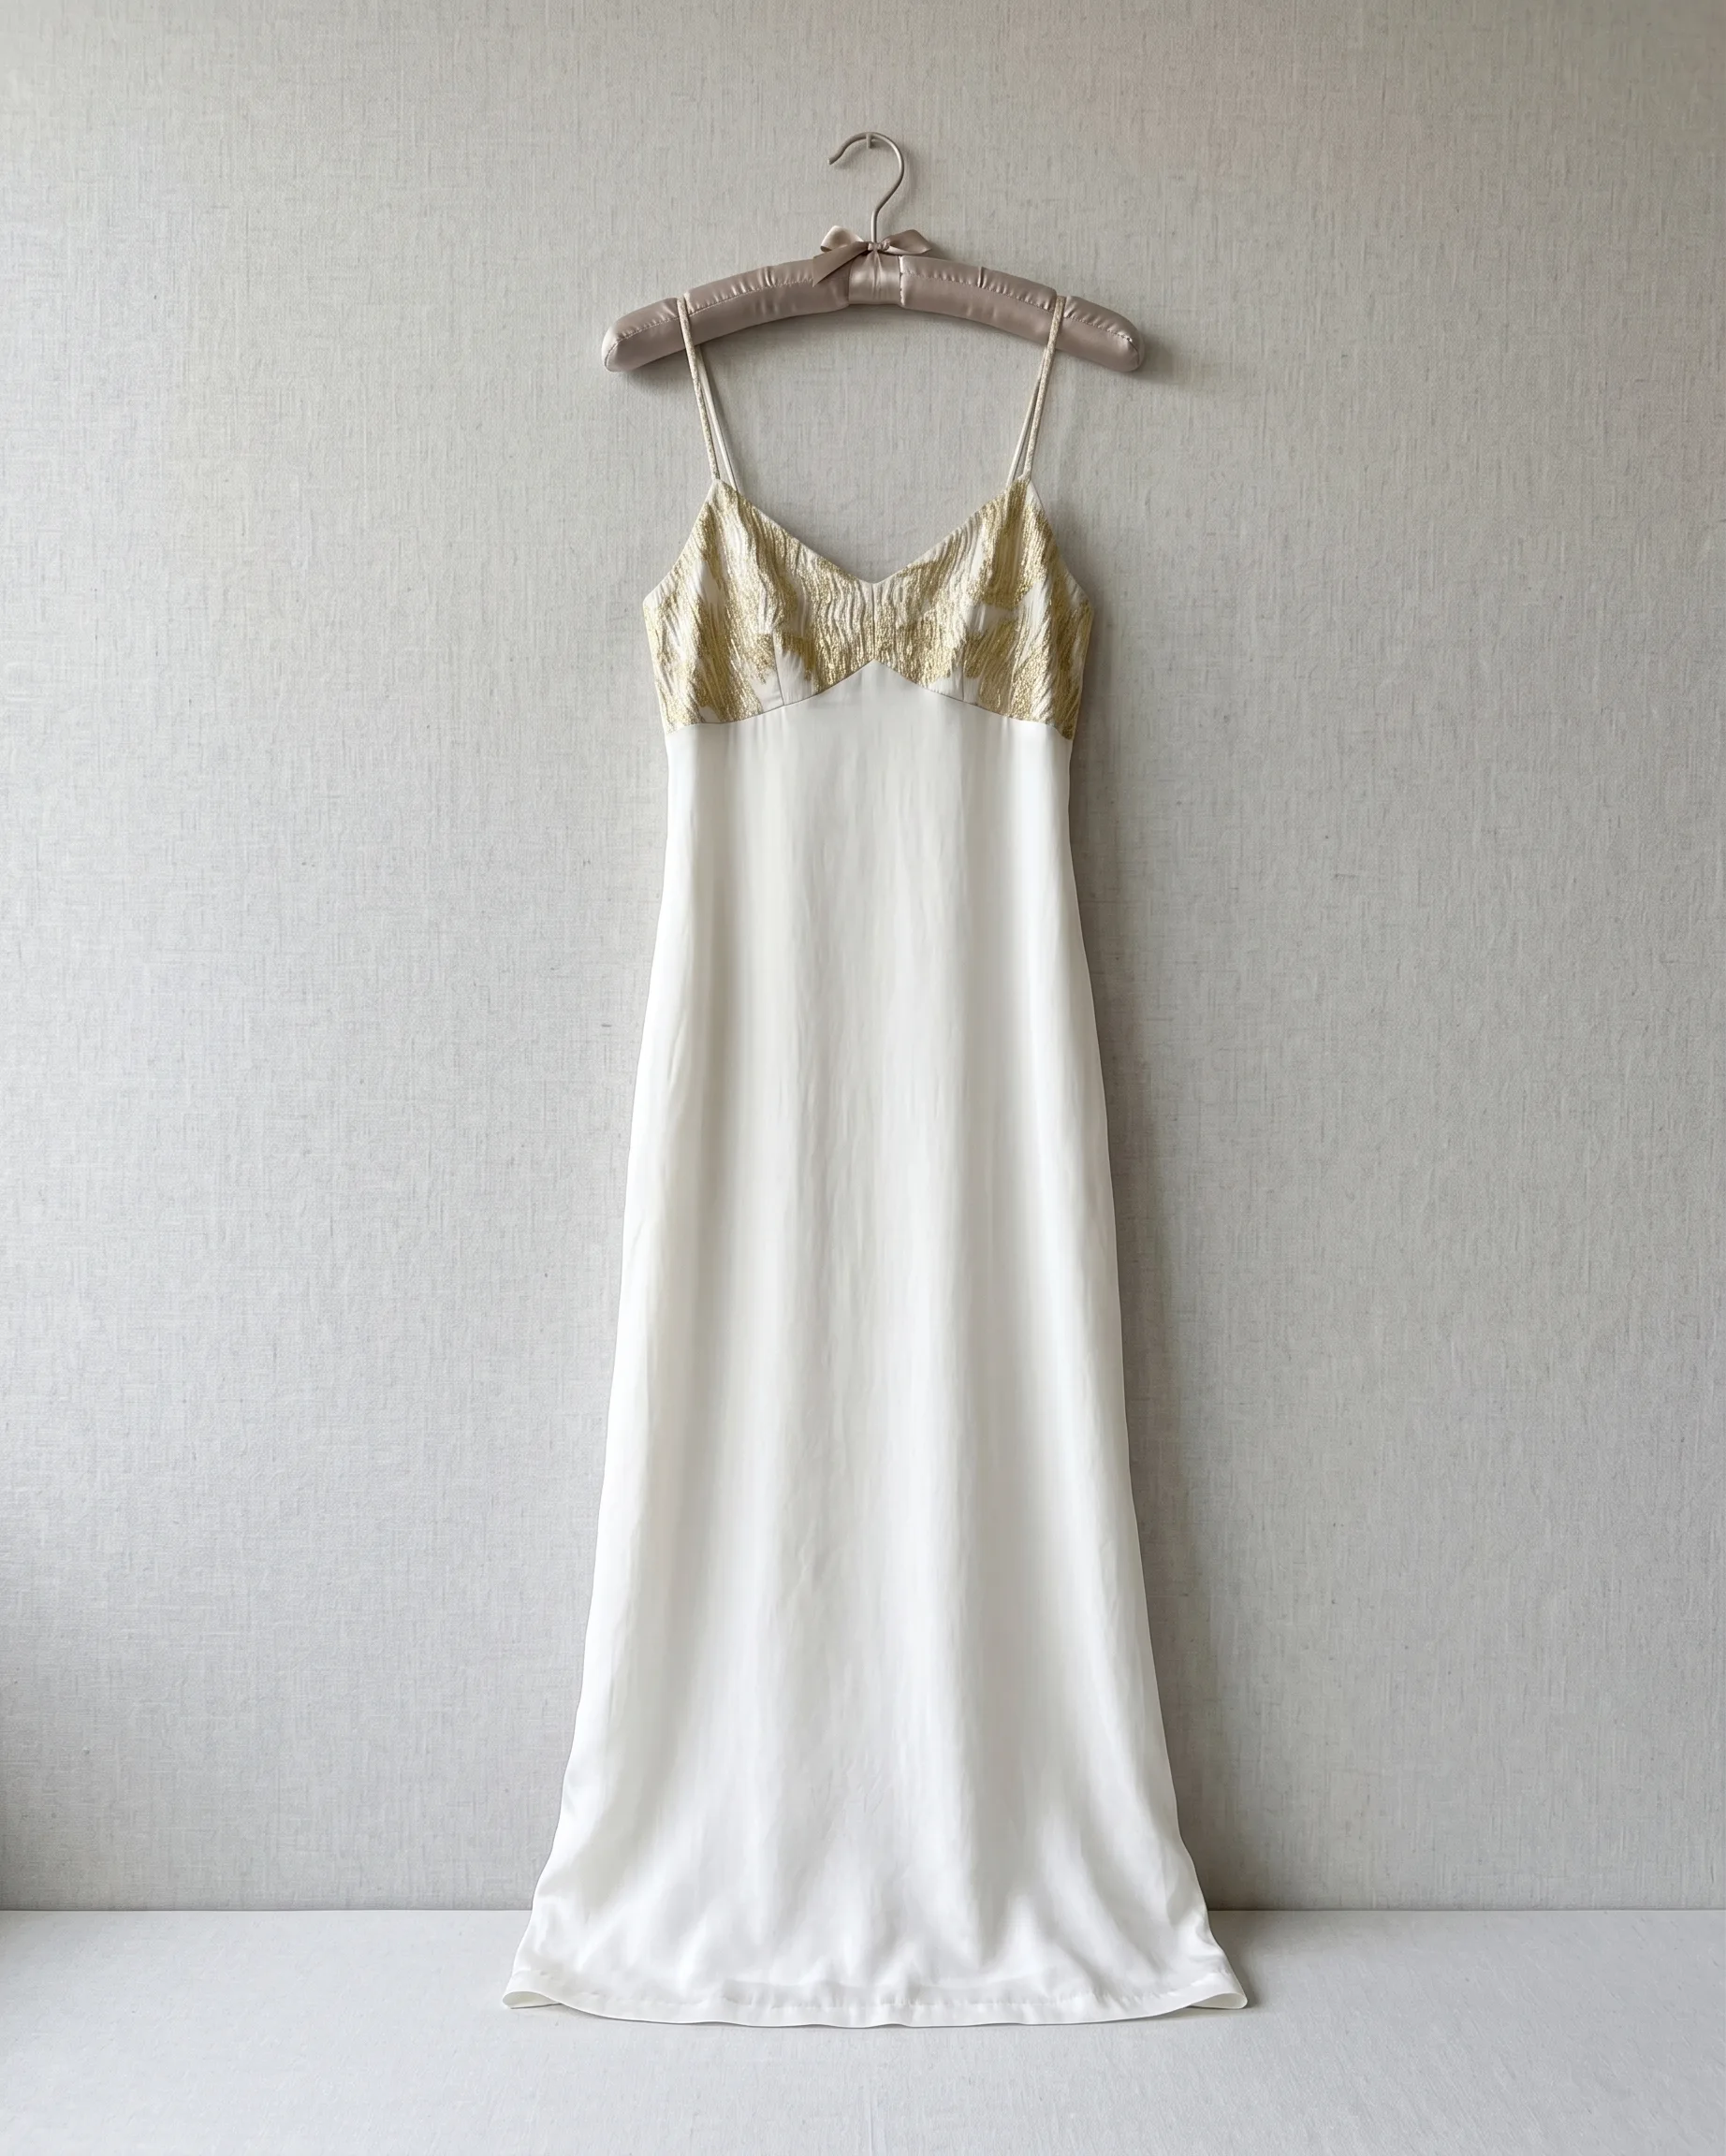
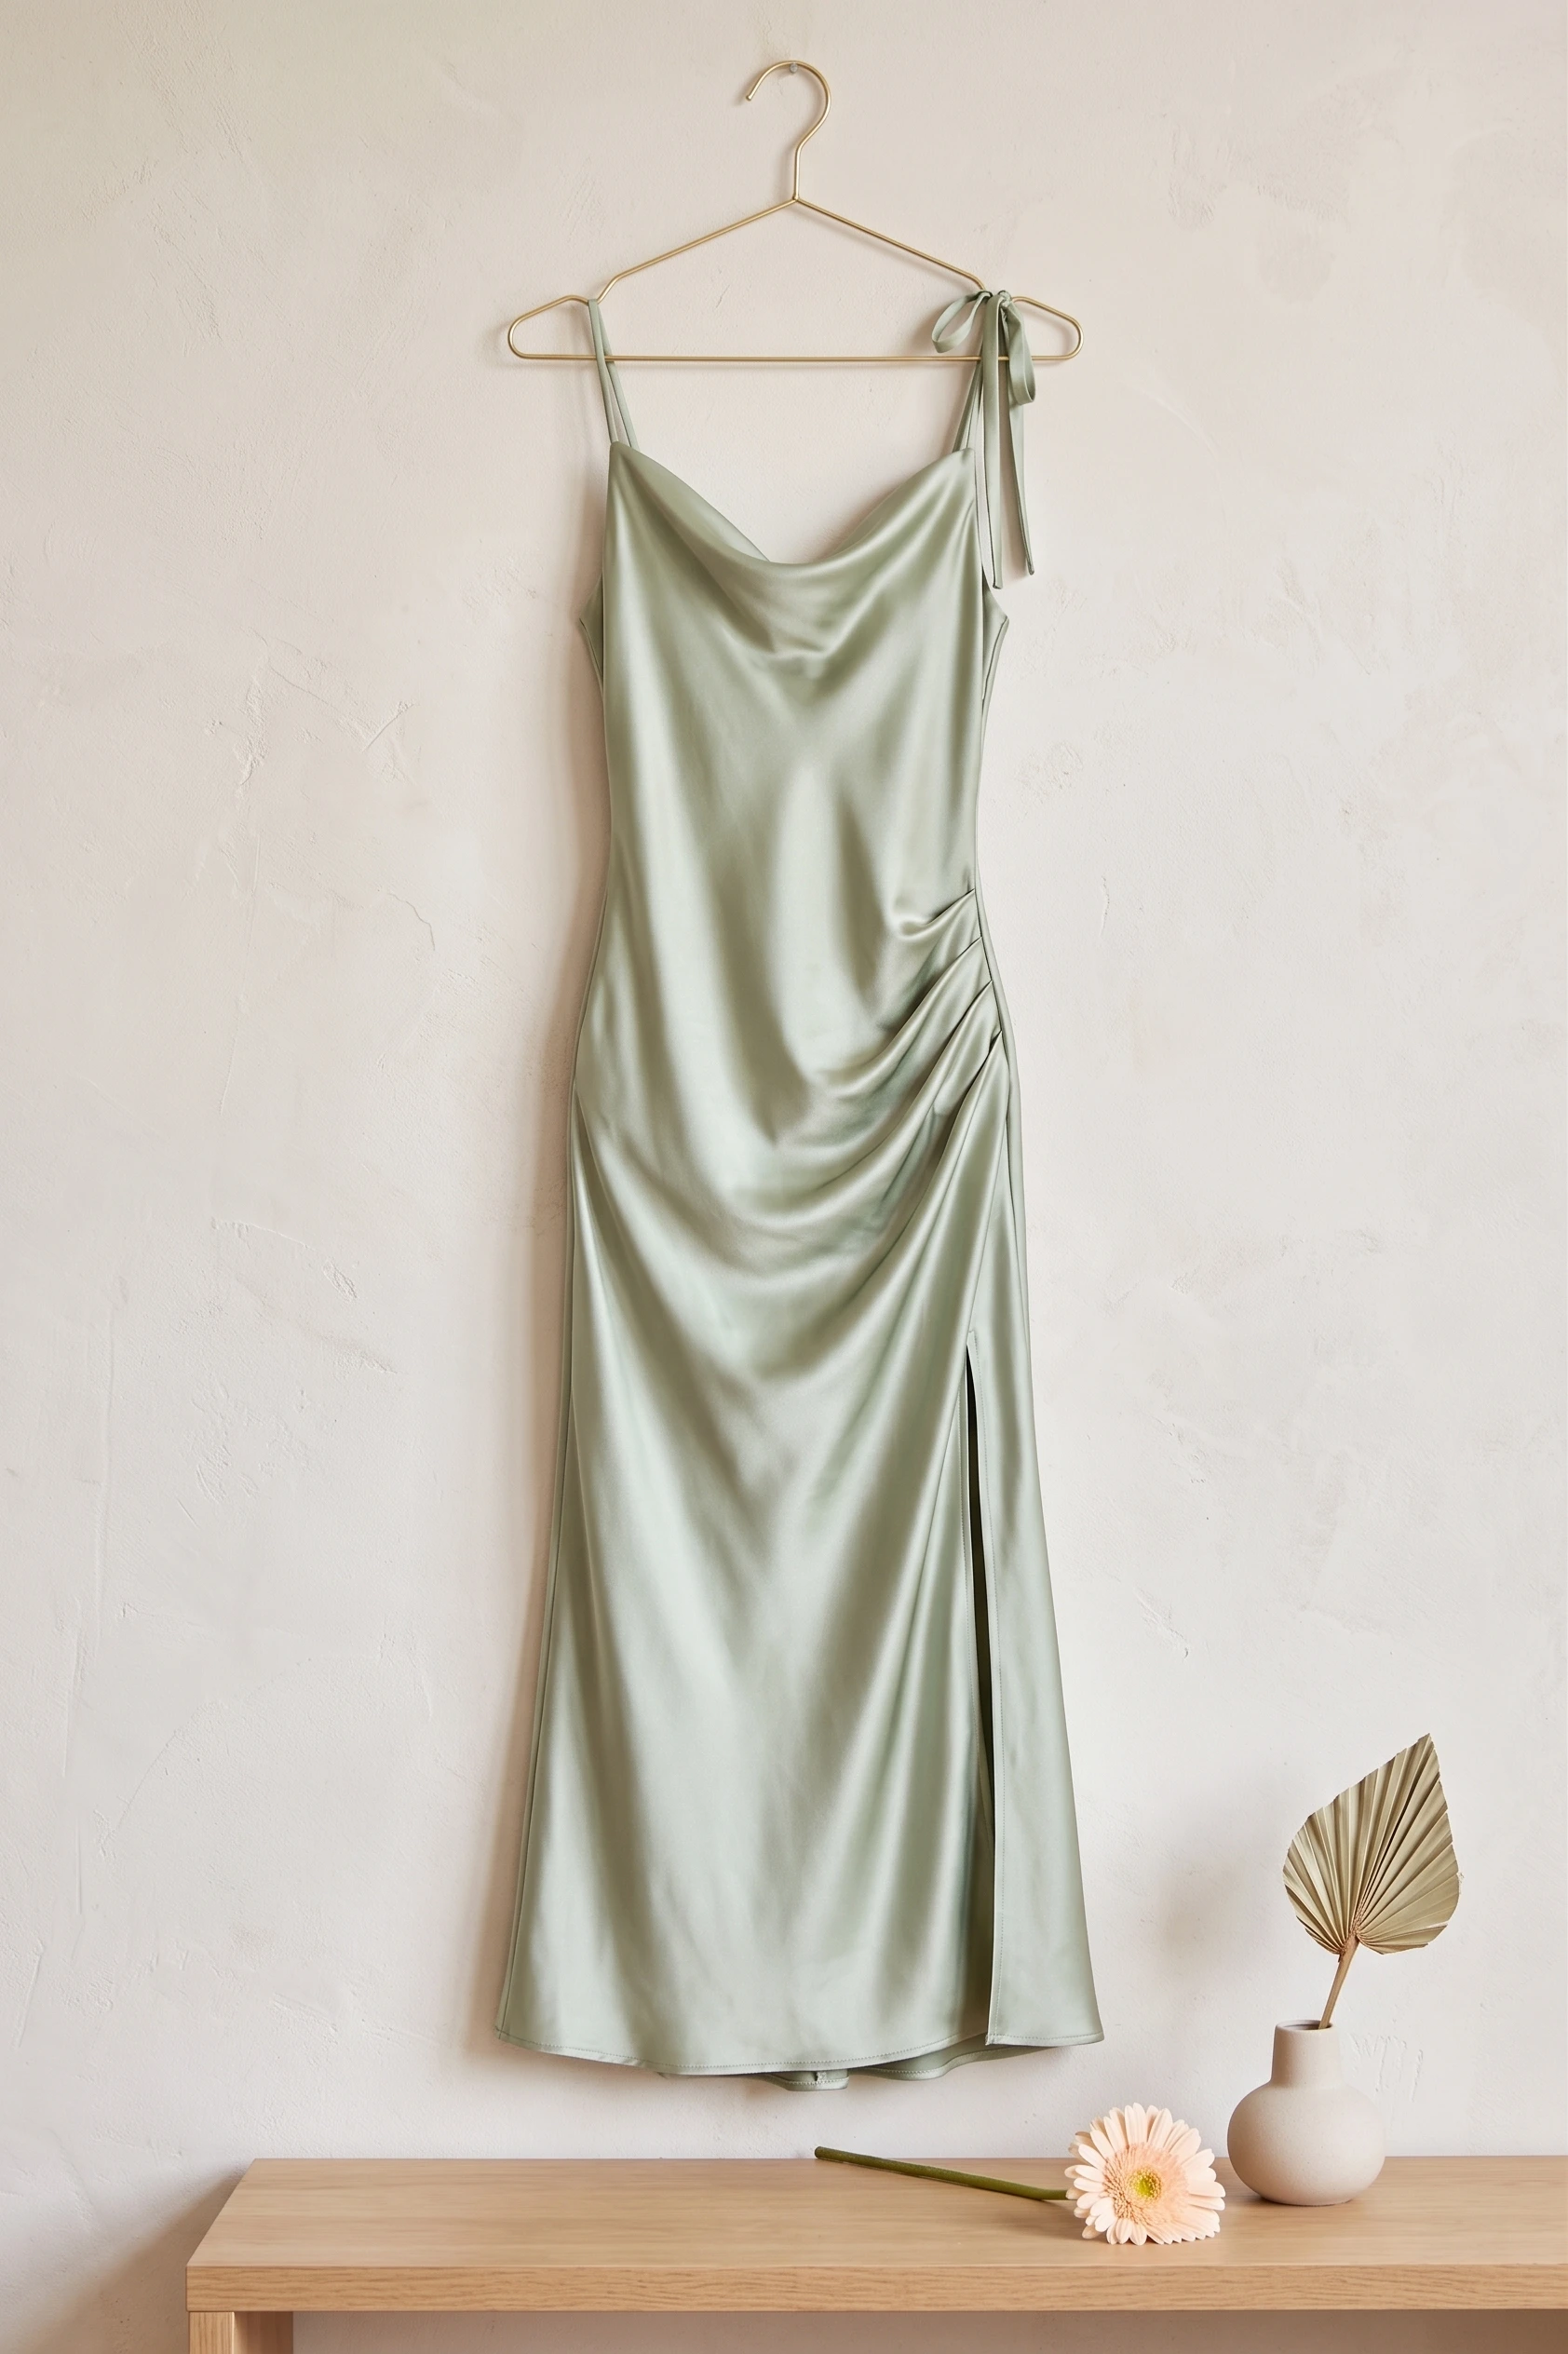
Hang it or lay it with the skirt fanned so the silhouette is readable from hem to neckline.
What the Studio needs to see
- Neckline to hem in a single frame
- The waist seam or yoke where the silhouette changes
- Sleeve shape, if the sleeves are part of the design
A flat-lay of the bodice, when the neckwork is the selling detail.
Reference shots for this garment
Real slip dress uploads from our own library. This is the framing, background and distance to aim for.
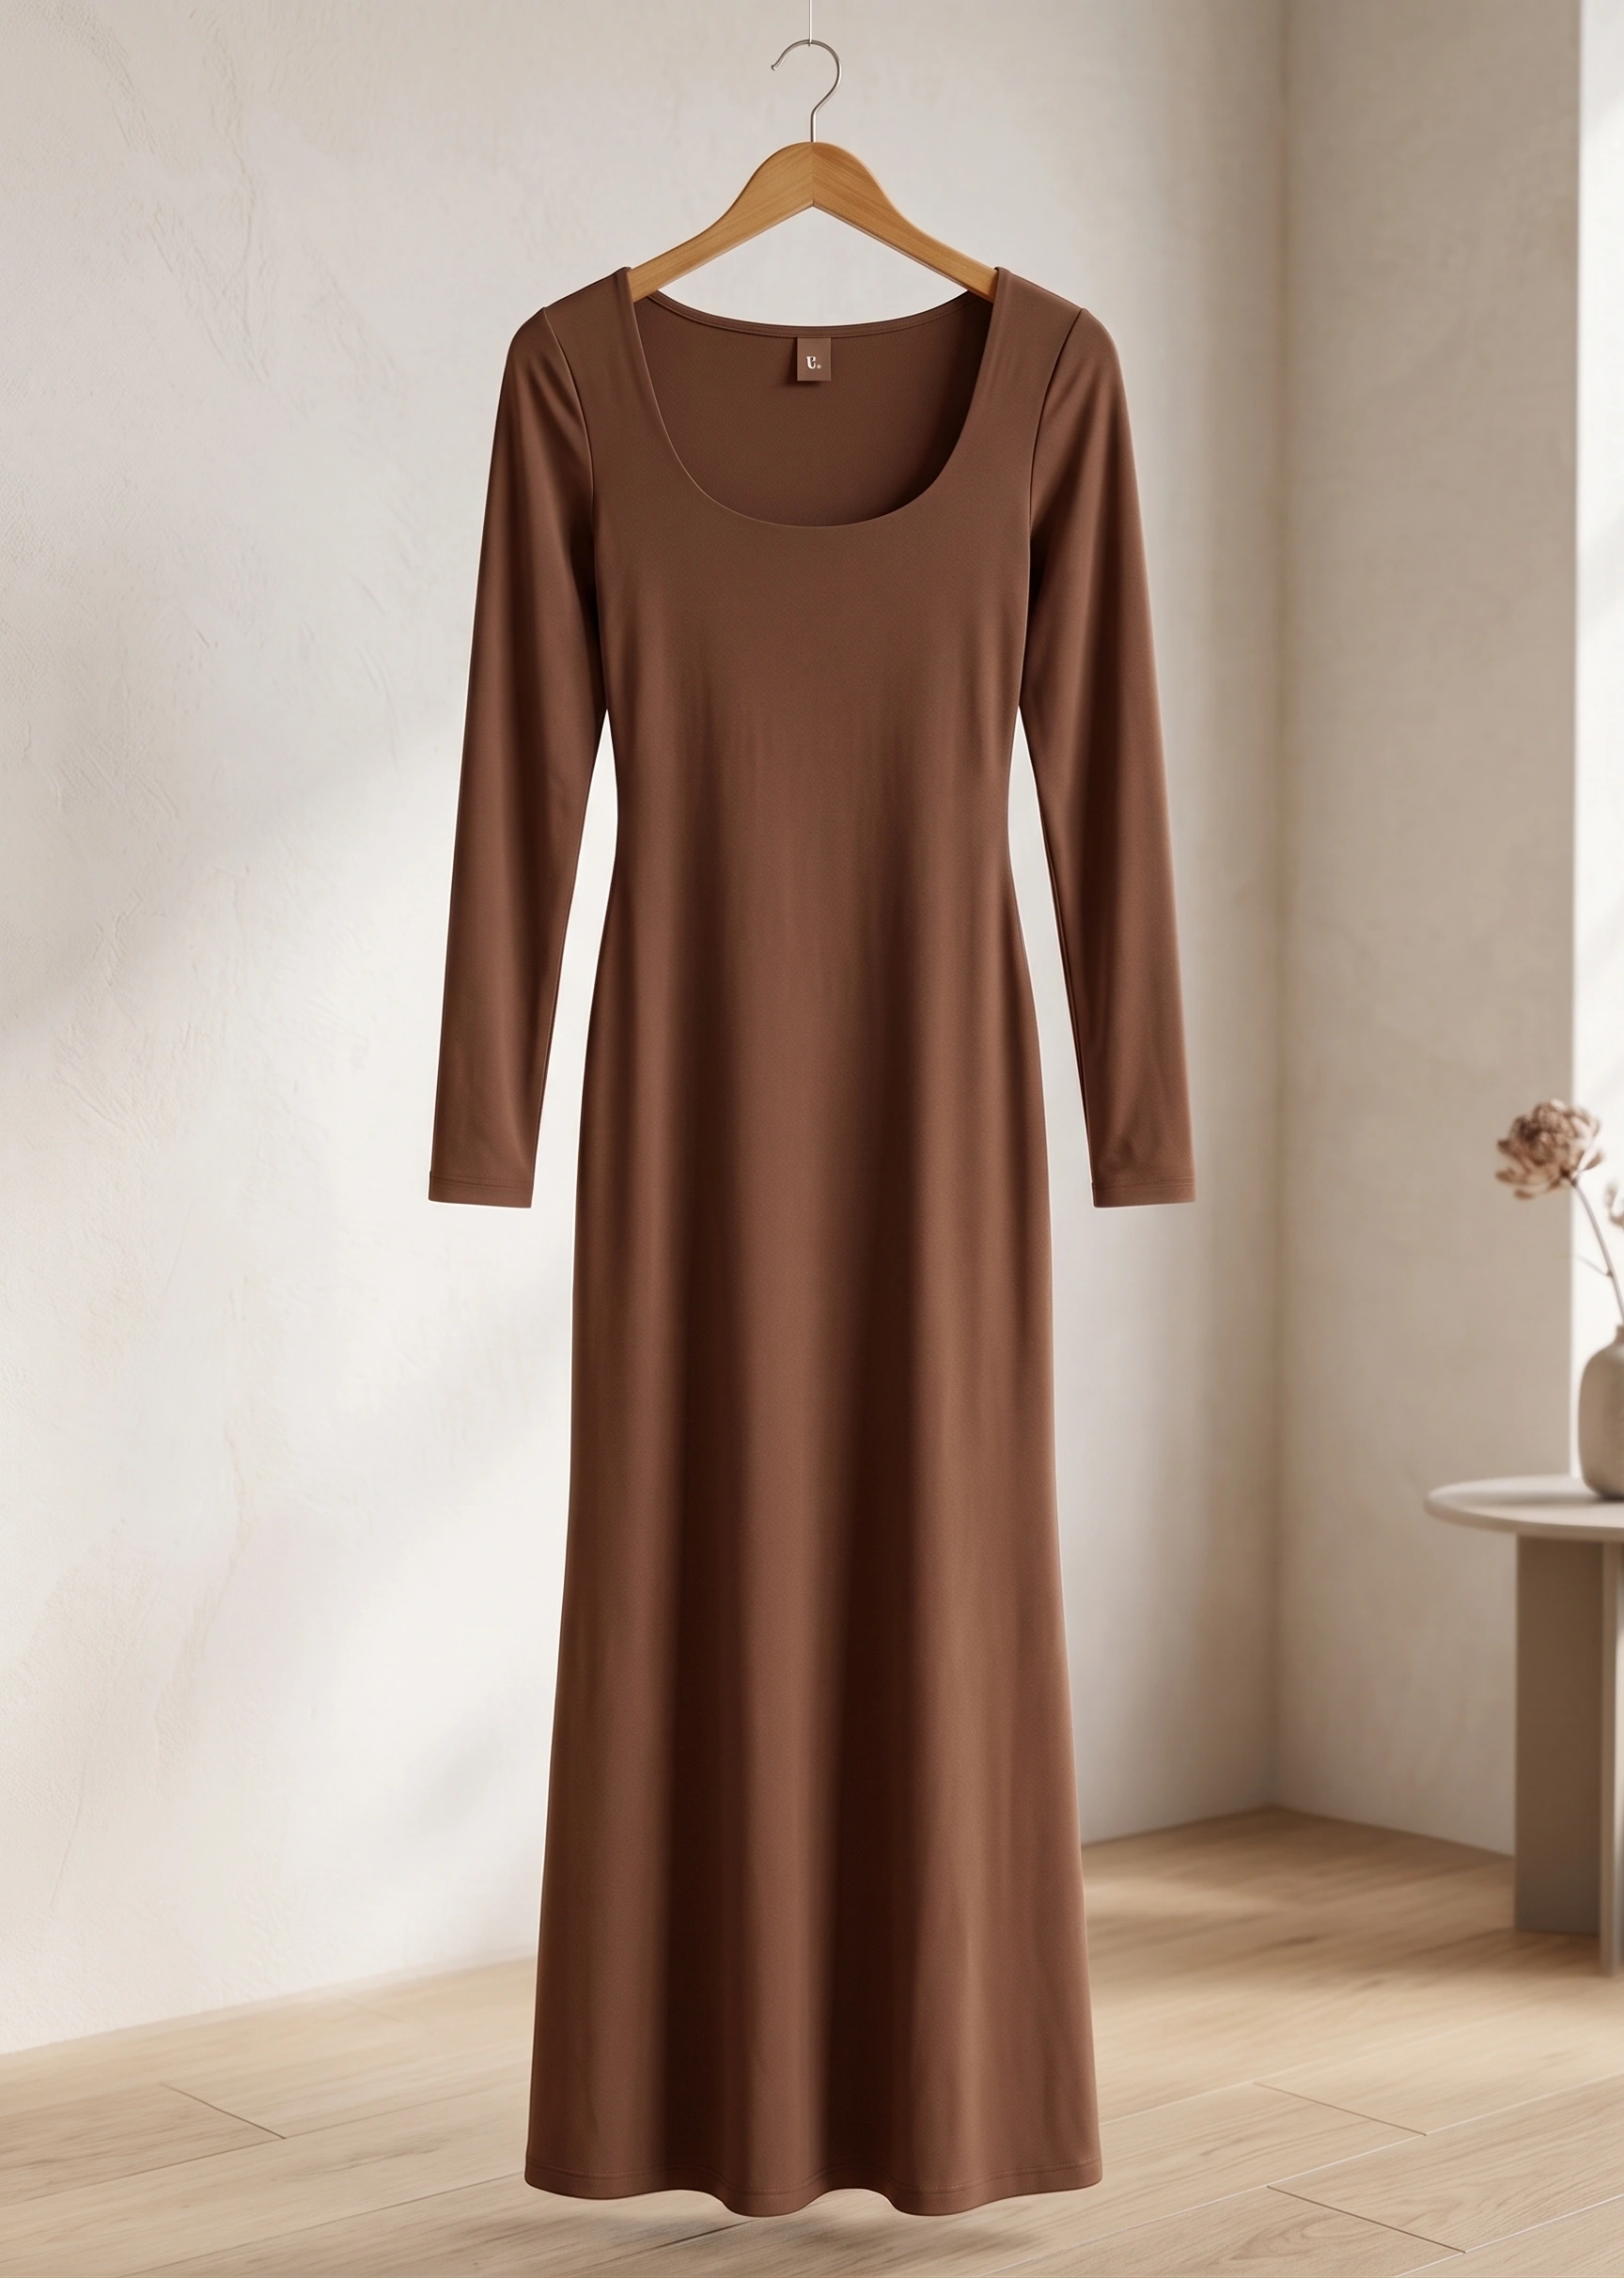
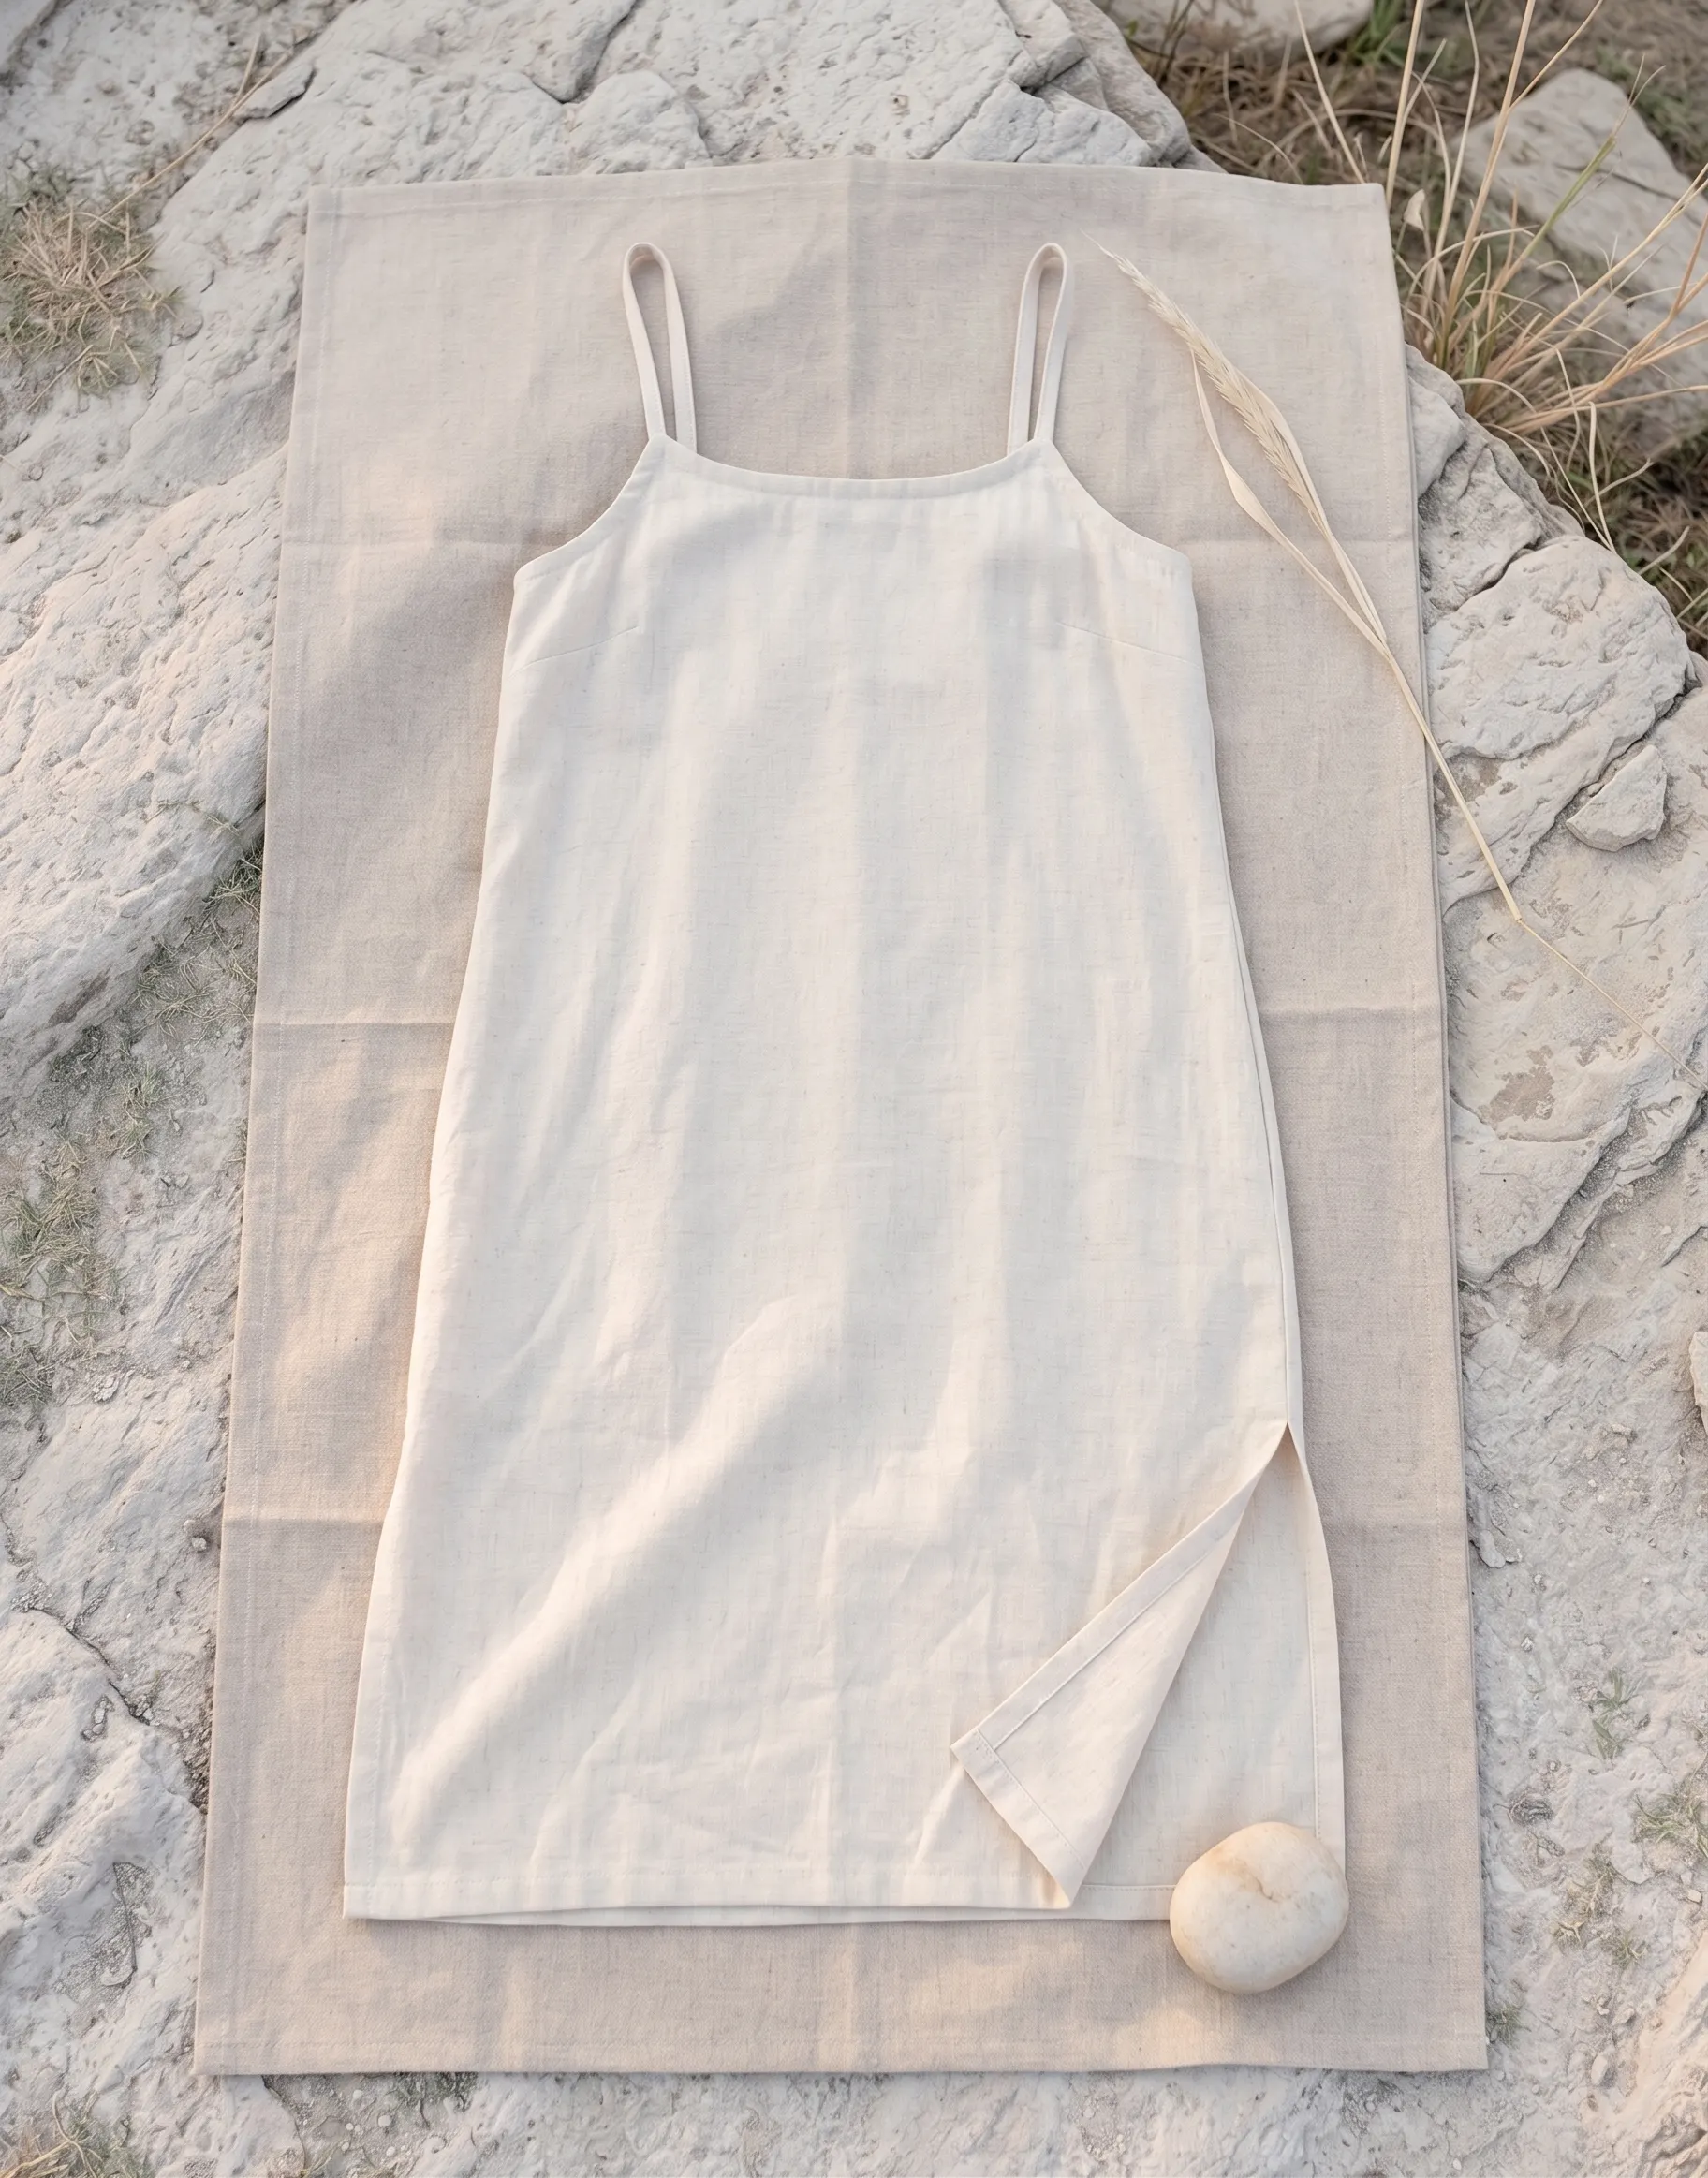
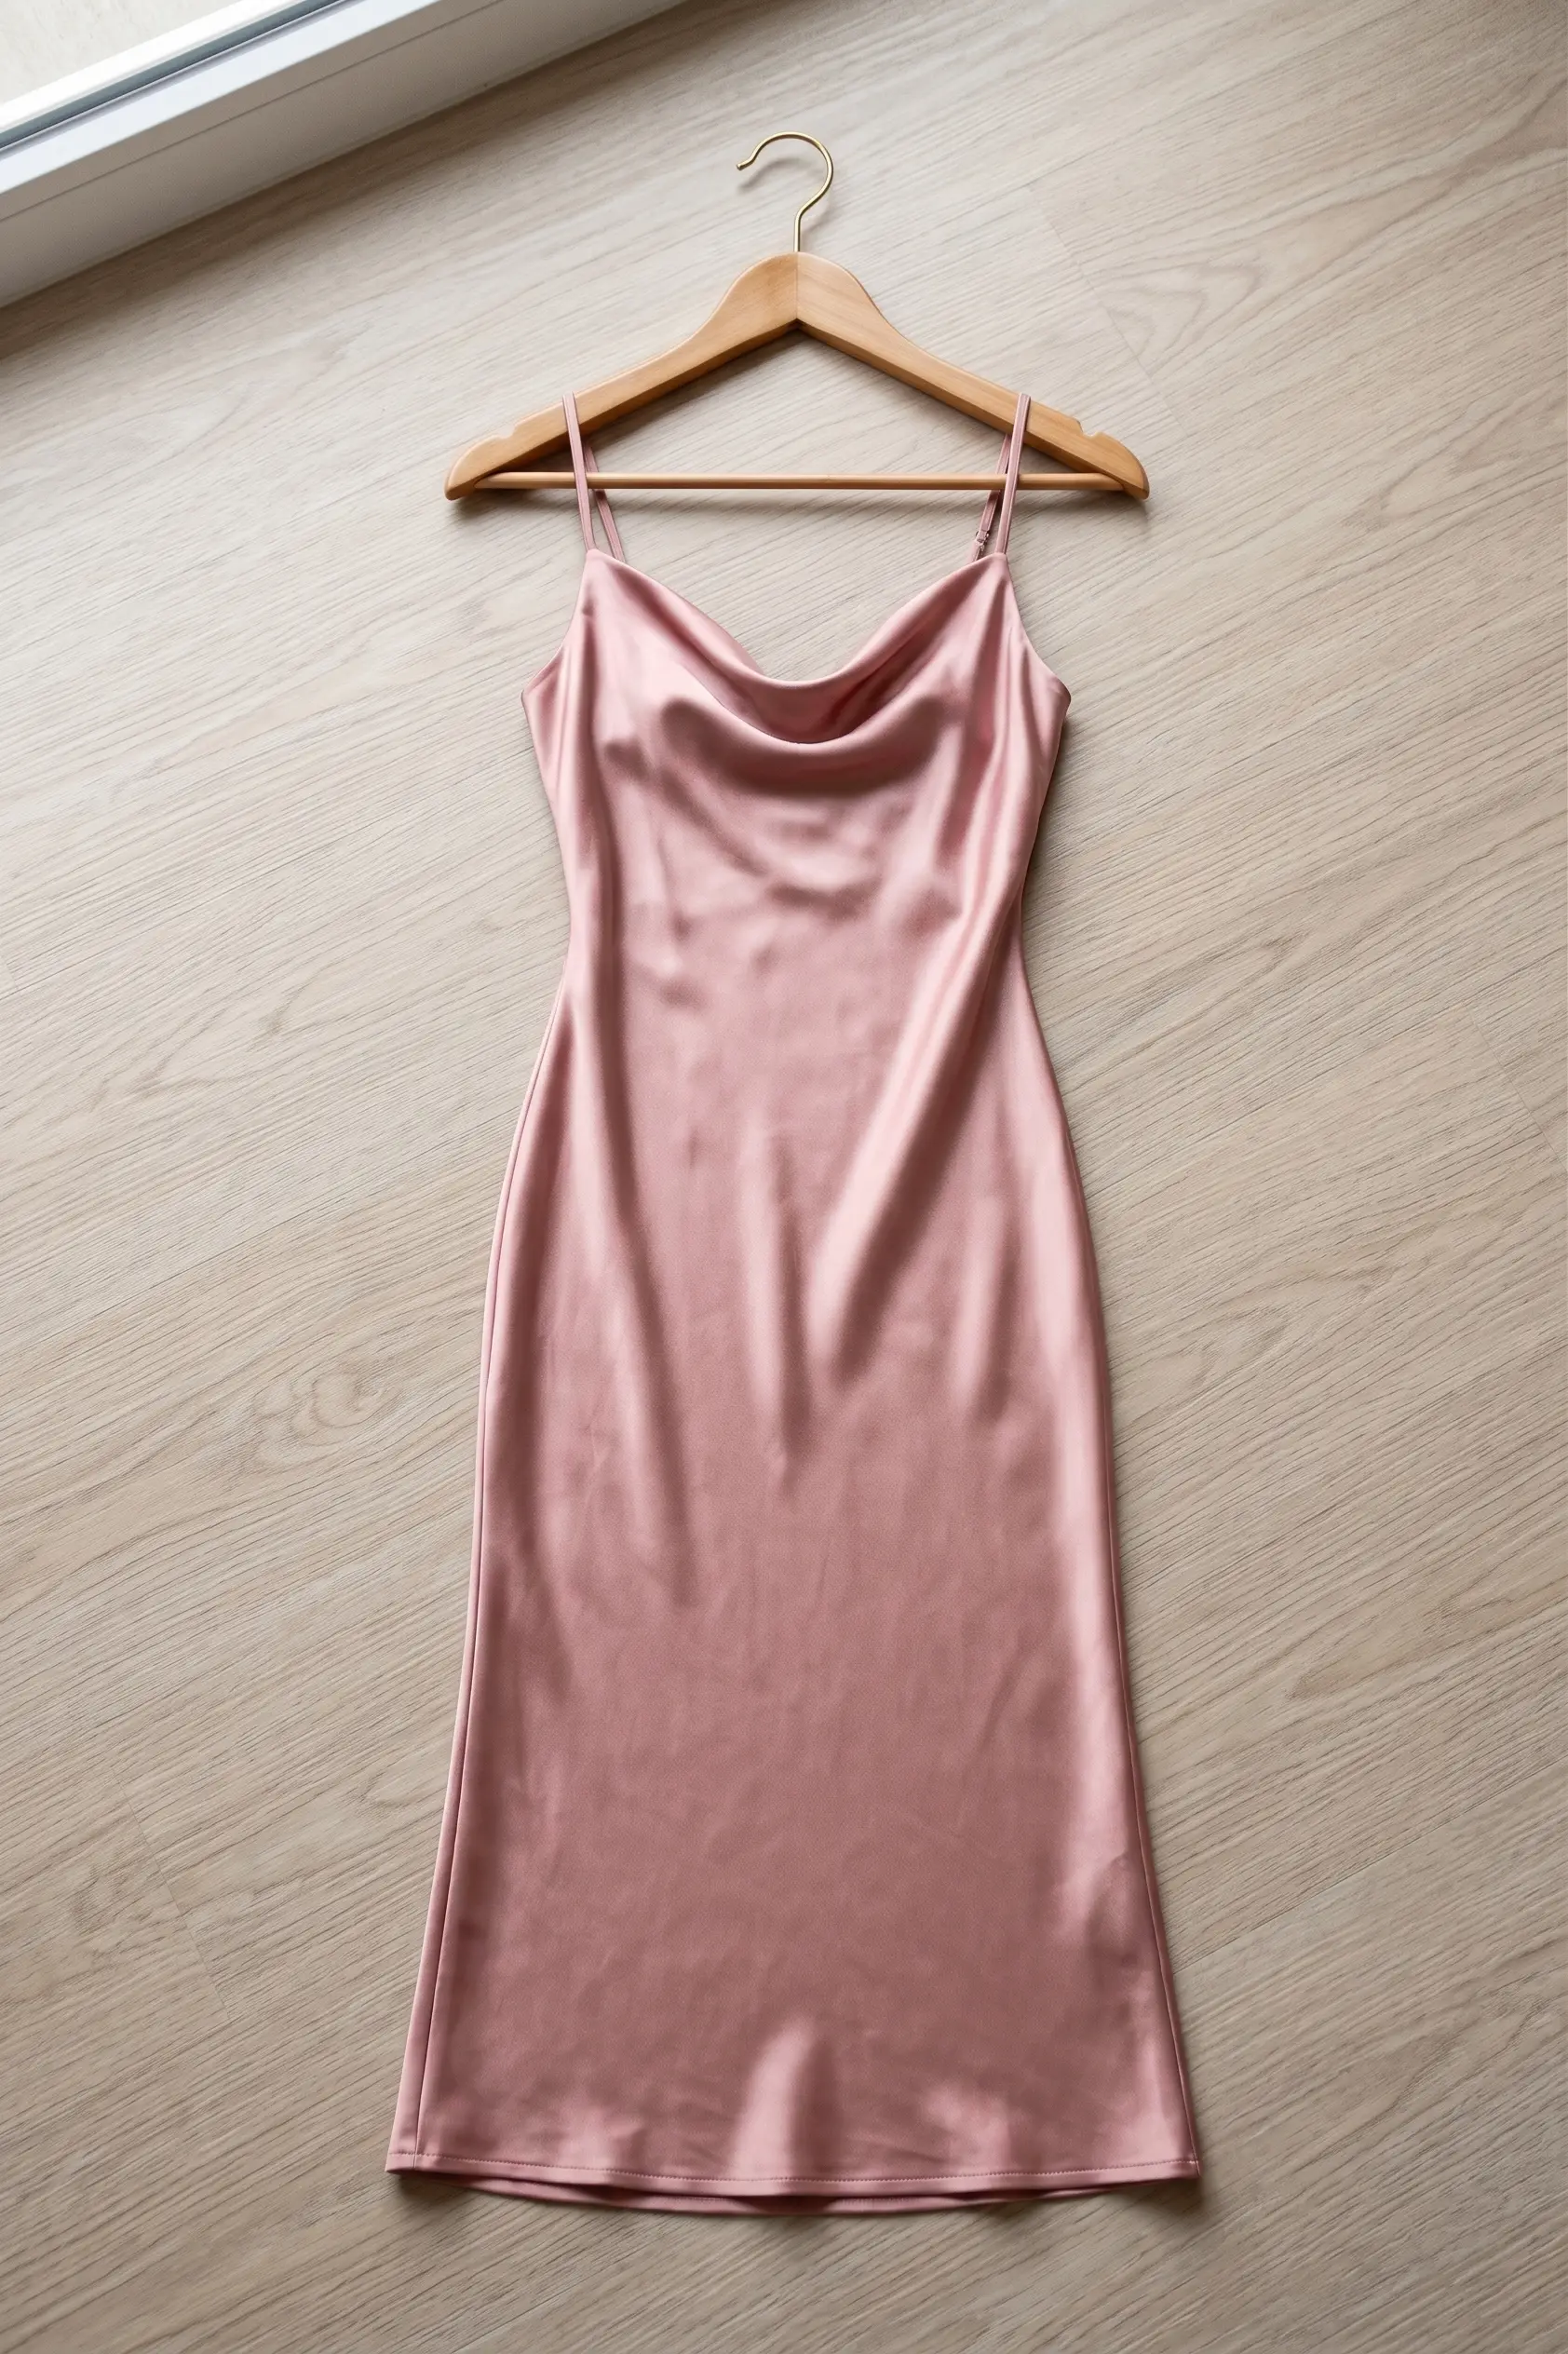
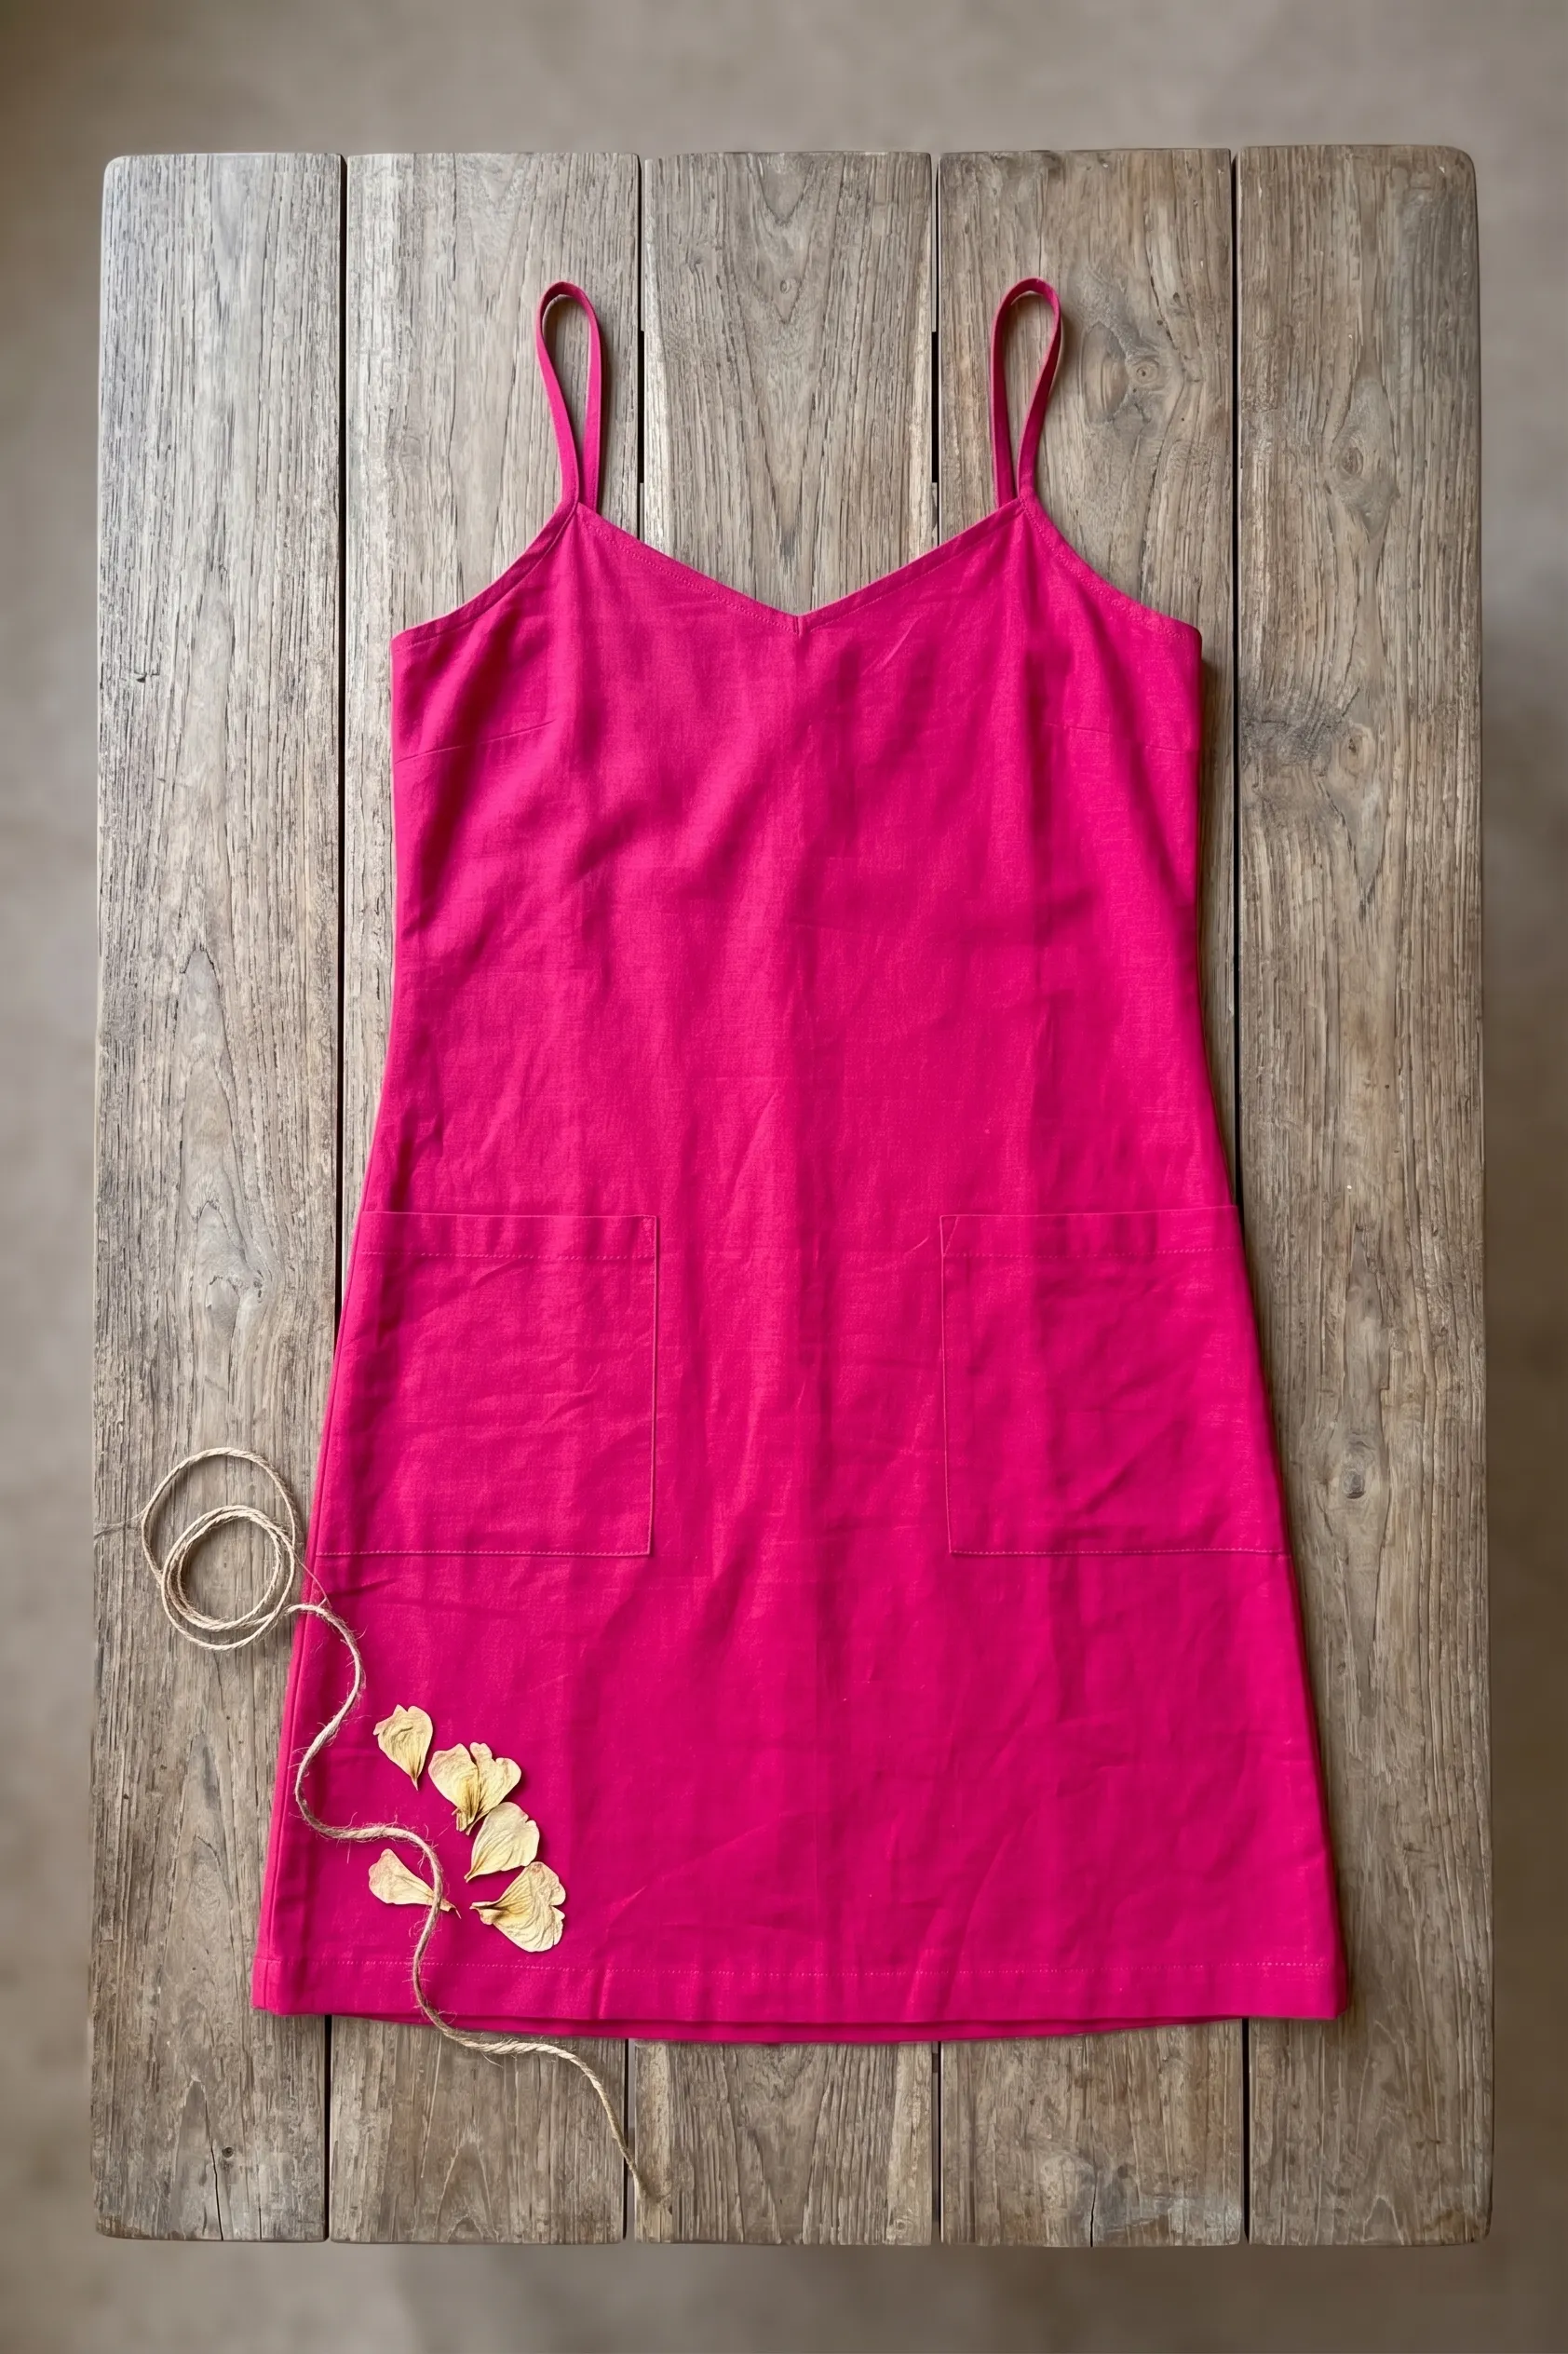
The rules that never change
- One garment per upload. Two garments in a frame produce a shot with two garments on one model.
- Plain, even background — a white sheet or a clean floor beats a patterned bed.
- Daylight, indirect. Direct sun blows out the highlights; a bulb overhead casts the fold shadows the model will inherit.
- Fill the frame. A garment occupying a fifth of the photo gives a fifth of the detail to work from.
- Shoot square-on. A photo taken at an angle bends the garment, and the output bends with it.
- JPG, PNG or WEBP, up to 20MB.
Shot the same way
Upload your slip dress
Two free images on signup — judge the output against the shots above.