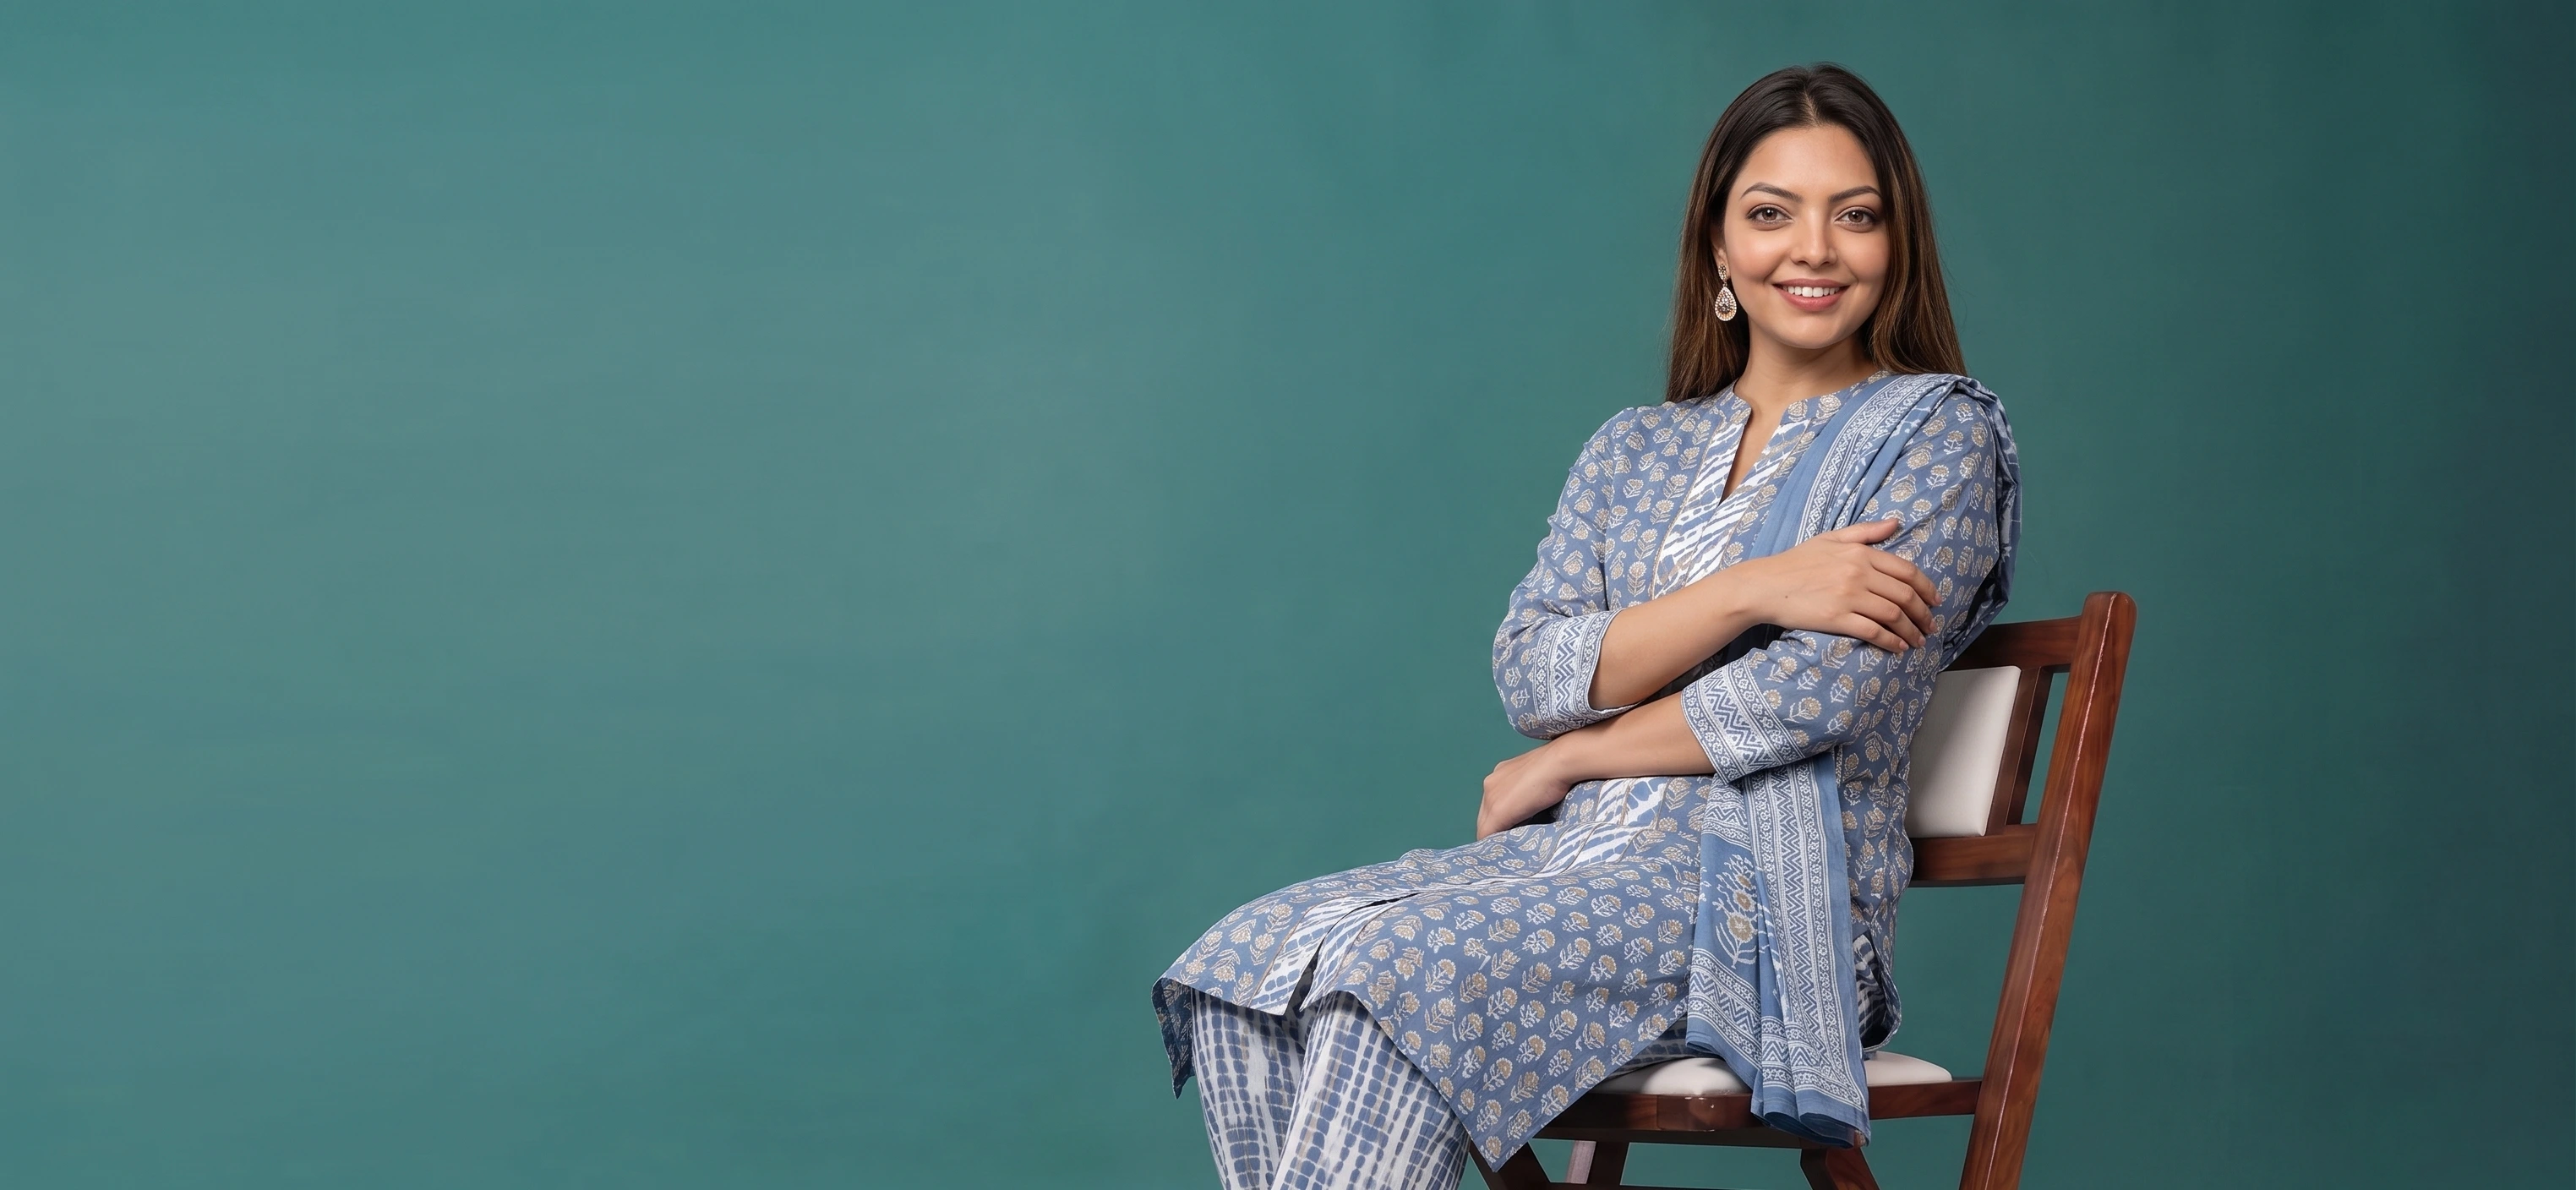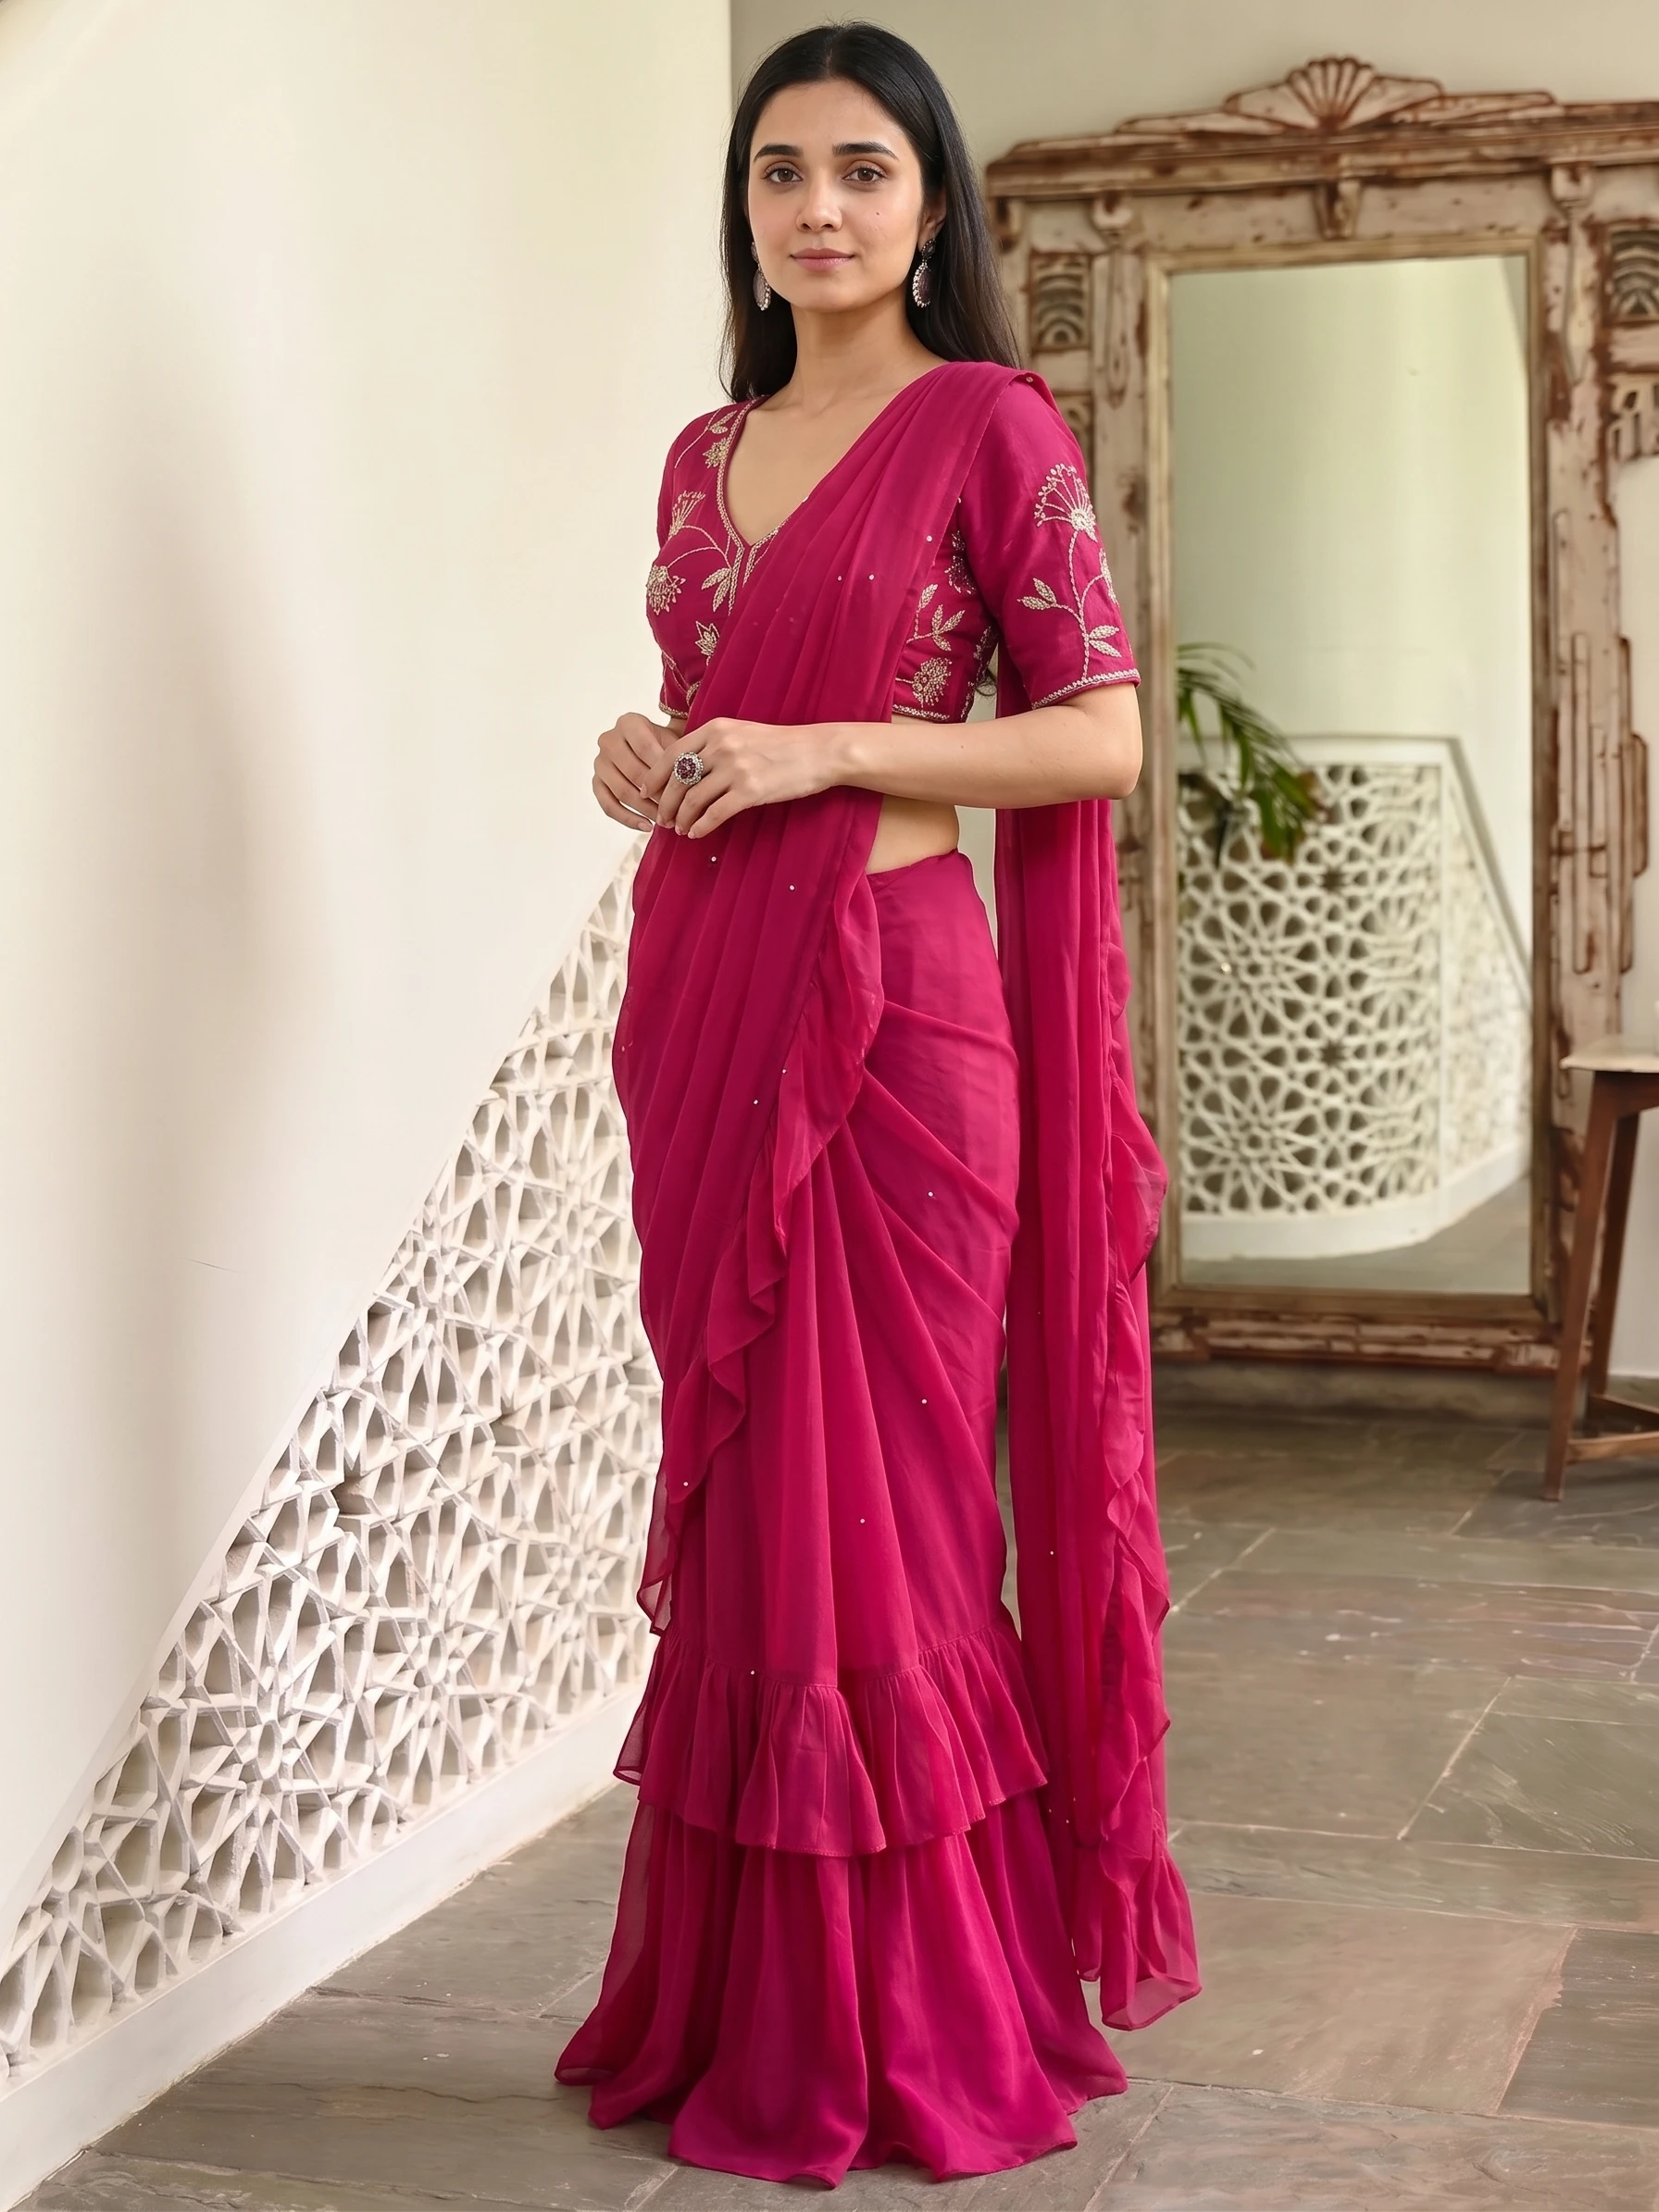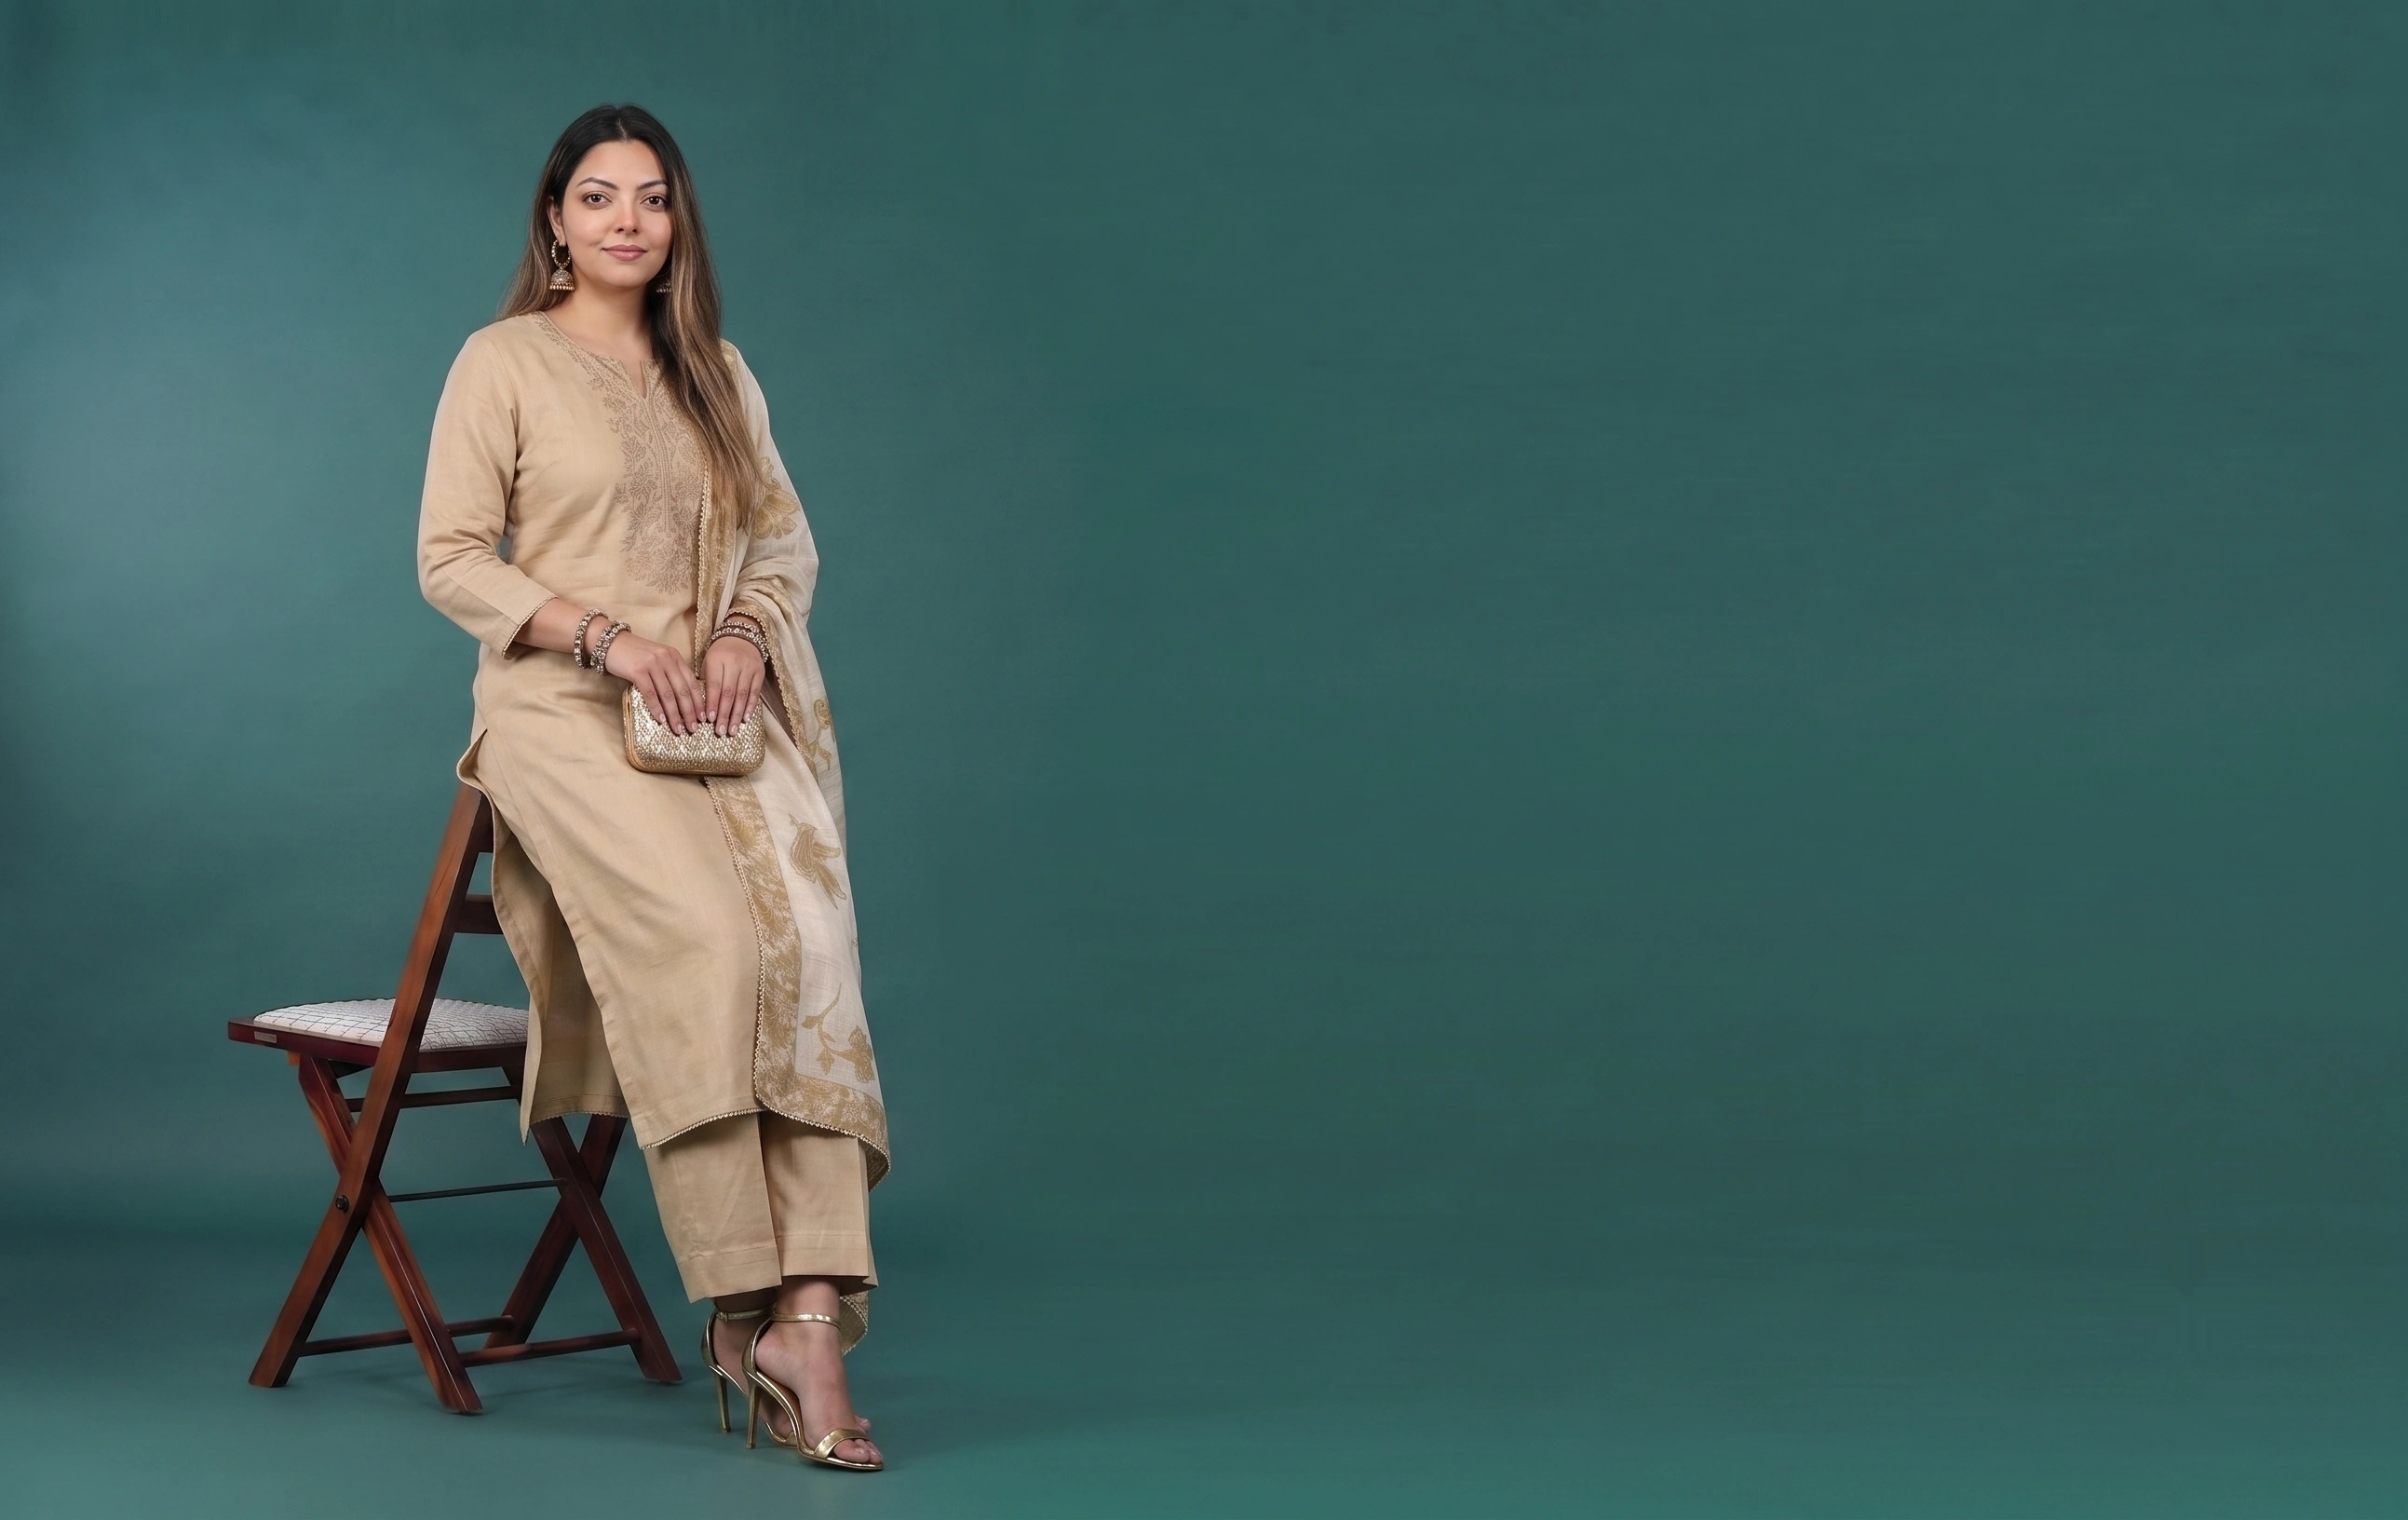
The whole flow is four steps and the first run takes about ten minutes, most of which is you deciding what you want. Every new account starts with free credits, so you can complete a real shoot before paying anything.
Step 1 — Photograph the garment
This is the step that decides your output quality, and it is the one people rush. You need the garment lit evenly, shot straight on, filling most of the frame, in focus, against a plain background. A window and a bedsheet will do it. A phone camera is fine.
What you cannot fix later: a shadow across the print, a crumpled hem, a colour cast from indoor lighting. Fifteen minutes with a steamer saves an hour of regenerating.
Step 2 — Choose a package
A package is a pre-built shoot: the setting, the lighting, the framing and the mood, already composed. Browsing packages is genuinely faster than describing what you want, because you are choosing from finished results rather than imagining one.
Pick by where the image will be used, not by which one looks prettiest. A clean studio package for a product page. Something with more atmosphere for social. A lifestyle setting for a campaign banner.
Step 3 — Set model and quality
- Model — choose one that matches your customer. Keep the same one across a category so your grid holds together.
- Quality — 1K is right for drafts and social. Step up to 2K or 4K for product pages where shoppers zoom. Higher quality costs more credits per shot, so draft first and finalise once.
- Count — generate a handful of variations rather than one. Selecting from six is faster than perfecting one.
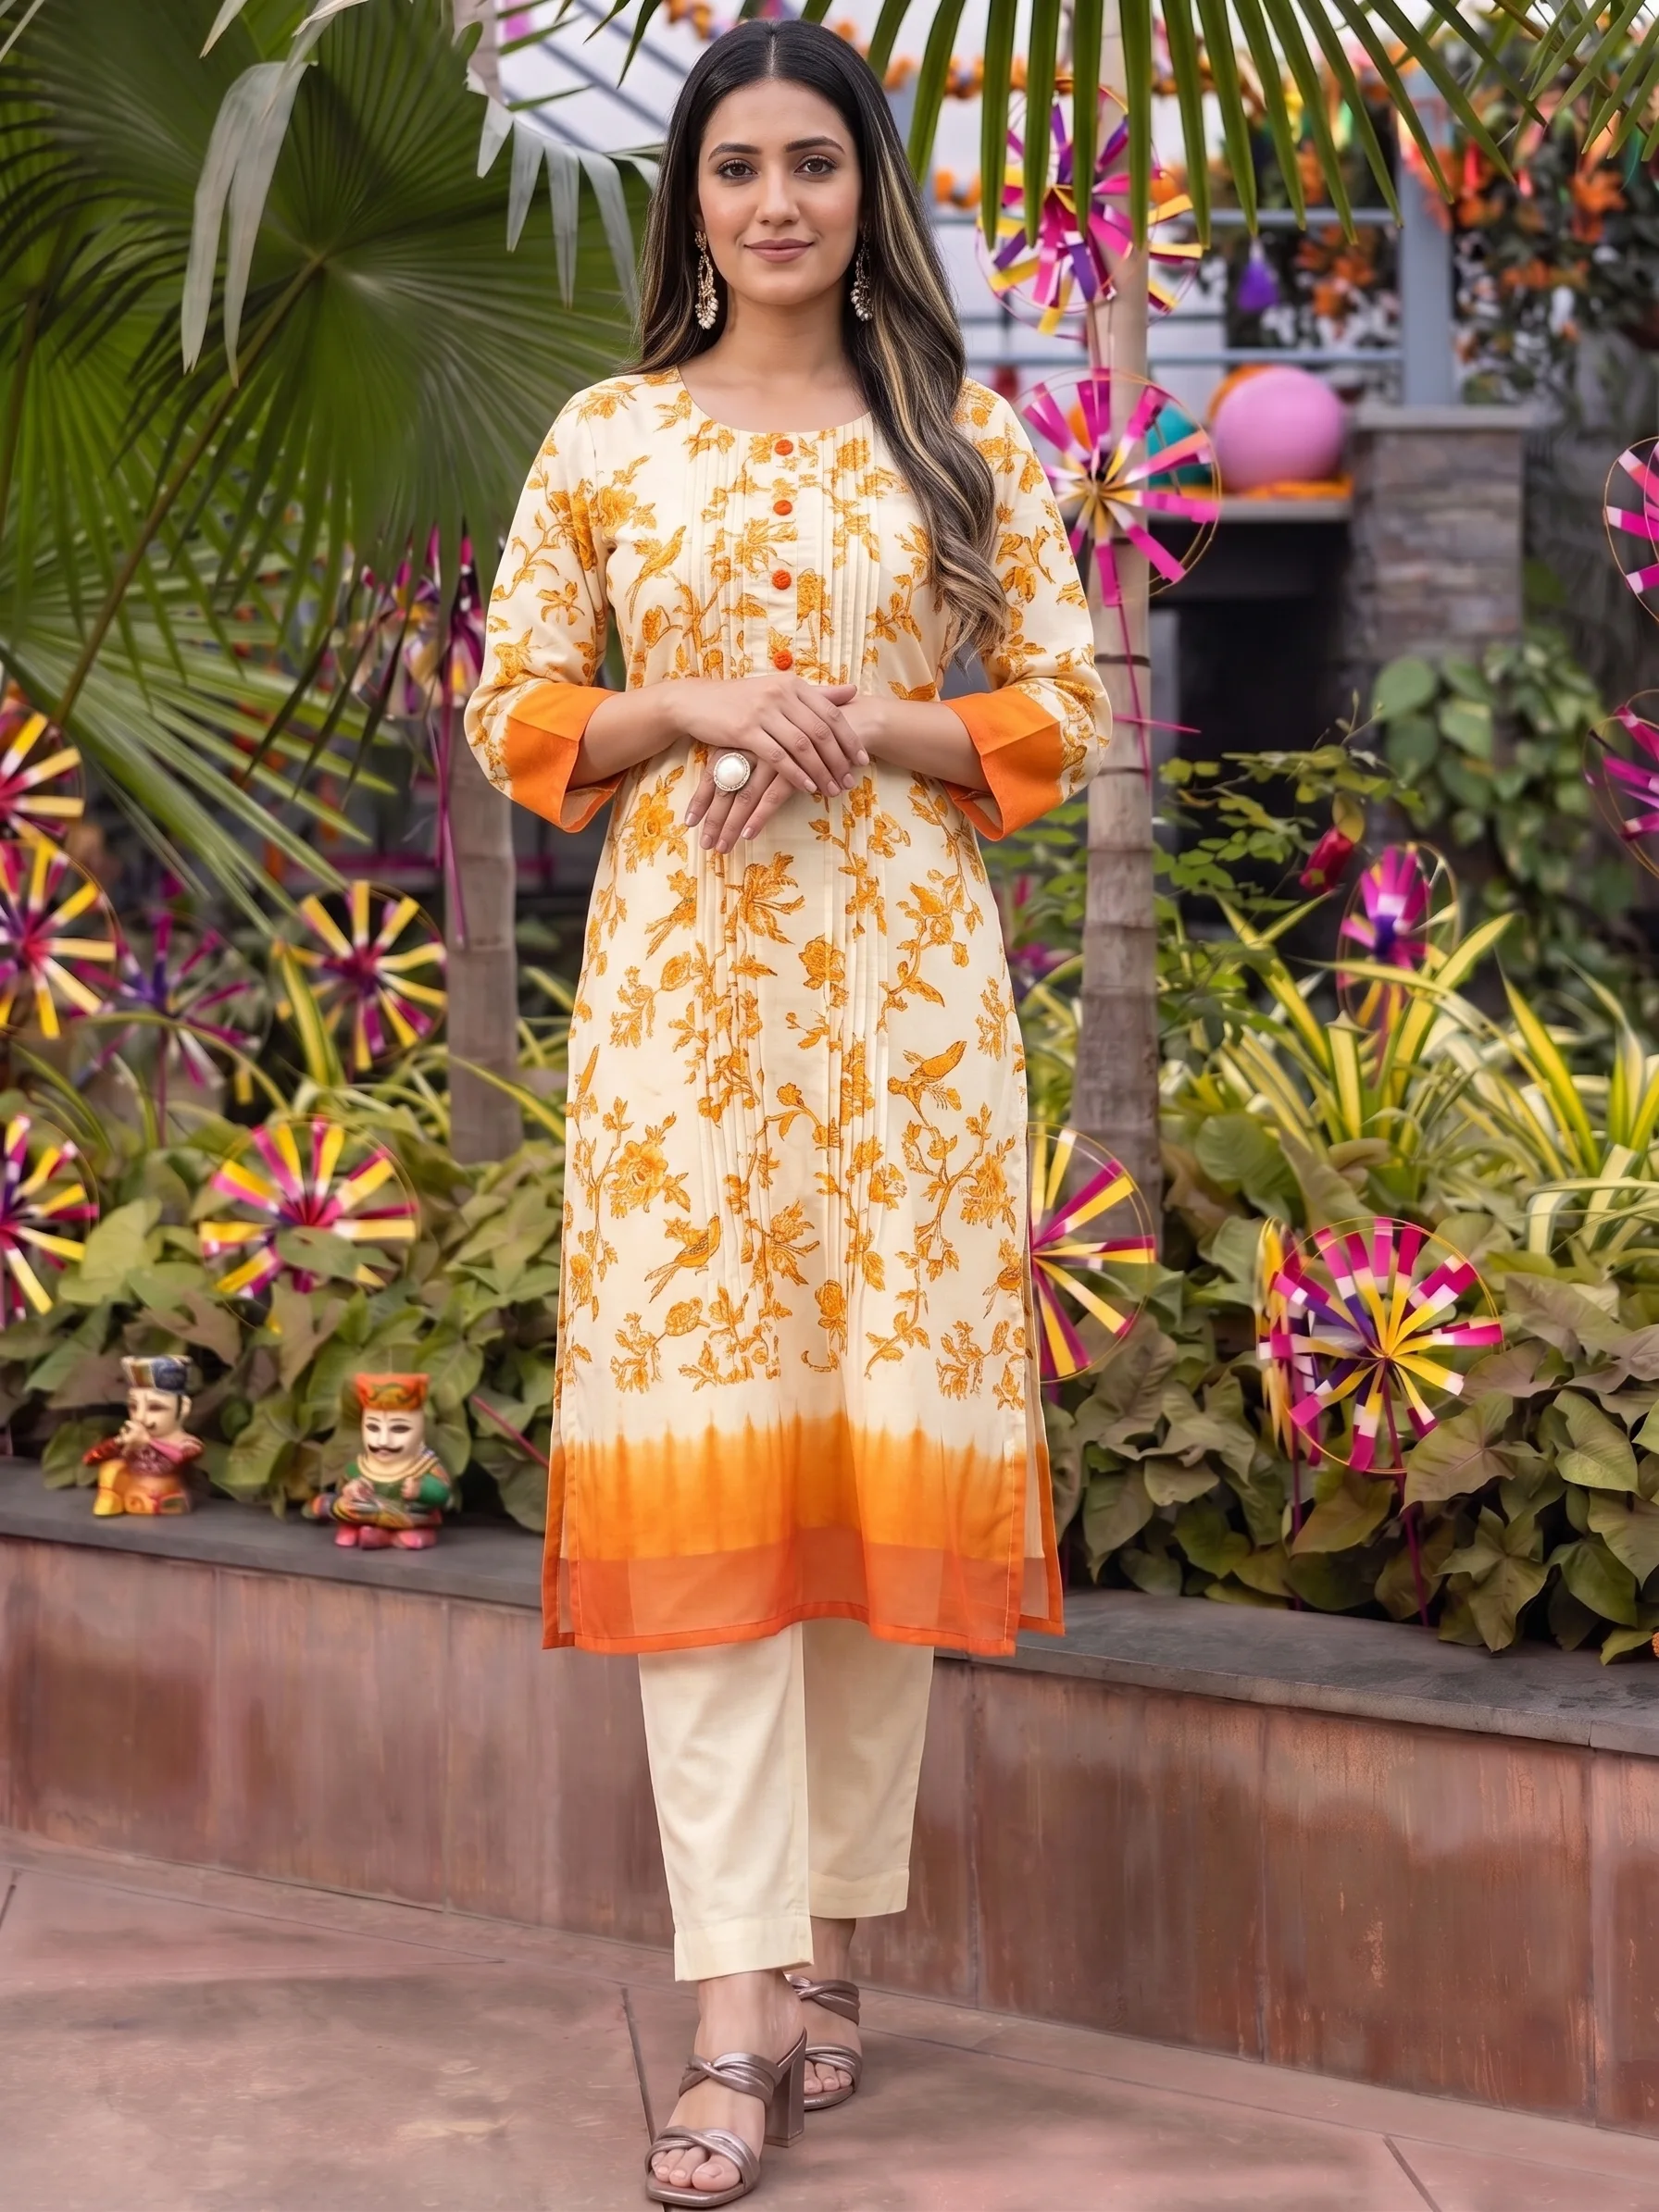
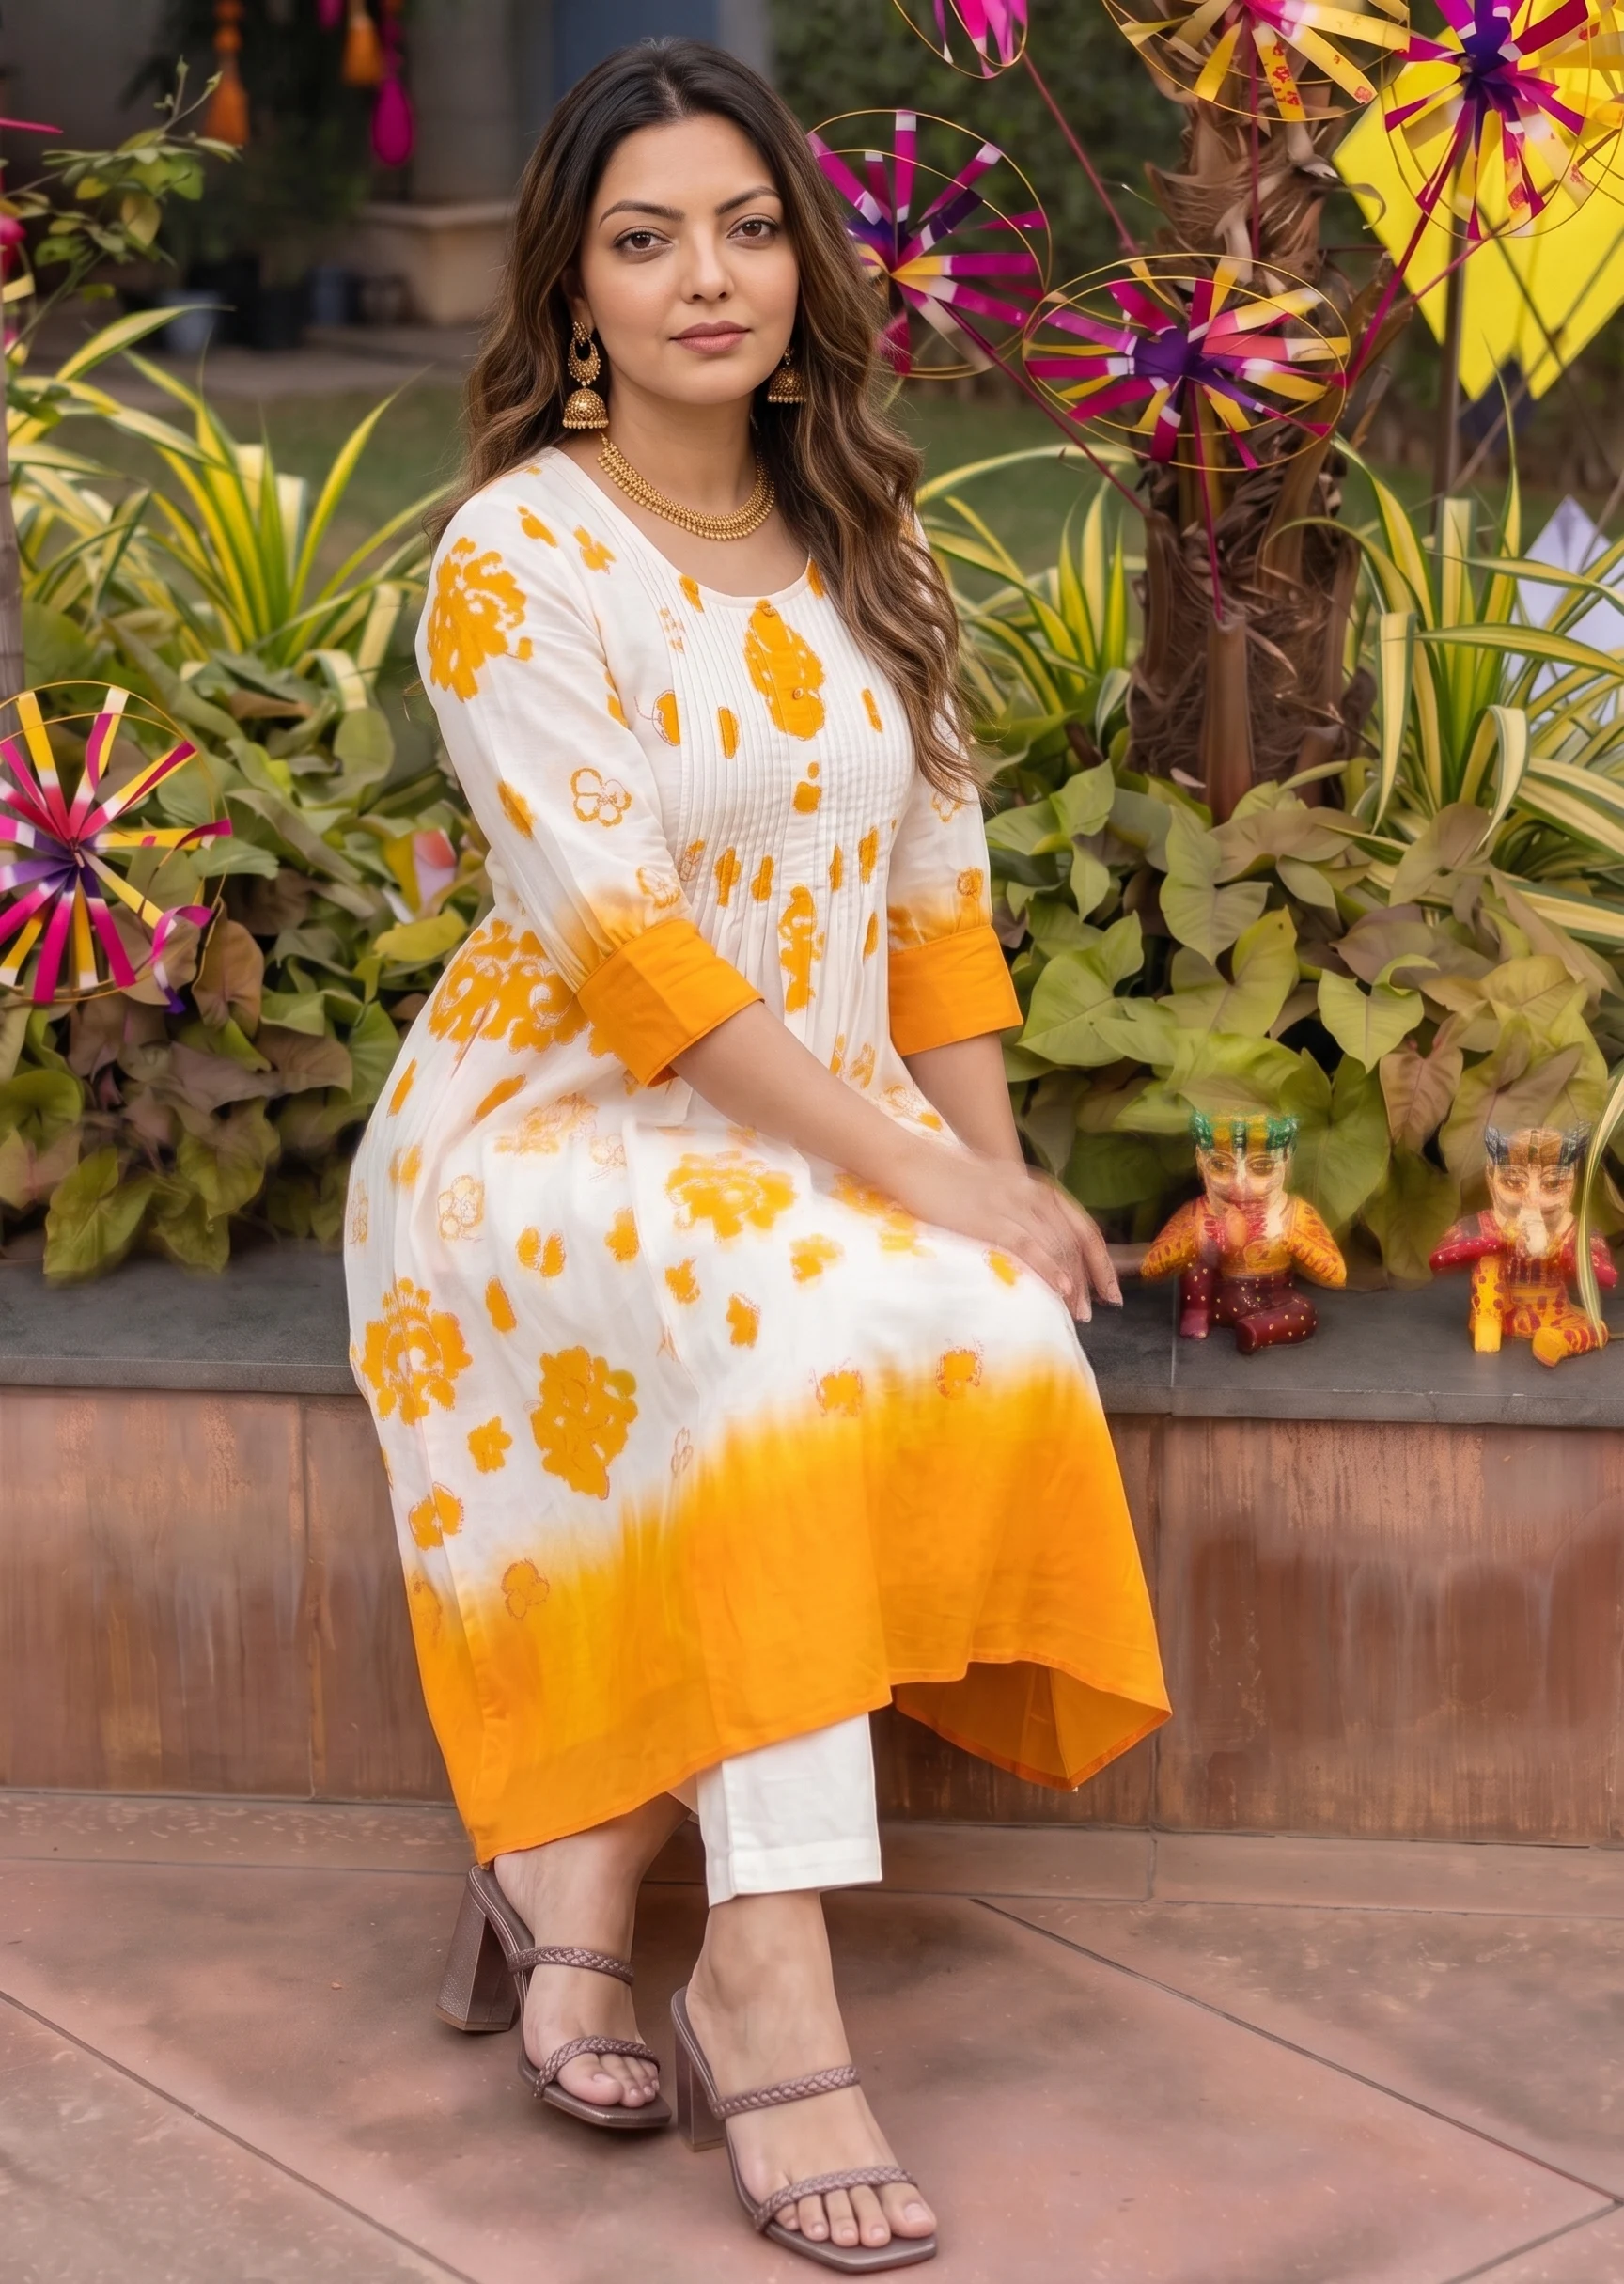
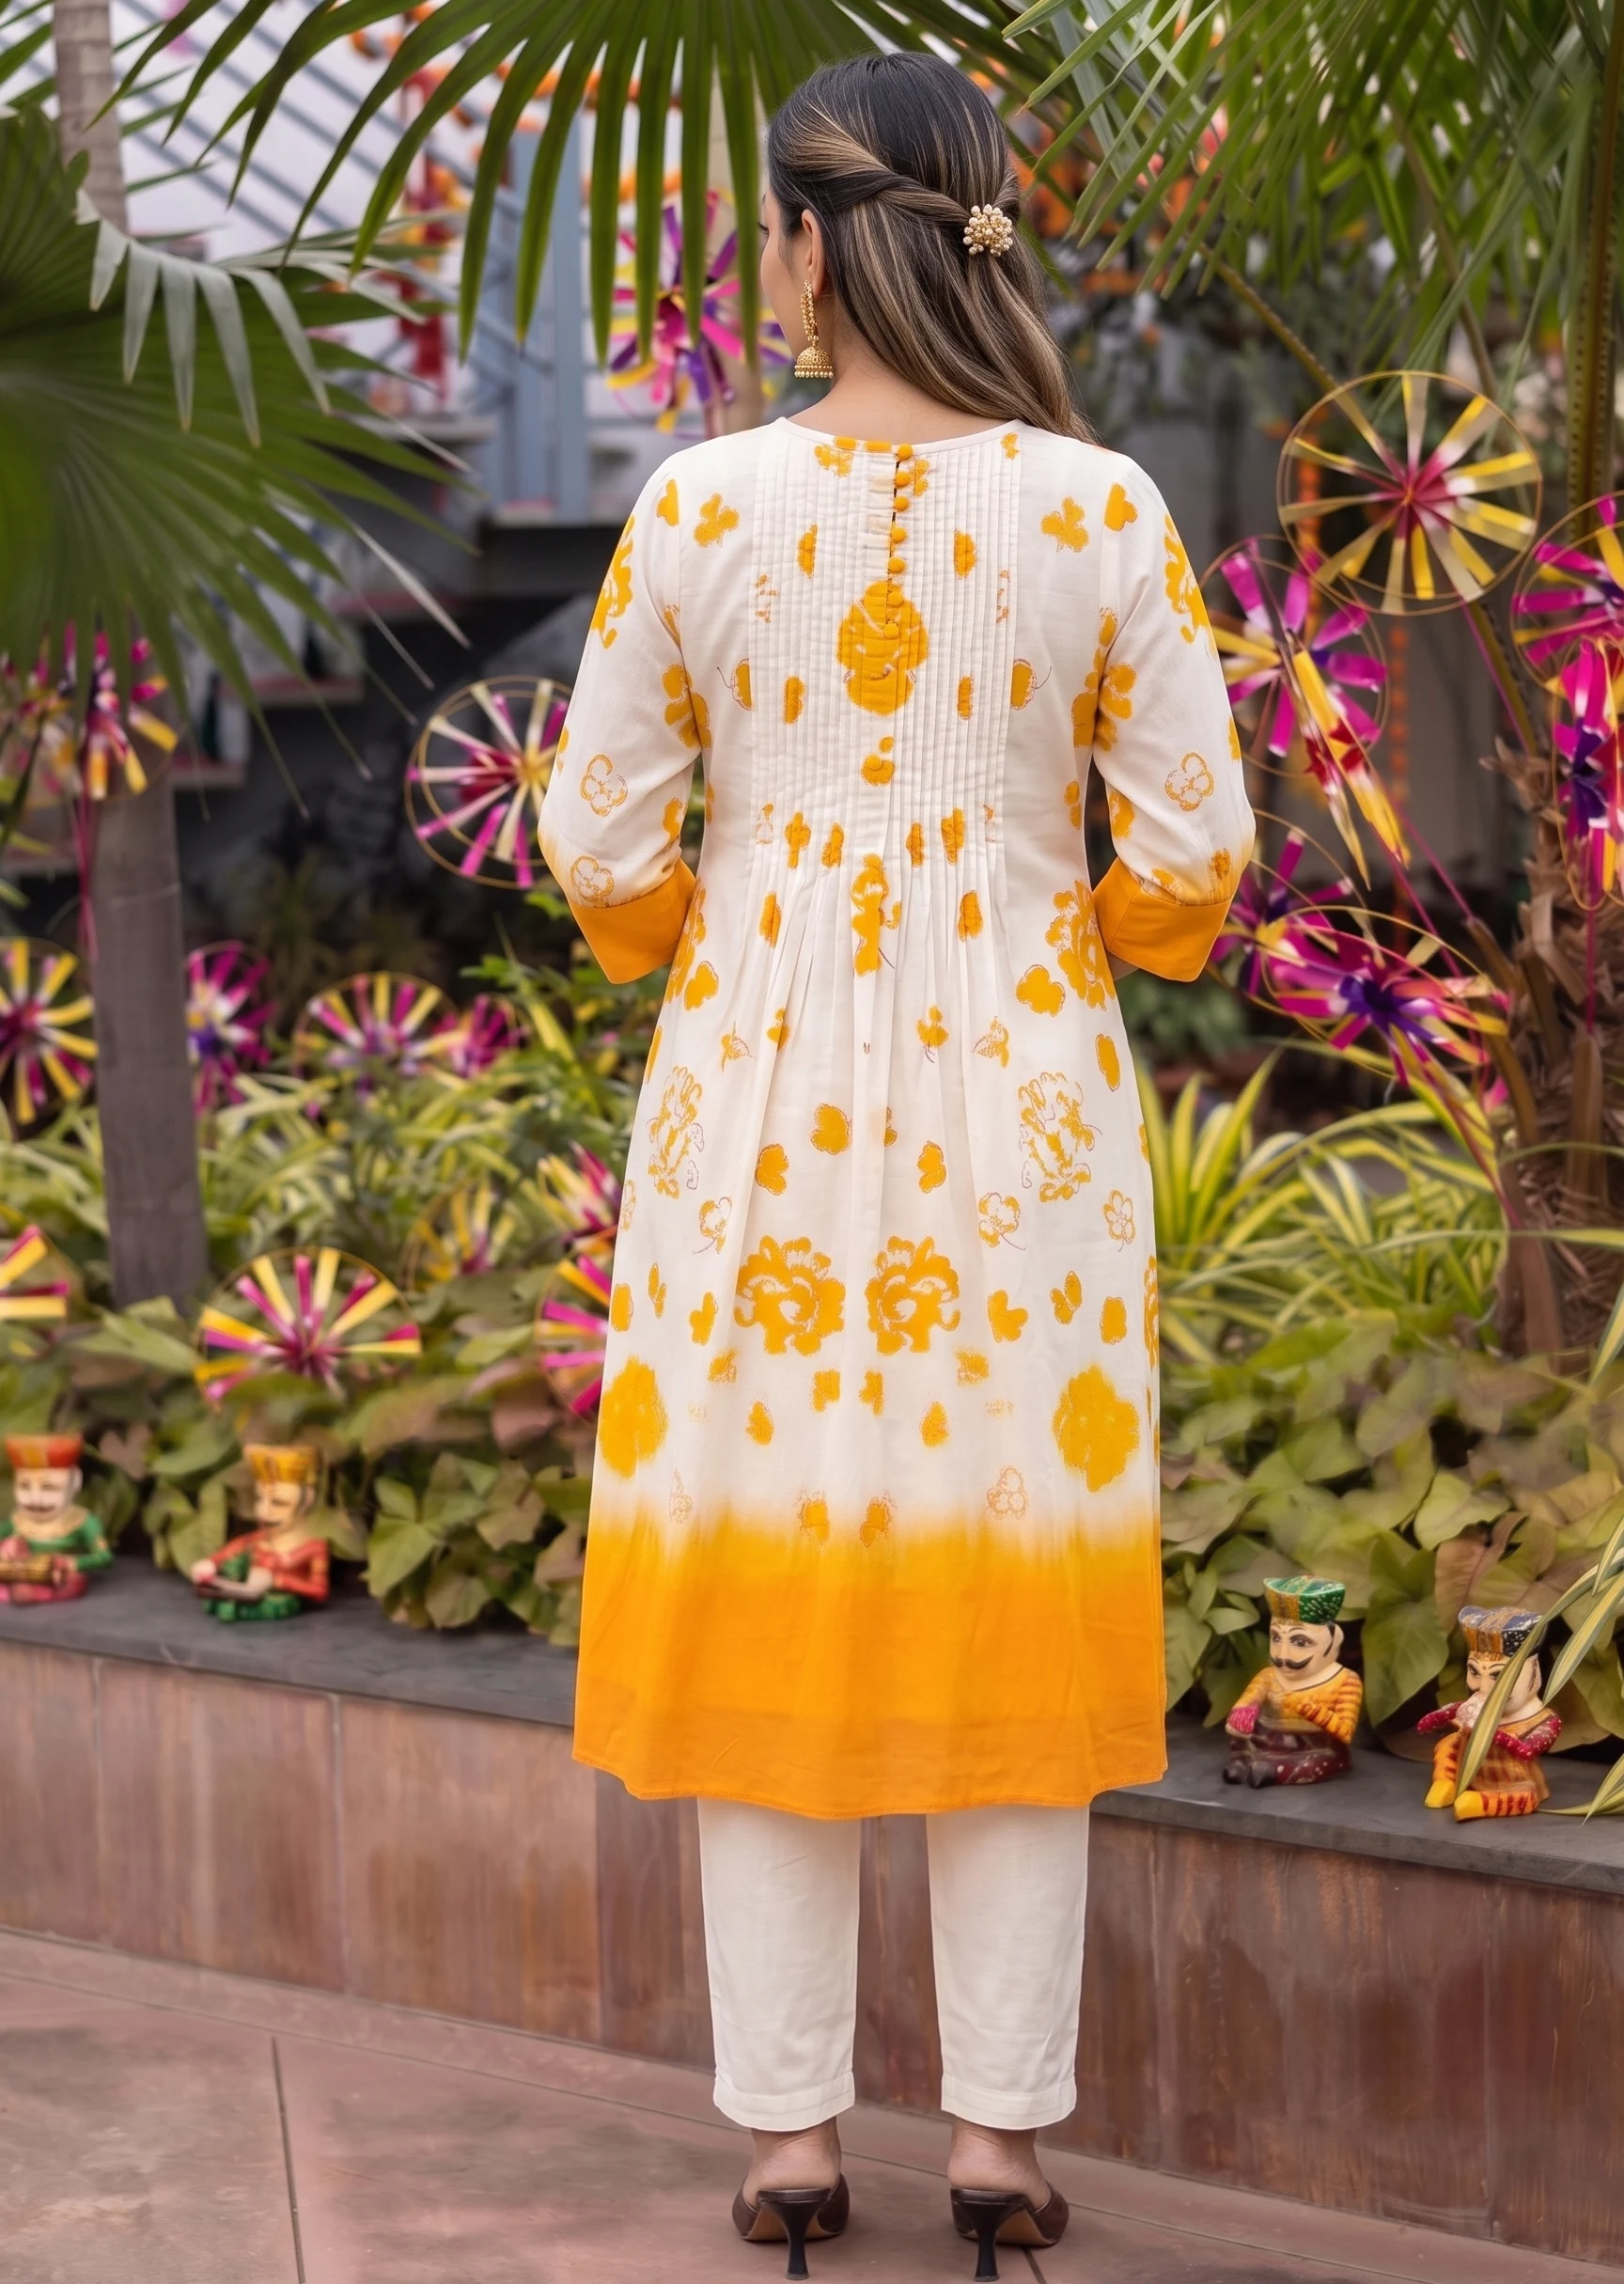
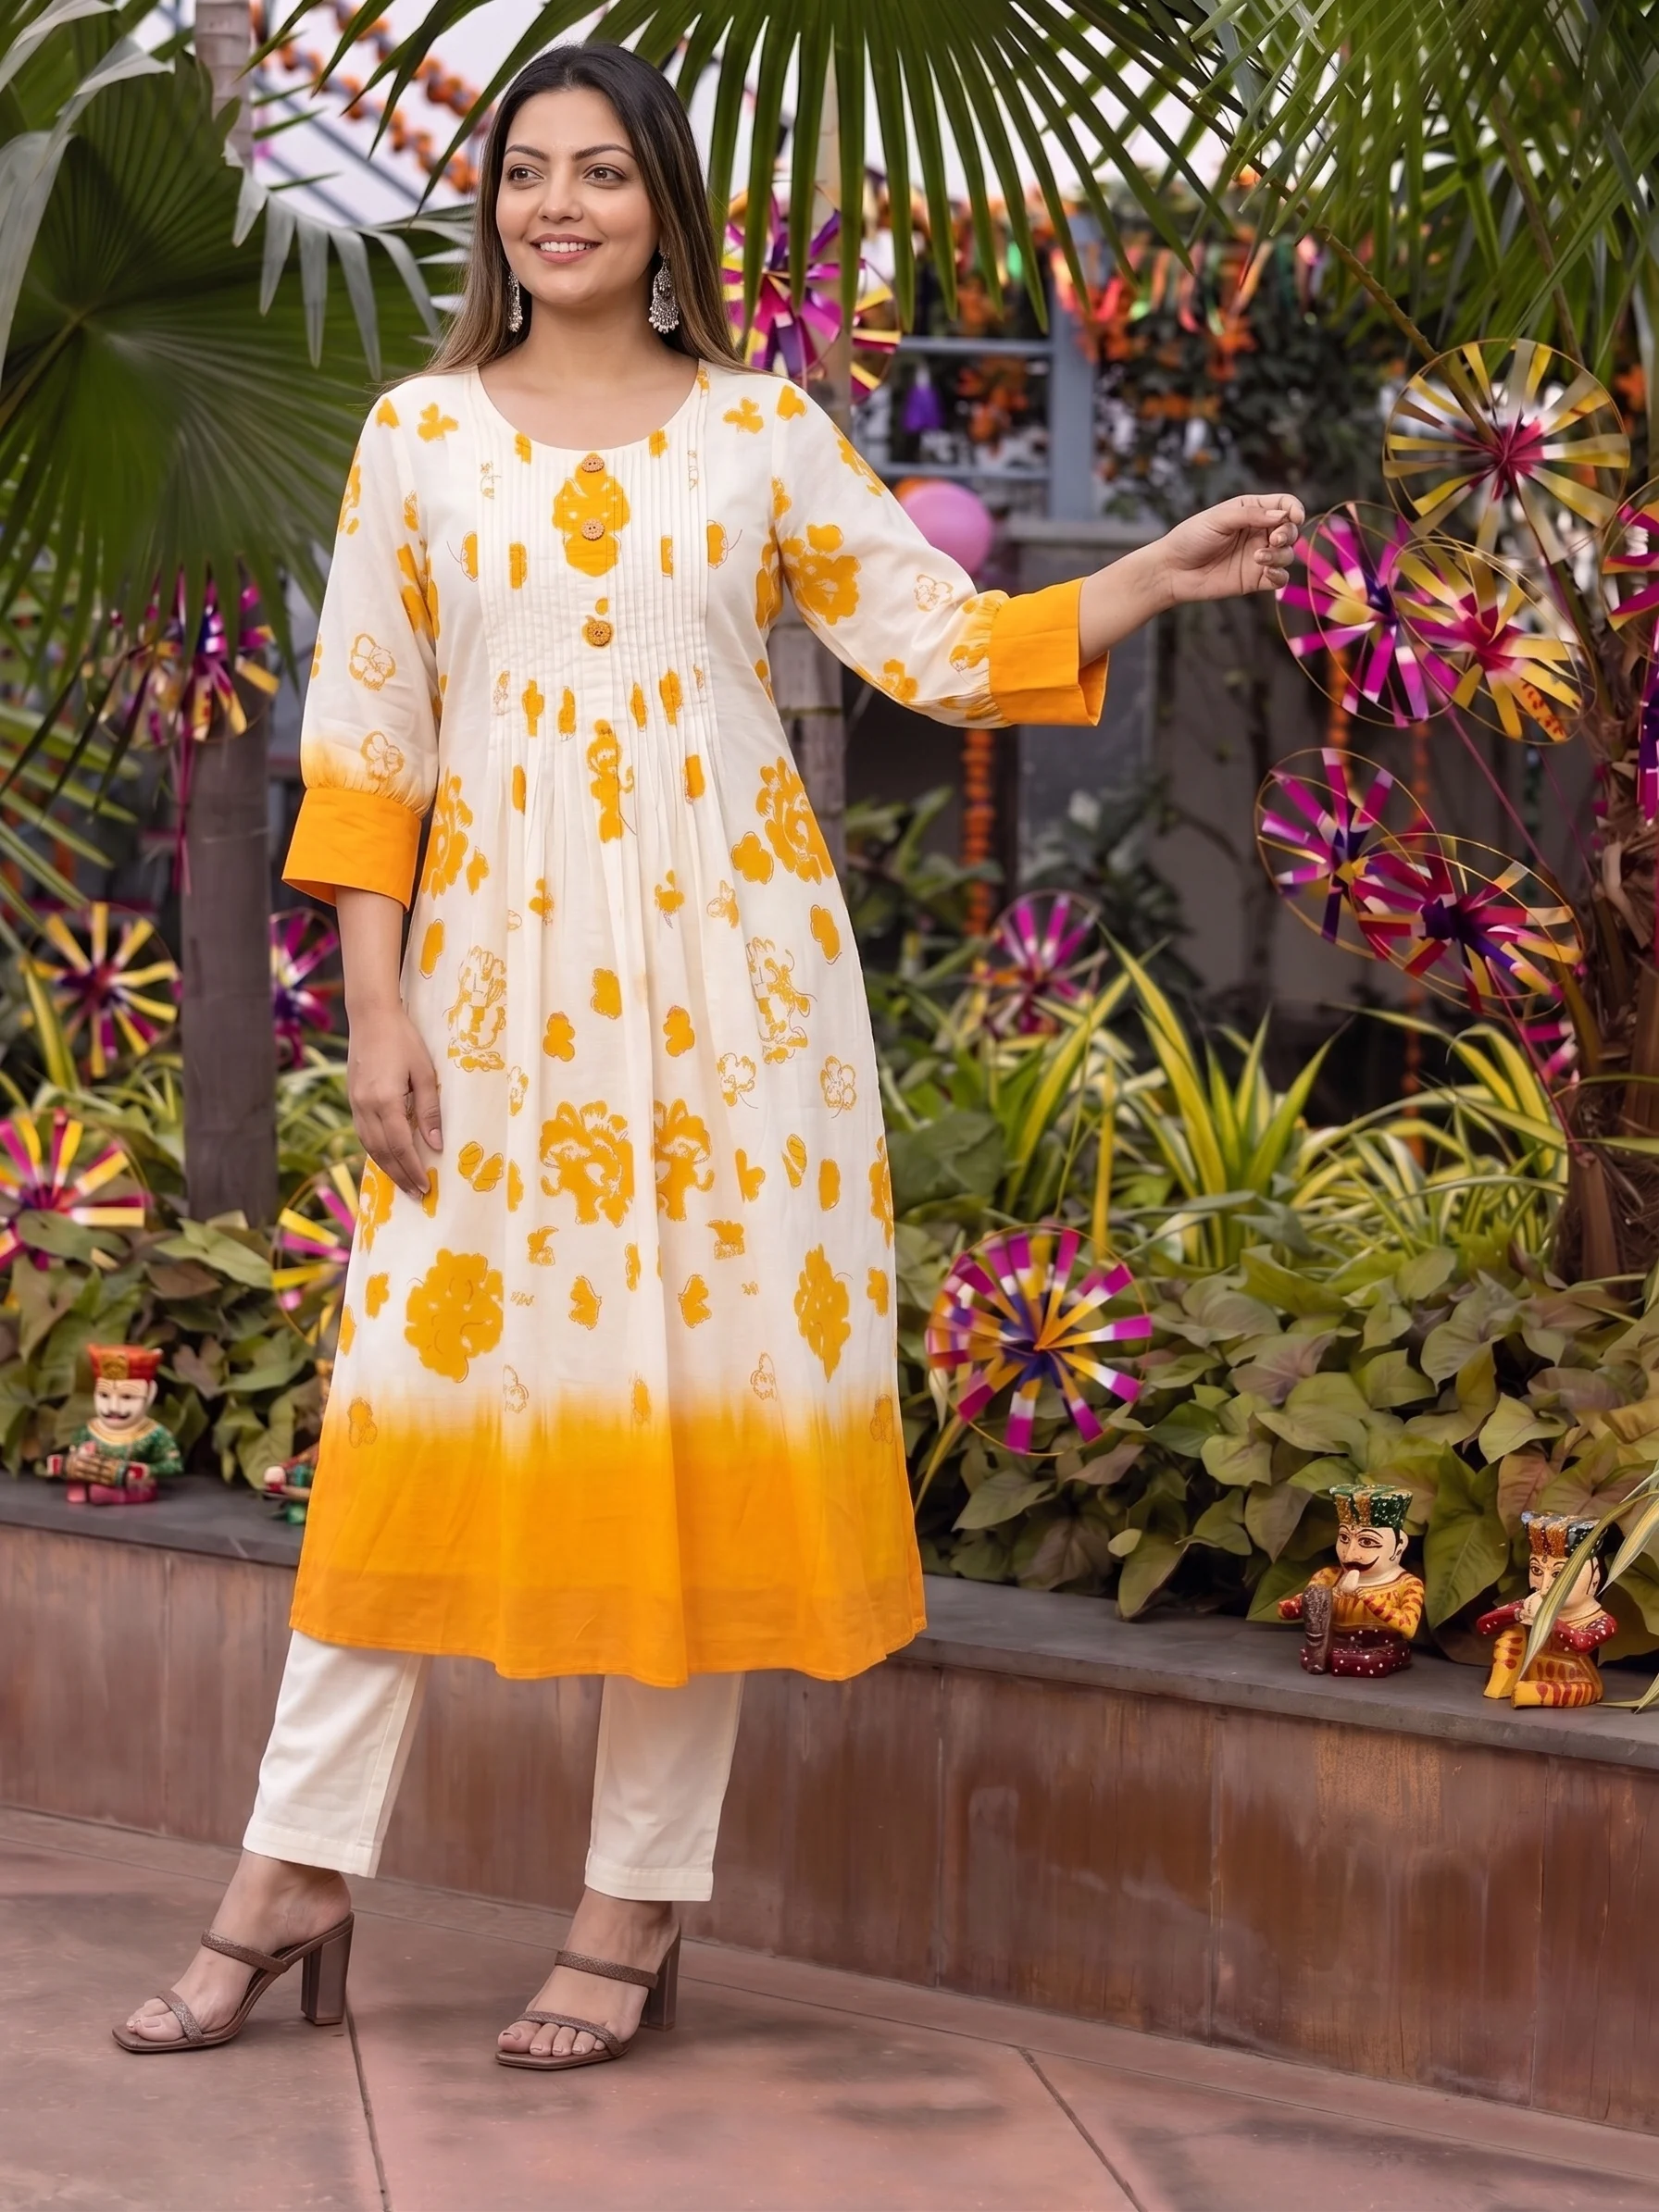
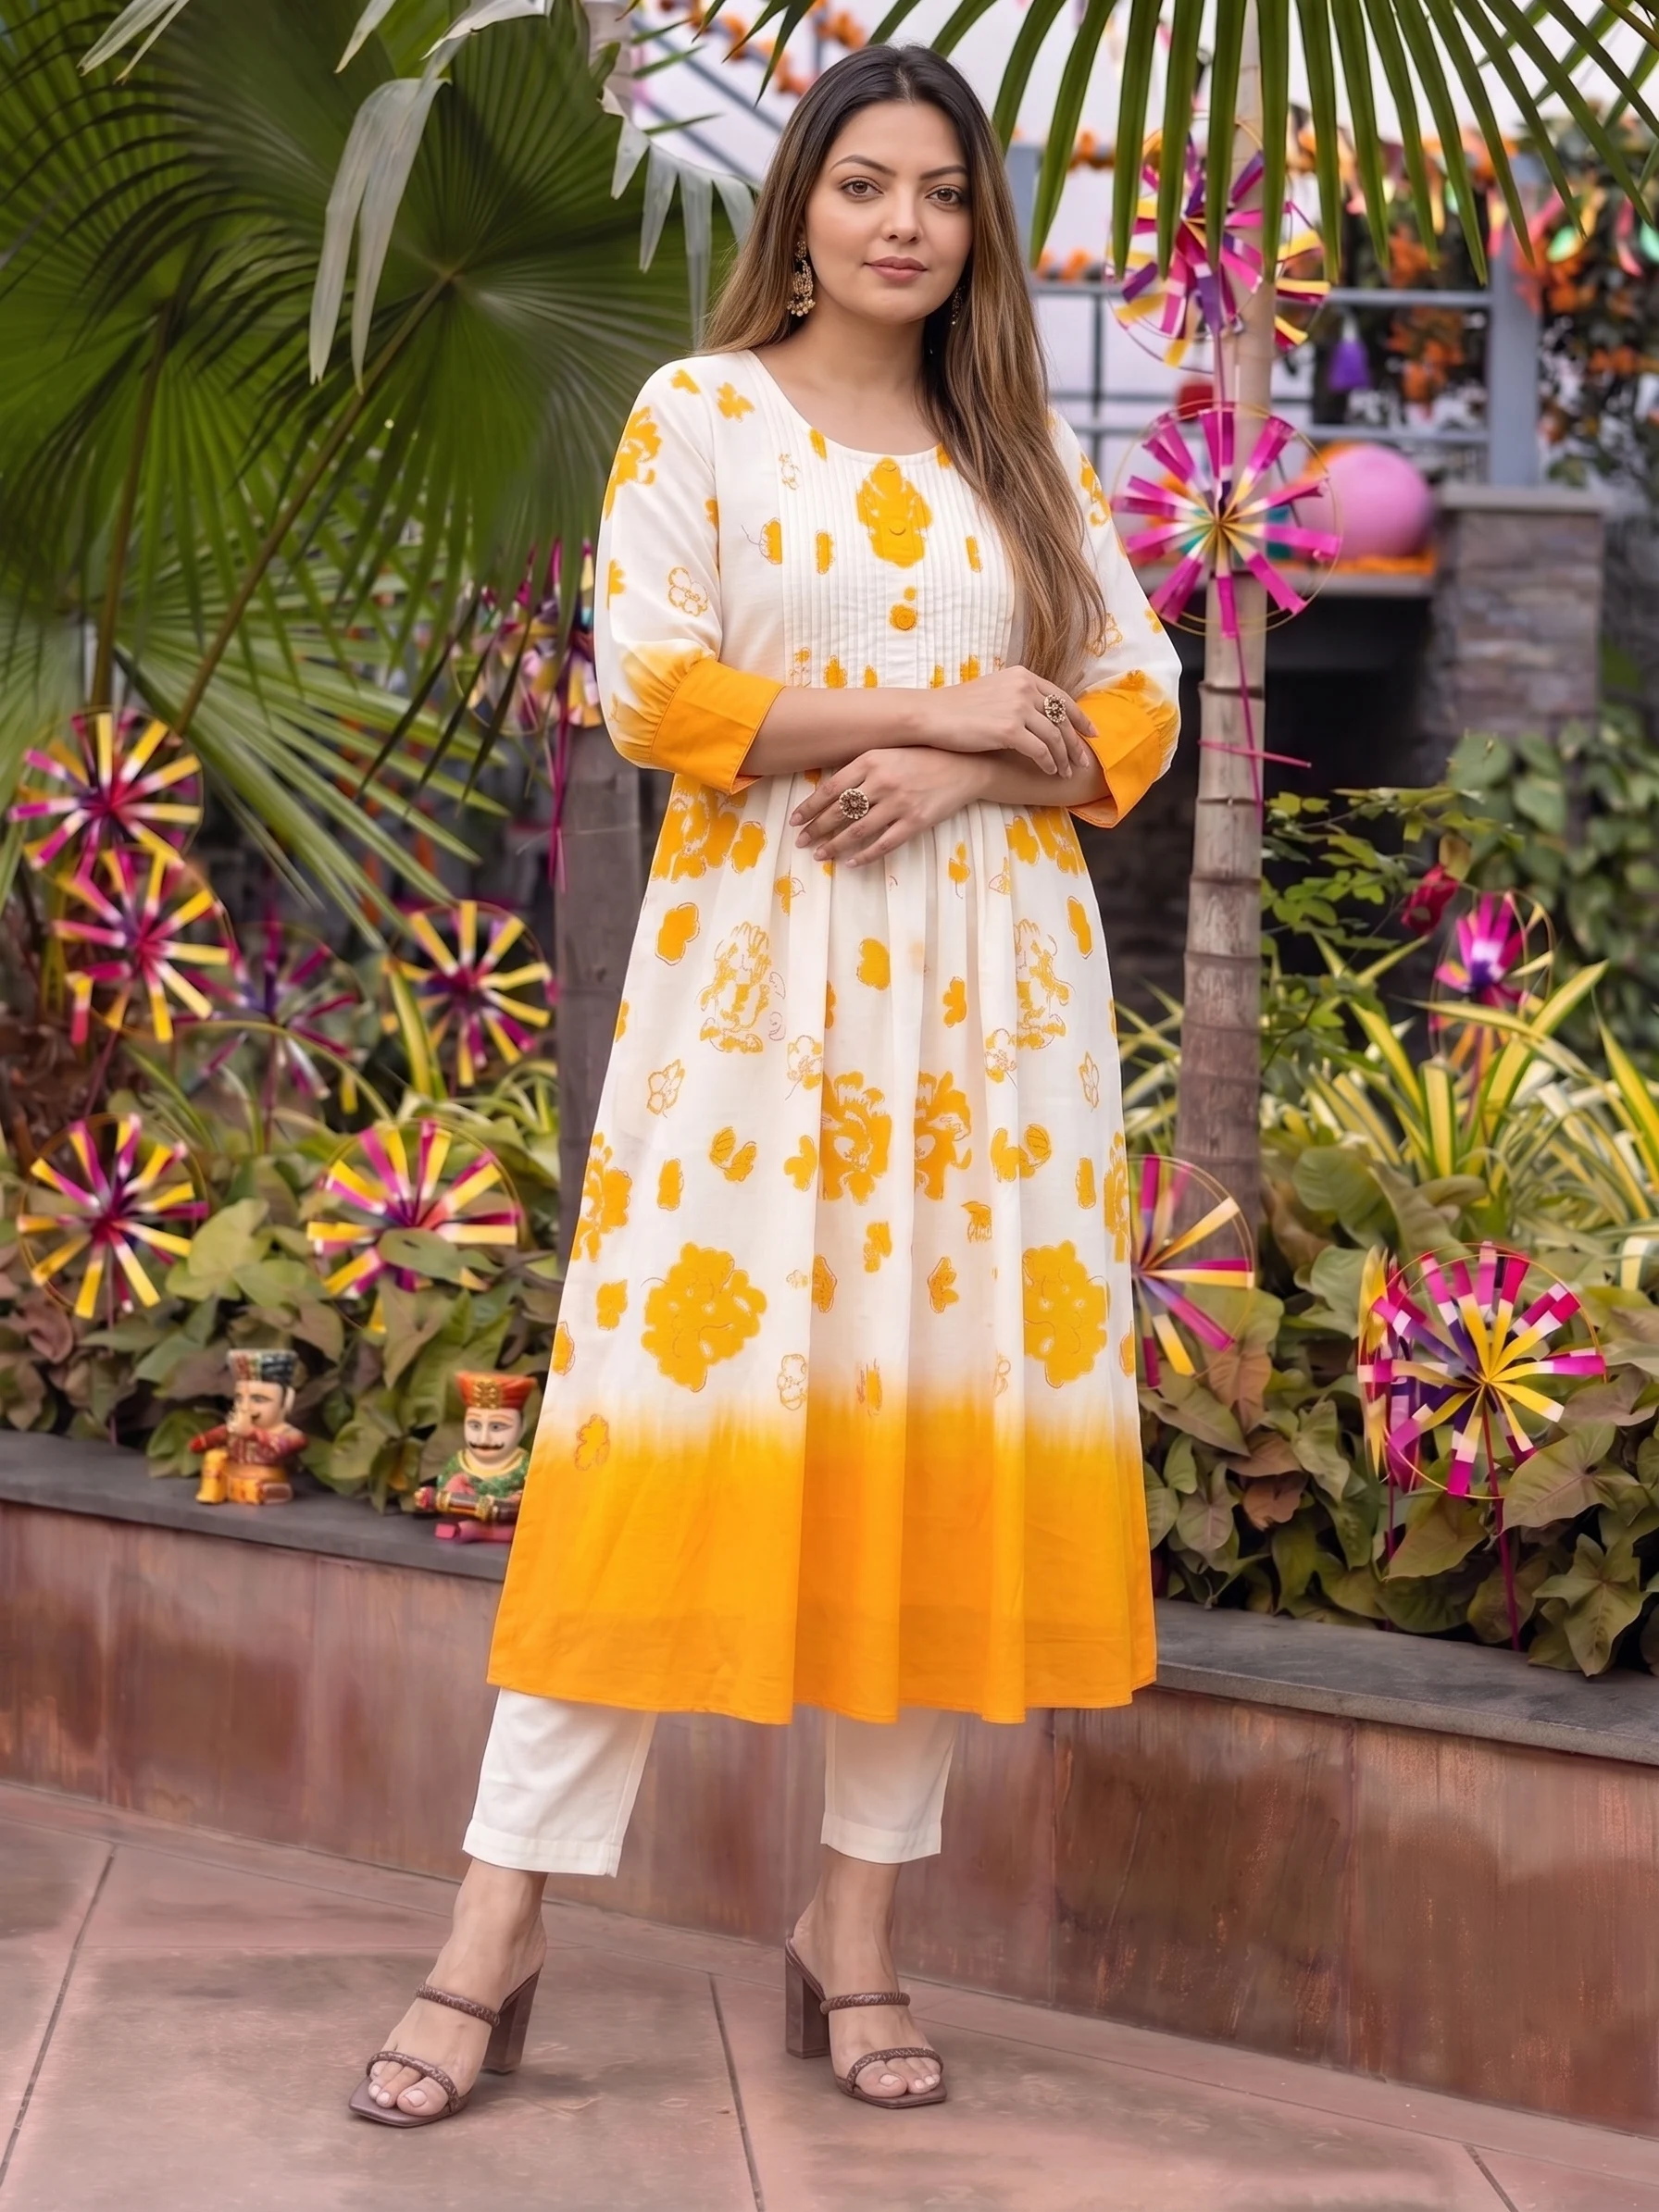
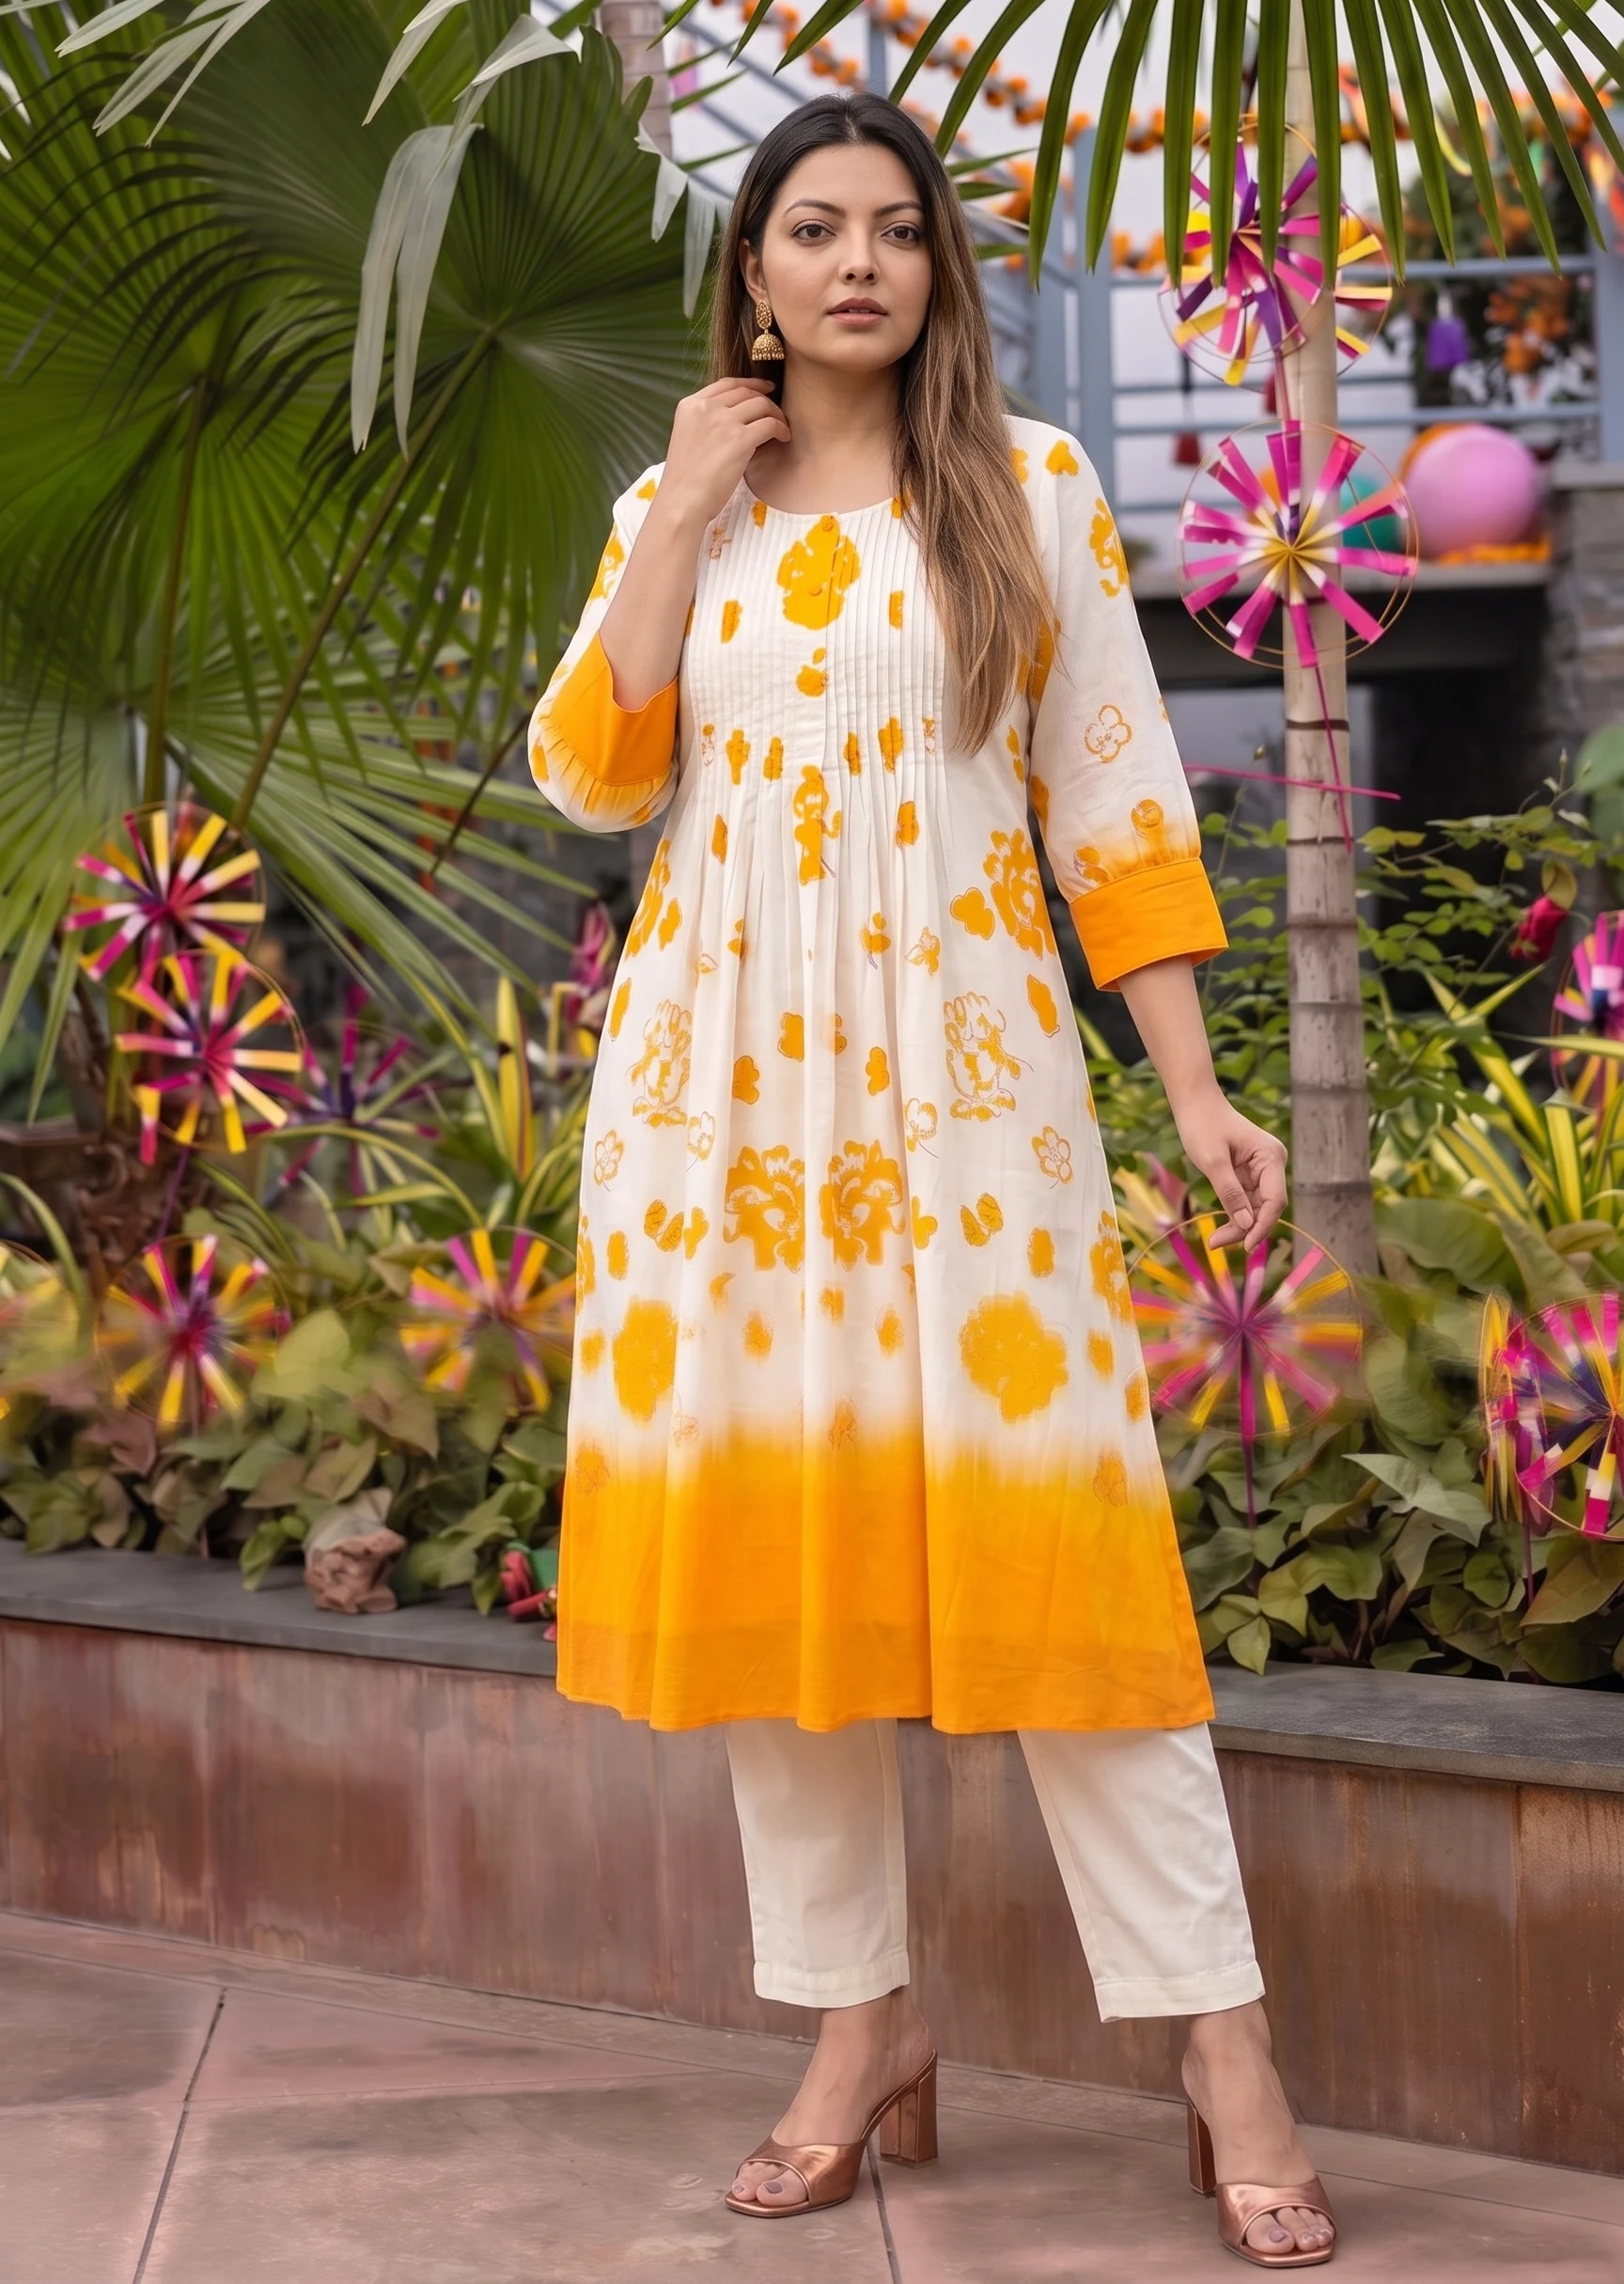
One garment photo, one package, one model, six variations to select from. Generating a handful and choosing is faster than trying to get a single image perfect — and cheaper, if you draft at 1K first.
Step 4 — Generate, review, export
Generation takes seconds, not days. Review at full size rather than in the grid — that is where you catch the small failures. When you have your selects, export at the size your channel needs.
The single biggest quality lever is the photo you started from. Everything downstream is amplification — of a good input or a bad one.
| Quality | Use it for | Credits (standard) | Credits (high-fidelity) |
|---|---|---|---|
| 1K | Drafts, exploring, social | 1 | 2 |
| 2K | Product pages | 2 | 4 |
| 4K | Zoom, print, detail-critical work | 3 | 8 |
Three things worth knowing on day one
- Draft cheap, finalise expensive. Explore at low quality, then re-run only the winners at full resolution.
- Change one thing at a time. If you change the model, the package and the framing at once, you learn nothing about which change helped.
- Save the setup that worked. Next season's drop should start from it, not from a blank page.
If your first results are disappointing, the fix is almost always the source photo rather than the settings. Reshoot the garment flat, evenly lit, straight on, and try again before changing anything else.