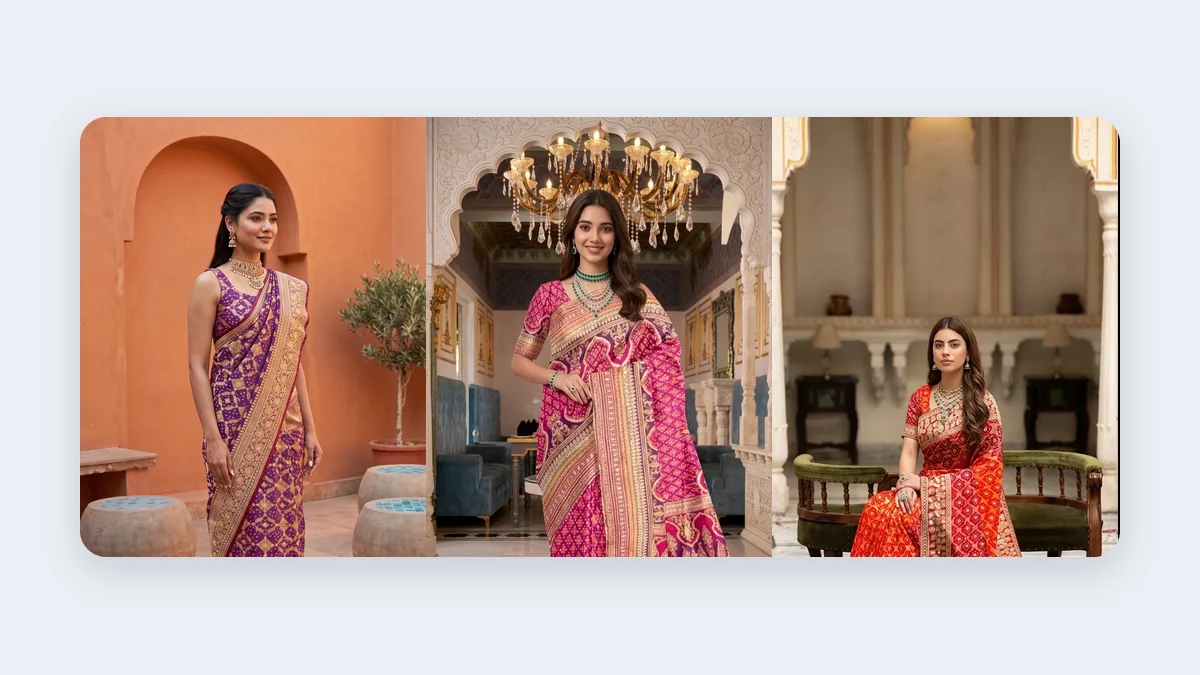
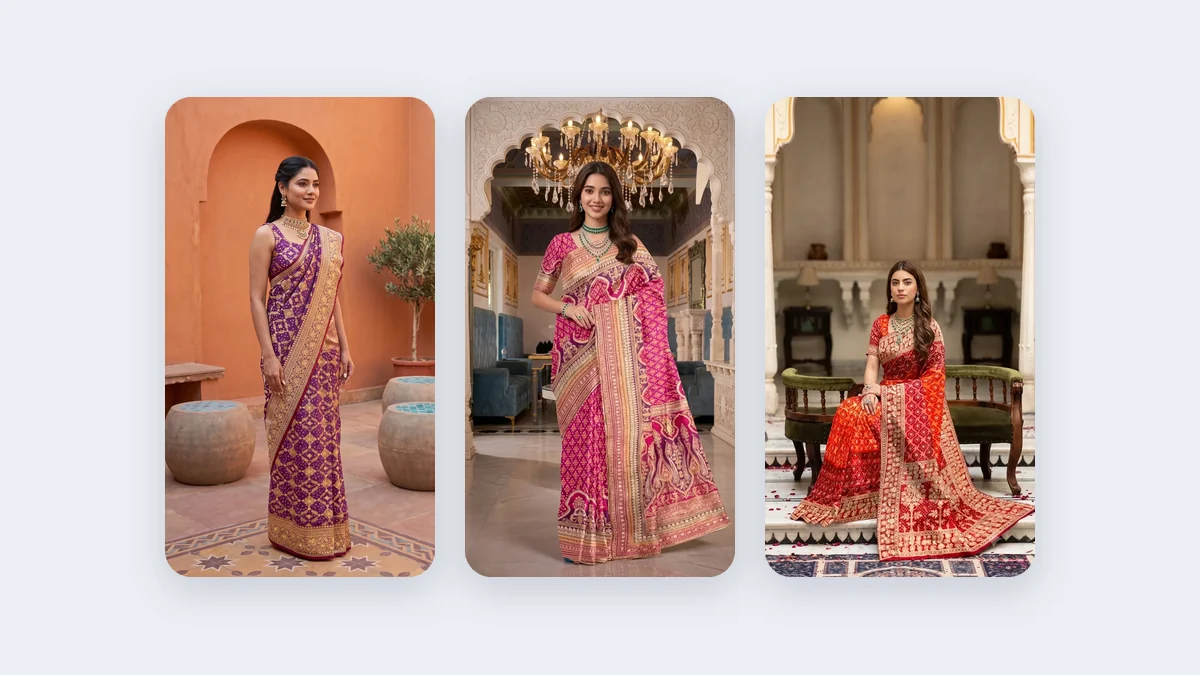
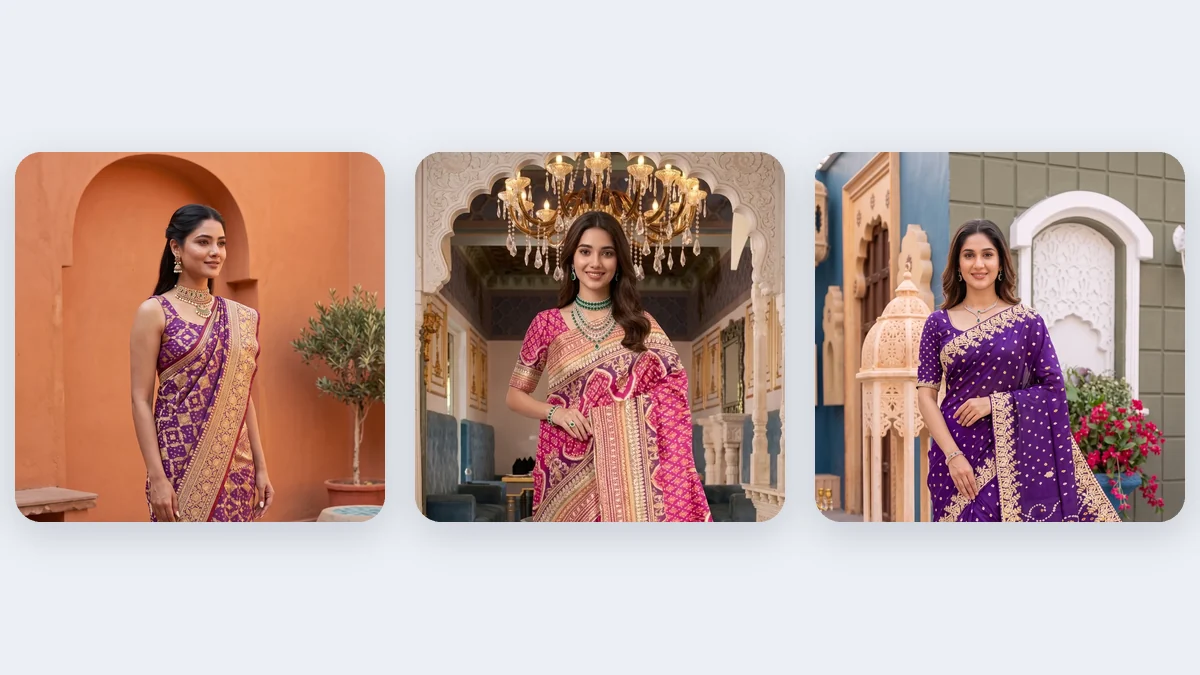
AI product photography uses artificial intelligence to create or enhance product images. From one basic photo you can get a clean background, a styled scene or, for clothing, an on-model shot. Here is how it works, where it excels and what to check before publishing.
What AI can do for product photos
| Task | Example |
|---|---|
| Background removal | Cut out the product and place it on white |
| Background generation | Place a product in a styled scene |
| Relighting | Improve shadows and highlights |
| On-model generation | Put clothing on a realistic model |
| Upscaling | Increase resolution for zoom |
| Variants | Create multiple colours or scenes |
Step-by-step workflow
- Take a clean source photo. Use daylight, a plain surface and a steady camera.
- Choose the output you need. Marketplace white background, lifestyle scene or on-model.
- Generate options. Compare several versions.
- Review carefully. Check edges, shadows, labels, logos and text.
- Retouch. Fix small issues manually.
- Export at the sizes needed for each channel.
Product photo editing basics (AI or manual)
- Crop and align consistently.
- Correct white balance and exposure.
- Clean dust and wrinkles.
- Keep colours accurate to the real product.
- Use soft shadows so products don't float.
Where AI works best
- Large catalogues with many SKUs
- Fashion and apparel on models
- Quick A/B testing of backgrounds
- Seasonal campaign visuals
Where traditional photography is still better
- Reflective or transparent products with complex highlights
- Products where tiny details must be exact, such as watches
- Flagship brand campaigns
Quality control checklist
- Does the product match the real item exactly?
- Are logos, labels and text clear and correct?
- Are shadows and reflections believable?
- Is the colour true to life?
- Does the image meet marketplace requirements?
Fashion-specific AI product photography
For apparel, the main value is showing garments on models without a studio. Vastralook turns a garment photo into an on-model image, which suits sarees, lehengas, kurtas and other clothing, while letting you try different backgrounds and models.
Cost and time comparison
AI is usually faster and cheaper per image, especially as volume grows. Traditional studios cost more but offer total control. Many brands combine both.
AI product photography workflows by product type
Different products need different approaches. Use these workflows as a starting point.
| Product type | Recommended workflow | Watch for |
|---|---|---|
| Clothing | Garment photo to on-model image | Print accuracy, fit, hands |
| Footwear | Clean cut-out to lifestyle scene | Shape, laces, soles |
| Bags | Product photo to styled scene or on-model | Straps, hardware, logos |
| Jewellery | Macro photo to cleaned background or on-model | Stone detail and reflections |
| Home decor | Cut-out into styled room scenes | Scale, shadows, perspective |
| Beauty and skincare | Background and surface generation | Label text and packaging details |
| Electronics | Clean background and studio relighting | Ports, buttons, screens |
| Food and beverage | Scene and surface styling | Realism and appetite appeal |
A complete AI product photo workflow
Stage 1: Capture
- Place the product on a plain, matte surface.
- Use soft, even light from a window or two lamps.
- Shoot from several angles: front, back, sides and top.
- Include a close-up of labels, textures and details.
Stage 2: Prepare
- Clean the product and remove dust.
- Crop and straighten images.
- Fix exposure and white balance.
- Name files clearly by SKU and angle.
Stage 3: Generate
- Upload the best front-facing image.
- Choose the output type: white background, lifestyle scene, on-model, or colour variant.
- Select style, background and mood.
- Generate several versions.
Stage 4: Review
Use the checklist below on every image.
| Check | Question |
|---|---|
| Shape | Does the product look exactly like the real item? |
| Colour | Does it match the physical product under daylight? |
| Details | Are logos, labels and text correct and readable? |
| Scale | Does the size look believable next to people or objects? |
| Shadows | Do they match the light direction? |
| Reflections | Are they natural and not distorted? |
| Edges | Are they clean without halos or cut-out errors? |
Stage 5: Finish
- Retouch small defects.
- Add subtle shadows and reflections to ground the product.
- Export in the sizes you need.
- Add alt text and descriptive filenames.
Prompts and settings for better scenes
When a tool supports text prompts, be specific.
| Goal | Example prompt idea |
|---|---|
| Clean listing | "White seamless background, soft shadow, studio lighting" |
| Lifestyle | "On a wooden table beside a window, morning light, minimal props" |
| Festive | "Brass tray with marigold petals, warm light, subtle bokeh" |
| Luxury | "Dark marble surface, soft rim light, elegant reflection" |
| Seasonal | "Pastel background with spring flowers, bright natural light" |
Avoid asking the AI to redraw the product itself. Keep the product pixels from your photo wherever possible, and let AI create the scene around it.
Quality problems and how to solve them
| Problem | Cause | Fix |
|---|---|---|
| Product looks warped | Low-quality source or aggressive generation | Use a sharper source and reduce creativity settings |
| Logo or text is distorted | AI struggles with fine text | Composite the original label or add text afterwards |
| Floating look | No shadow or contact points | Add a contact shadow beneath the product |
| Colours shift | Colour management or generation changes | Colour-correct against a reference |
| Edges look jagged | Poor cut-out | Refine the mask or use higher-resolution input |
| Scene looks fake | Mismatch of lighting | Pick backgrounds with similar light direction |
Measuring the impact
Track results to justify your approach.
| Metric | Before AI | After AI |
|---|---|---|
| Time to produce images per SKU | — | — |
| Cost per final image | — | — |
| Product page conversion rate | — | — |
| Return rate | — | — |
| Ad click-through rate | — | — |
Update the table every month and compare.
Fashion focus: Vastralook workflow
For apparel, the best use of AI is turning garment photos into on-model images. A simple flow:
- Photograph each garment flat or on a hanger.
- Upload to Vastralook and select a model look and background.
- Review the generated image against the real garment.
- Export for your store, marketplace and social posts.
- Re-generate with different poses or scenes for ads.
Combine this with a live shoot for hero products and brand storytelling.
Legal and platform considerations
- Check each marketplace's image rules, including AI-generated content policies.
- Make sure you have the right to use any generated backgrounds, props or model likenesses.
- Do not misrepresent product features or materials.
- Keep records of the tools and licences you use.
Quick checklist
- Clean, sharp source photos
- Right output chosen for each channel
- Every image reviewed at full size
- Colours and labels verified
- Alt text and filenames added
- Policies and licences checked
Pro tips for consistent AI product photos
Create a short style brief for your brand covering background colours, lighting direction, shadow softness and prop rules. Reuse the same settings across a collection so product pages look consistent. Keep an approved image library with notes on which settings produced the best results, and review a random sample of outputs each week. If a result looks off, adjust the source photo before regenerating, because better input usually fixes more problems than changing prompts. Finally, compare images on a phone screen, since most shoppers will see them there first.
Conclusion
AI product photography saves time and money when you start with good inputs and review outputs carefully.
Frequently asked questions
How many source images do I need?
One sharp front image is a minimum. Multiple angles help the tool understand shape and details, and give you more options.
Can AI fix a bad photo?
It can improve lighting and backgrounds, but poor focus or heavy blur is difficult to repair. Reshoot the source if possible.
Should I tell customers when images are AI-assisted?
Follow platform rules and local regulations. Transparency builds trust, particularly when images are previews rather than photos of the exact item.
Can AI replace a product photographer?
For many catalogue images, yes. For complex or premium campaigns, photographers still add value.
Is AI product photography allowed on marketplaces?
Policies differ. Check current rules and avoid misleading imagery.
How do I keep products accurate?
Use a clear source image and review results at full size.