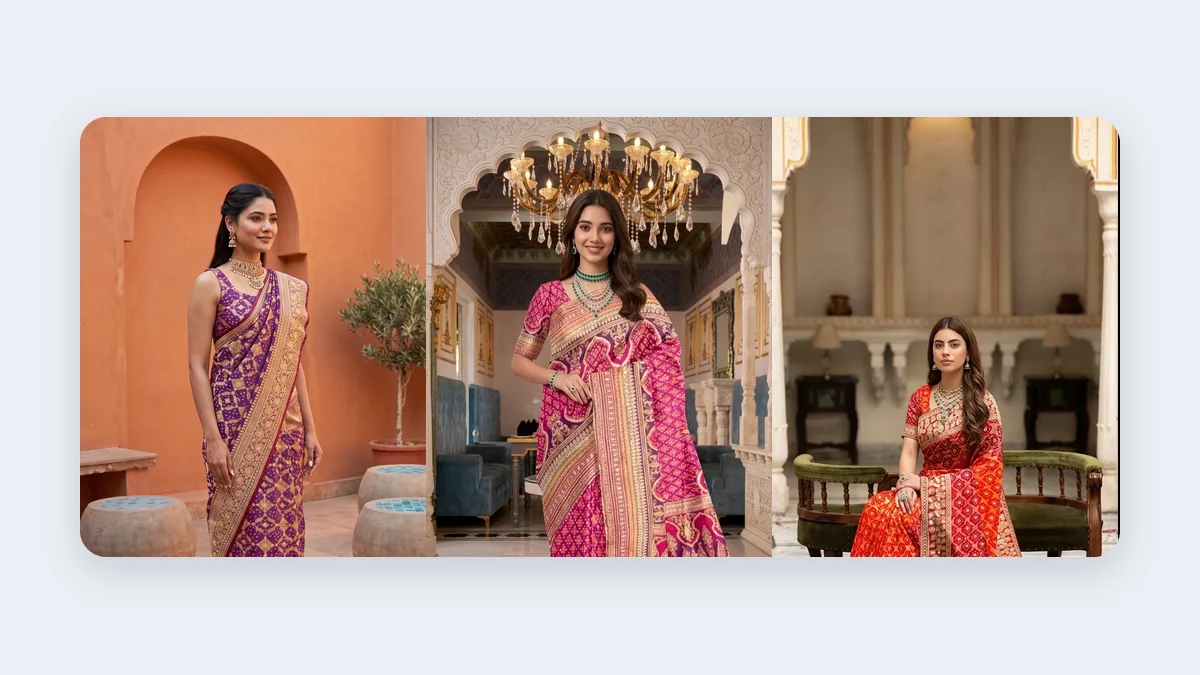
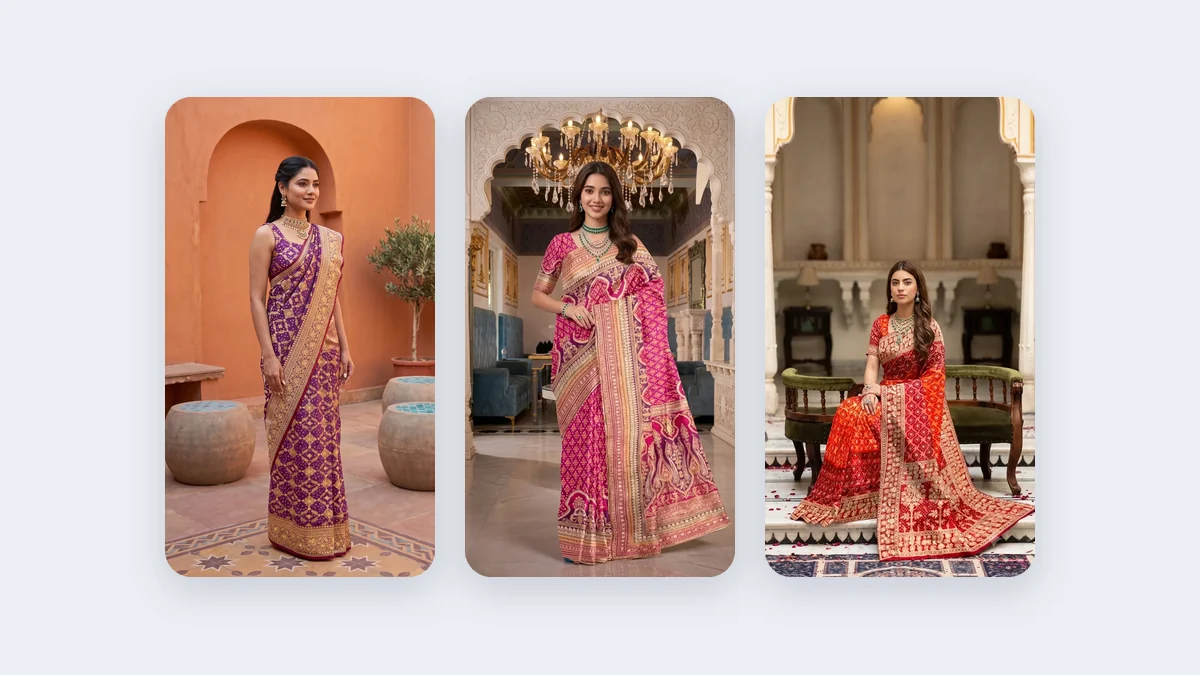
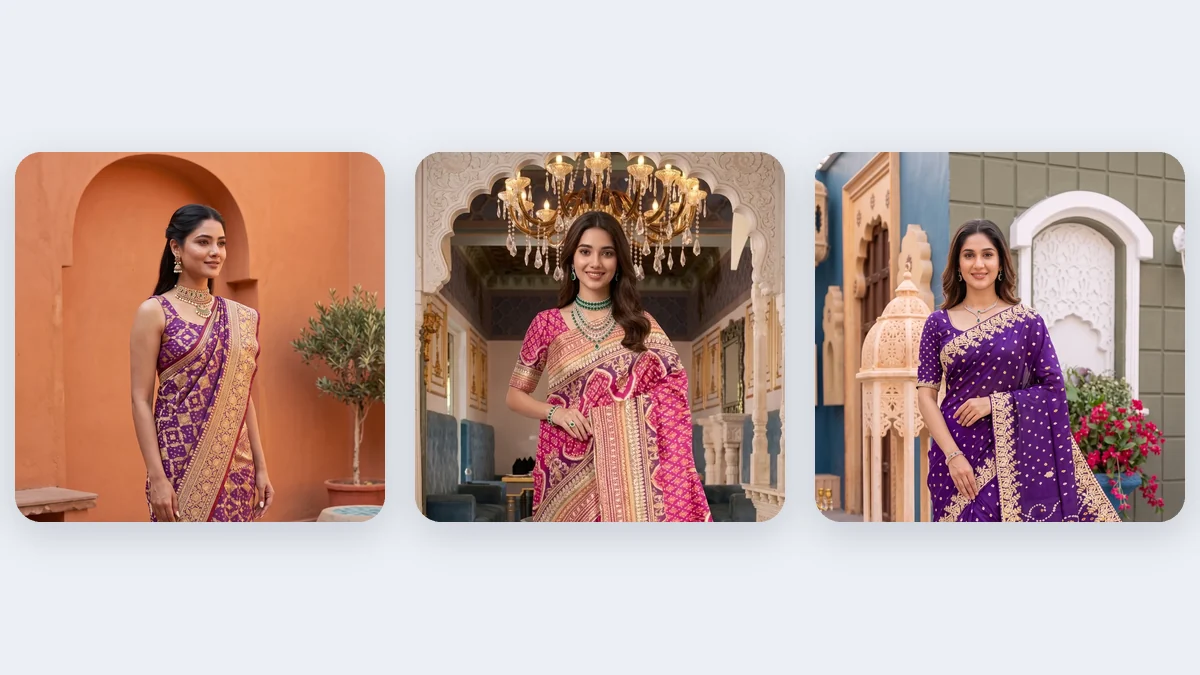
Need your kurta in five colours but only photographed one? Or want to preview a dress in another shade? You can change clothes colour online for free with the right method. This guide covers two approaches and how to keep the result realistic.
Why change clothing colour digitally?
- Show colour variants without reshooting.
- Test which colours customers prefer before manufacturing.
- Create social media mock-ups.
- Fix a colour that photographed incorrectly.
Method 1: AI colour change tools
- Upload your photo.
- Select or paint over the garment.
- Choose the new colour or type a prompt such as "deep emerald green".
- Generate and compare options.
- Download the best result.
AI tools preserve fabric texture and shadows better than simple recolouring, which is important for silk, cotton and embroidered garments.
Method 2: Manual editing in a photo editor
- Open the photo in an editor that supports layers and selection.
- Select the garment with a selection or masking tool.
- Create a hue/saturation adjustment layer clipped to the selection.
- Shift the hue to the new colour.
- Adjust saturation and brightness to match the original lighting.
- Refine edges and keep the original highlights and shadows.
Tips for natural results
- Keep the original shadows and highlights; they give the fabric depth.
- Avoid extreme saturation unless the real fabric is very bold.
- Patterns and prints may need separate masks.
- Check skin tone edges for colour spill.
- Compare your edited colour to a real fabric swatch if you intend to sell it.
Important for sellers: be honest
If you use edited colours as product images, make sure the real product matches. Misleading colour images cause returns and complaints, and may violate marketplace rules. Use digital colour variants for concept testing or clearly label them.
Free tools vs. paid
Free tools are fine for casual edits; paid options offer better masking and high-resolution exports. Watch for watermarks, resolution limits and licensing terms.
Using Vastralook for variants
Vastralook can help generate apparel visuals from a garment image, so you can preview variants on a model. Always confirm the final colour matches the product you ship.
Step-by-step tutorials for each method
Using an AI colour change tool (detailed)
- Prepare the photo. Use a clear, well-lit image with the garment fully visible. Avoid heavy filters.
- Upload the image to your chosen tool.
- Select the garment. Some tools detect clothing automatically, while others ask you to brush over the area.
- Choose a colour. Use a colour picker or type a descriptive prompt such as "deep teal", "mustard yellow" or "pastel peach".
- Adjust intensity. If the result looks too flat or too bright, change saturation and brightness.
- Refine the edges. Zoom in on the garment border, hair and skin to remove colour bleeding.
- Compare with the original. Toggle between the before and after versions.
- Export in high resolution.
Manual method with layers (detailed)
- Open the photo in an editor that supports layers and masks.
- Duplicate the background layer, so the original stays safe.
- Use a selection tool to select the garment. For complex edges, use a quick mask and refine with a soft brush.
- Add a Hue/Saturation adjustment layer clipped to the selection.
- Drag the hue slider to the colour you want.
- Reduce or increase saturation until it looks natural.
- Add a Curves or Brightness layer to match the shadows and highlights.
- For patterned fabrics, create separate masks for each colour area.
- Refine mask edges with a small feathered brush.
- Save as a layered file and export a flattened copy.
Colour theory basics for realistic results
| Concept | What it means | Practical tip |
|---|---|---|
| Hue | The colour itself (red, green, blue) | Shift gently to avoid unnatural tones |
| Saturation | Intensity of the colour | Lower it for silk and cotton; raise for festive prints |
| Brightness (value) | Light or dark | Keep original shadows to preserve folds |
| Contrast | Difference between light and dark | Do not flatten it |
| Complementary colours | Opposites on the colour wheel | Use them for accessories and backdrops |
Colours that are harder to change
| Original colour | Challenge |
|---|---|
| White or cream | Little colour information to shift; easy to look flat |
| Black | Shadows disappear when recoloured |
| Metallic and shiny | Highlights should remain neutral |
| Multi-colour prints | Each area needs its own adjustment |
| Gradient and ombre | Needs careful masking to preserve the gradient |
For white and black garments, try working with colour overlay and blend modes, such as Multiply or Color, while keeping highlights.
Changing colours of sarees, lehengas and kurtas
Ethnic garments have borders, motifs and contrast details that should remain unchanged.
- Mask the body of the saree and the border separately.
- Change the body colour and keep the zari or gold border untouched.
- For lehengas, recolour the skirt and keep the dupatta or blouse separate.
- Keep embroidery highlights bright. If they turn flat, add a highlight layer back.
- Compare with real swatches whenever possible.
Colour accuracy for sellers
If you sell online, the colour in your image should match what customers receive.
- Use a colour card in your product photos.
- Calibrate your monitor if you edit often.
- Keep consistent lighting for all product shots.
- State in your product description that slight colour variation may occur due to screens.
- Do not use digital colour variants as the only images for products that do not physically exist, unless clearly labelled as previews.
Using preview colours responsibly
Digital colour previews are useful for pre-orders, polls and design testing. Label them as "concept previews" or "colour previews", and give customers a clear timeline and returns policy.
Troubleshooting guide
| Problem | Cause | Fix |
|---|---|---|
| Colour looks painted on | Lost texture | Use blend mode Color or Overlay, and keep highlights |
| Skin changes colour | Mask included skin | Refine mask edges and exclude skin |
| Colour looks too bright | Over-saturation | Reduce saturation and vibrance |
| Colour edges bleed into the background | Rough selection | Refine edge and feather slightly |
| Pattern disappears | Flat colour fill | Use hue shifting instead of fill |
| Different colour in some areas | Missed regions | Add the missing areas to the mask |
Free tools and what to look for
When choosing a free tool or app for changing clothes colour online, check:
- Does it keep fabric texture?
- Does it allow precise selection?
- Does it export without a watermark?
- What is the maximum resolution?
- How is your photo stored and deleted?
- Is commercial use allowed?
Using Vastralook for colour variants
Vastralook can help you generate apparel visuals on a model from your garment image, and you can test how different colourways appear across the same pose and background. This is helpful for planning your range, creating ads and checking which colours your audience prefers before you produce stock.
Quick checklist
- High-quality source photo
- Garment selected cleanly
- Hue changed with natural saturation
- Shadows and highlights preserved
- Borders, embroidery and skin checked
- Final colour checked against a real swatch
- Preview images labelled if not real products
Pro tips for believable colour edits
Work non-destructively with adjustment layers so you can fine-tune later. Zoom in to check seams, folds and edges at 100 percent. Keep a swatch of the real fabric next to your screen and compare under daylight. If you change a colour for a campaign preview, store the original and edited versions together with notes on settings. Finally, ask a colleague to review the result with fresh eyes. They will often spot odd edges or unnatural tones you stopped noticing after many edits.
Conclusion
Use AI for speed and manual editing for precision. Keep realism and honesty in mind so customers get what they expect.
Frequently asked questions
Which colours look most natural when changed?
Shifts to nearby hues, such as maroon to wine or sky blue to teal, look more natural than extreme jumps like red to green.
Can I change a printed fabric to another colour?
Yes, but you must mask each colour region and adjust them separately so the pattern stays intact.
Will my skin tone be affected?
It can be if the mask includes skin. Refine the mask edges around hands, neck and face, and test at 100 percent zoom.
Can I change the colour of a saree in a photo?
Yes, but borders and prints need careful masking.
Will the fabric texture stay?
Good tools keep it. Poor tools flatten it.
Is it legal to edit product colours?
Editing is allowed, but misrepresenting the real product is not.