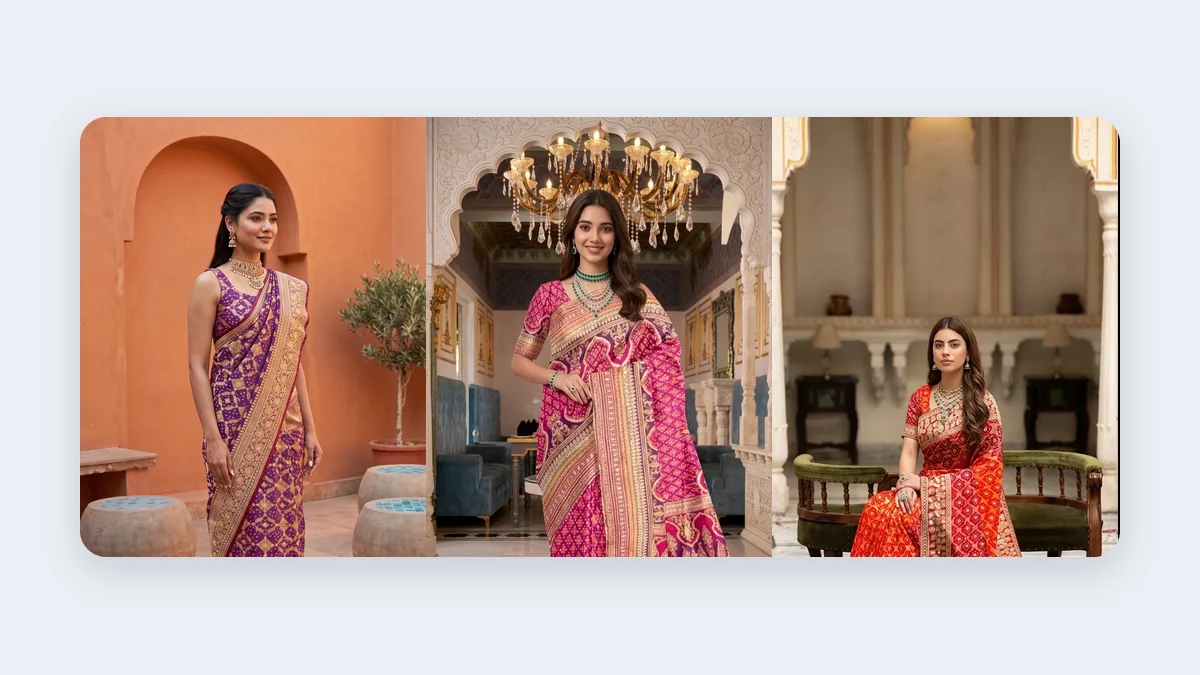
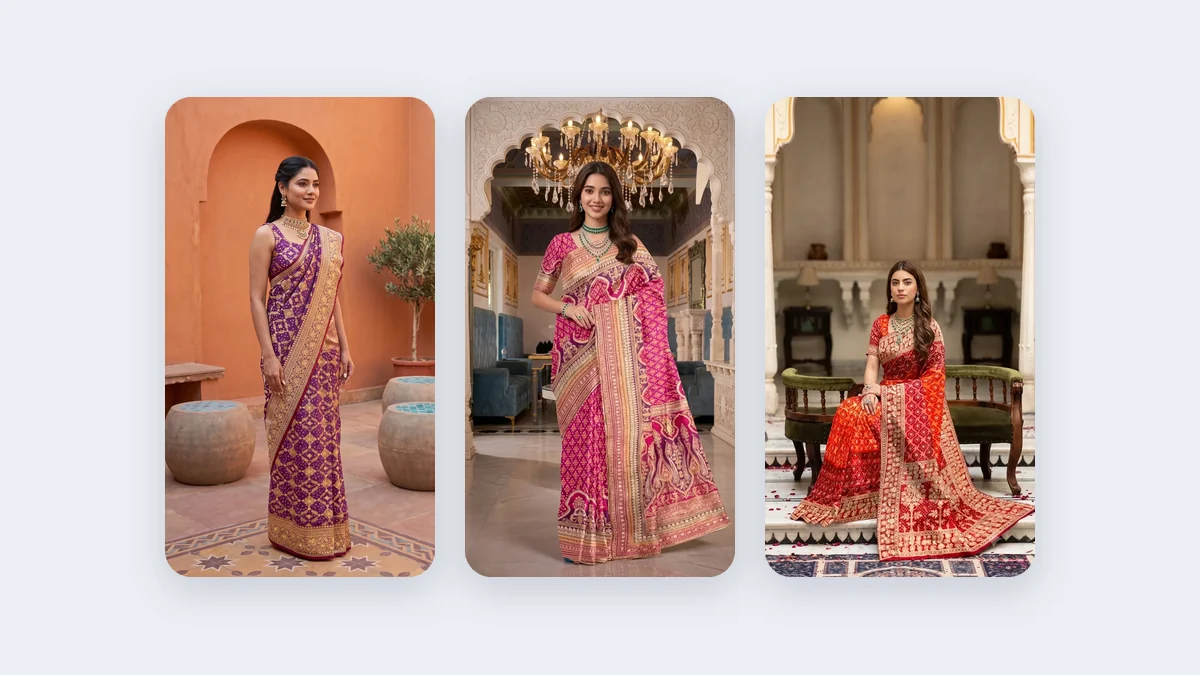
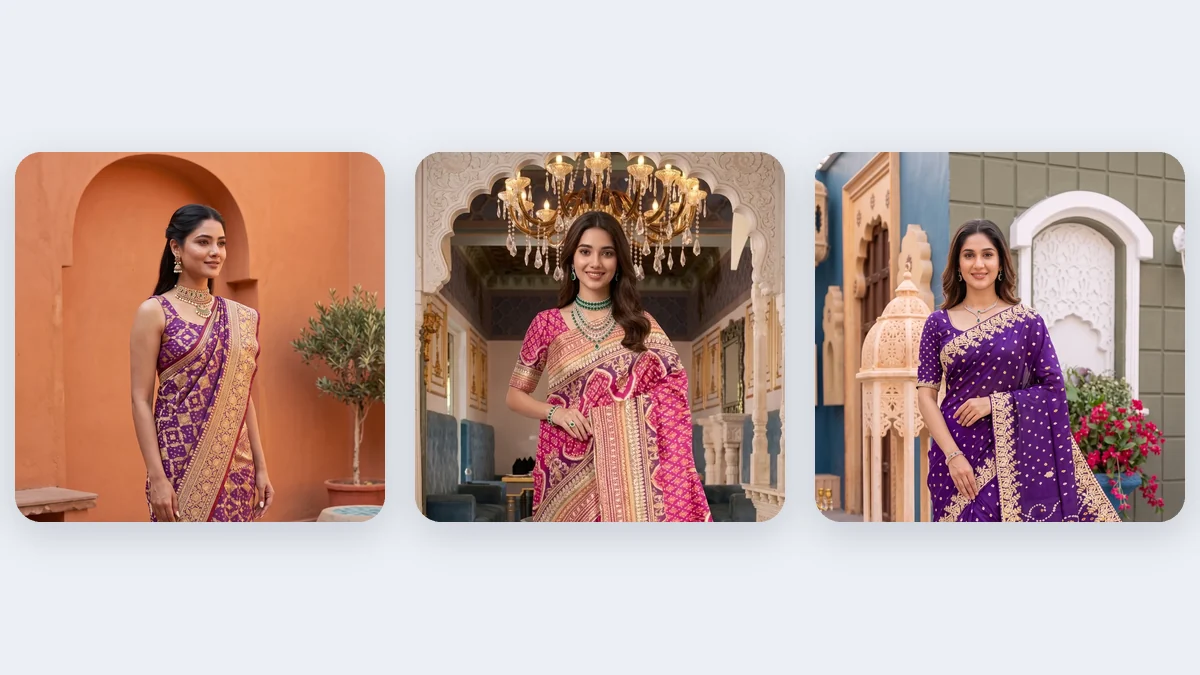
Fabric is hard to photograph. It wrinkles, absorbs light unevenly and changes colour on camera. Yet clothing photography is the single biggest factor in whether a shopper adds a garment to the cart. This guide shows you how to shoot apparel properly, with or without a model.
The three main styles of apparel photography
1. Flat lay
The garment is laid flat and shot from above. Good for: quick catalogues, social posts, basics like tees and tops. Tip: Use tissue or cardboard inside sleeves to give shape.
2. Mannequin / ghost mannequin
The garment is shown on a form, then the form is edited out for a "floating" 3D look. Good for: showing structure and fit consistently.
3. On-model
A person wears the garment. Good for: showing drape, fit and styling. This converts best for most categories, especially ethnic wear such as sarees, lehengas and kurtas.
Prepare the garment first
- Steam or iron everything. Wrinkles are the most common amateur mistake.
- Remove tags, pins and lint.
- Use clips at the back to fit the garment to the model or mannequin.
- Check colour against the real fabric under daylight.
Lighting for fabric
- Soft, even light shows texture without harsh shadows.
- Two lights at 45 degrees to the garment is a reliable setup.
- For shiny fabrics like silk and satin, move light sources further away and diffuse them to avoid hot spots.
- For dark clothing, add a fill light so details do not disappear.
Shot list per garment
| Shot | Why |
|---|---|
| Full front | Main listing image |
| Full back | Shows closure and back design |
| Side or three-quarter | Shows silhouette |
| Fabric close-up | Texture and quality |
| Detail shots (neck, cuff, hem, embroidery) | Craftsmanship |
| Styled look | Inspiration for ads |
Styling tips that raise perceived value
- Keep accessories minimal so the garment is the star.
- Use colours that complement, not compete with, the product.
- Keep poses natural. Show movement for flowy garments.
Editing tips
- Match white balance to the real fabric.
- Do not over-smooth fabric texture.
- Keep colour consistent between shots in the same set.
- Remove stray threads and lint.
Using AI for apparel photos
When you launch many designs, shooting every colourway on a model is expensive. AI tools can place a garment on a realistic model from a flat-lay photo. Always compare the result to the real garment, especially prints and borders, before publishing.
Mistakes that hurt sales
- Wrinkled garments.
- Colours that do not match the product.
- No back view or detail shots.
- Inconsistent crop and background across the collection.
Fabric-by-fabric photography guide
Different fabrics behave differently under light. Knowing how each one reacts is the quickest way to improve your clothing photography.
| Fabric | Challenge | Solution |
|---|---|---|
| Silk and satin | Glare and hot spots | Diffuse light heavily and move lights further away |
| Cotton and linen | Wrinkles show easily | Steam just before shooting and shoot quickly |
| Georgette and chiffon | Sheer, hard to see shape | Use a contrasting backdrop or a nude lining underneath |
| Velvet | Absorbs light, looks flat | Add side light to reveal pile and texture |
| Denim | Colour shifts on camera | Use a grey card and check white balance |
| Embroidery and sequins | Sparkle can blow out | Reduce light intensity and angle lights to the side |
| Knitwear | Loses shape on hangers | Shoot flat or on a model, never hanging |
| Printed fabric | Colours look dull or oversaturated | Match colour to the physical fabric in daylight |
Setting up a home clothing photography corner
You can create a reliable apparel photo set in a small room.
- Pick the brightest window. North-facing windows give steady, soft light all day.
- Create a plain background. Use a white wall, a roll of backdrop paper or a clean bedsheet clamped flat.
- Place a white foam board opposite the window. This bounces light back into shadow areas.
- Mark the floor. Use tape to mark where the tripod and model stand so every shoot has the same framing.
- Add a clothing rail and steamer nearby. Efficient prep keeps the shoot moving.
- Keep a colour card visible in the first frame of every batch.
Flat lay setup
- Lay a sheet of white foam board on a table near the window.
- Shoot from directly above using a tripod with a horizontal arm, or a stable stack of boxes.
- Fold garments neatly and use tissue inside sleeves for shape.
- Keep margins equal on all sides so crops stay consistent.
Working with a model: fit and styling
Fit matters more than most sellers expect. A garment that bunches or gaps in photos suggests poor quality, even if the real product is fine.
- Choose a model who fits your sample size. Large clips at the back are a stop-gap, not a solution.
- Pin and clip behind the model. Tighten waistlines, sleeves and necklines out of sight.
- Check symmetry. Straps, dupattas and hems should hang evenly.
- Take front, back and side checks before each look.
- Photograph movement. A slow turn or walk shows how the fabric flows.
Styling rules that protect your garment
| Rule | Why |
|---|---|
| Keep jewellery simple | Detailed necklaces compete with necklines |
| Match footwear to the mood | Heels, flats or juttis change the whole feel |
| Avoid busy backgrounds | Patterns near the fabric reduce clarity |
| Use a consistent hairstyle across a collection | Makes the grid look professional |
Post-production workflow for apparel
A repeatable edit workflow makes a big catalogue manageable.
- Cull the best frames. Pick sharp images with good expression and natural posture.
- Batch-correct white balance and exposure.
- Retouch the garment. Remove loose threads, lint, pins and clip marks.
- Fix shape. Light liquify or warp to correct small fit issues. Never alter the garment so much that it misrepresents the real product.
- Check colour against the real fabric on a calibrated screen or in daylight.
- Export in the sizes you need.
File naming and delivery
Use a clear naming system, such as BRAND_SKU_COLOUR_VIEW.jpg. Create separate folders for website, marketplace and social exports. This avoids confusion when your catalogue grows beyond a few hundred images.
Measuring success: which photos actually sell?
After you publish, track results and improve.
| Metric | What it shows |
|---|---|
| Add-to-cart rate | Does the main image interest shoppers? |
| Image zoom or gallery clicks | Which angles customers want to see |
| Return reasons mentioning colour or fit | Whether photos set accurate expectations |
| Scroll depth on product page | Whether extra images keep attention |
If a product has high traffic but a low add-to-cart rate, test a new main image first. It is the cheapest fix.
When to use AI for apparel photos
For large catalogues, tools like Vastralook can create on-model images from a garment photo, which is useful for colour variants and secondary angles. A practical approach is to shoot hero products live, generate the rest with AI, and review every output against the real garment before publishing.
Safety and sustainability on set
- Return samples promptly and handle delicate fabrics with clean hands.
- Avoid pinning silk and fine embroidery where holes would show; use clips instead.
- Reuse backdrops and props to reduce waste.
- Store garments in breathable bags after the shoot.
Quick pre-shoot checklist
- All garments steamed and inspected
- Shot list printed with SKU codes
- Backdrop, lights and reflector set up
- Colour card in the first frame
- Clips, pins and tape ready
- Batteries charged and cards formatted
- Model and stylist confirmed
Try it
Shoot one garment using the shot list above, then generate an on-model version with Vastralook to compare which image performs better on your store.
Frequently asked questions
How many outfits can be shot in a day?
It depends on the number of angles and whether a model is used. Flat lays are fastest, while on-model shoots take longer because of styling and fitting. Plan a realistic number with your photographer and add a buffer for retakes.
Should I shoot every colour?
Shoot the hero colour in full detail, and show other colours with a flat lay or a quick on-model shot. AI tools such as Vastralook can generate additional colour variants once the base shots are approved.
What if my garment is very light or sheer?
Use a contrasting backdrop, shoot with a lining underneath, and avoid strong backlight that exposes the body.
What is the best background for clothing photography?
White or light grey for marketplaces. Neutral or lifestyle backgrounds for your own store and ads.
Do I need a model?
Not for every item, but on-model images usually boost conversion and show fit.
How many photos per garment?
Five to eight.
Can I photograph clothes at home?
Yes, near a large window with a plain wall or sheet.