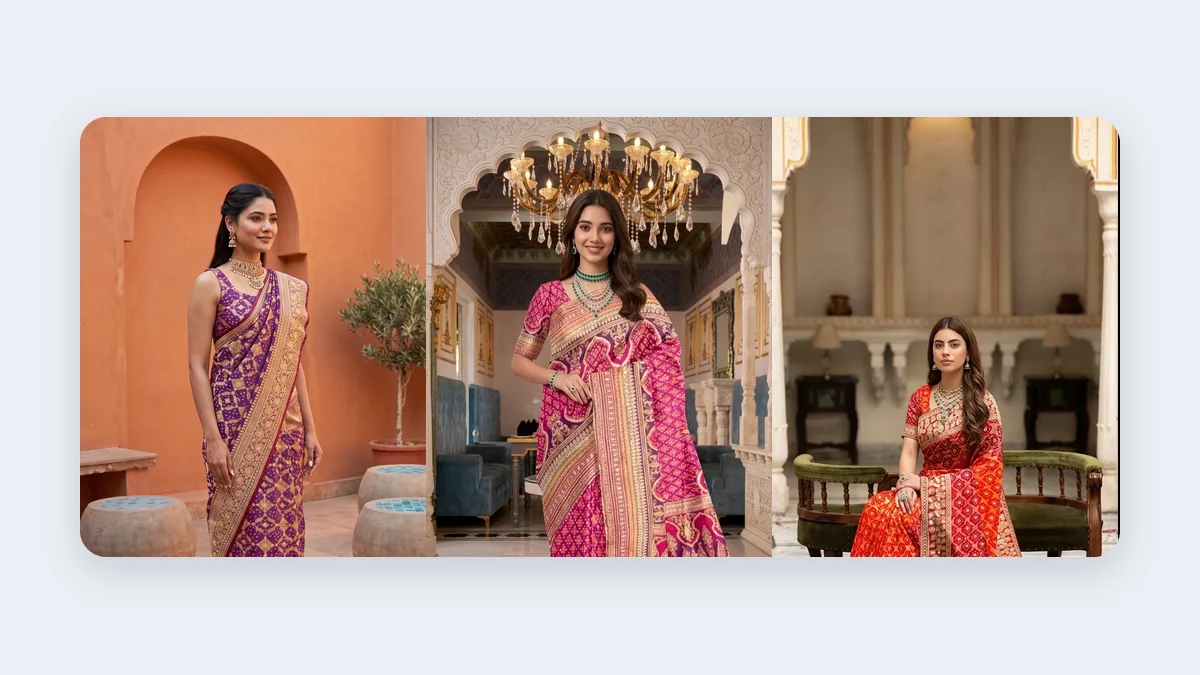
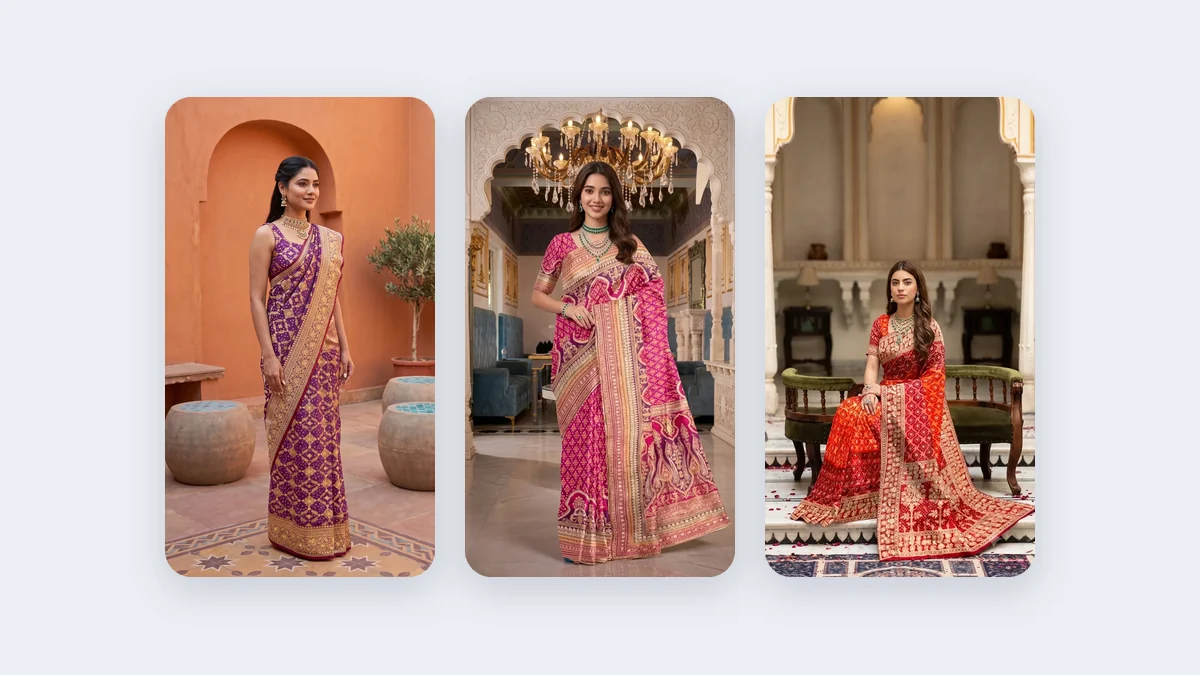
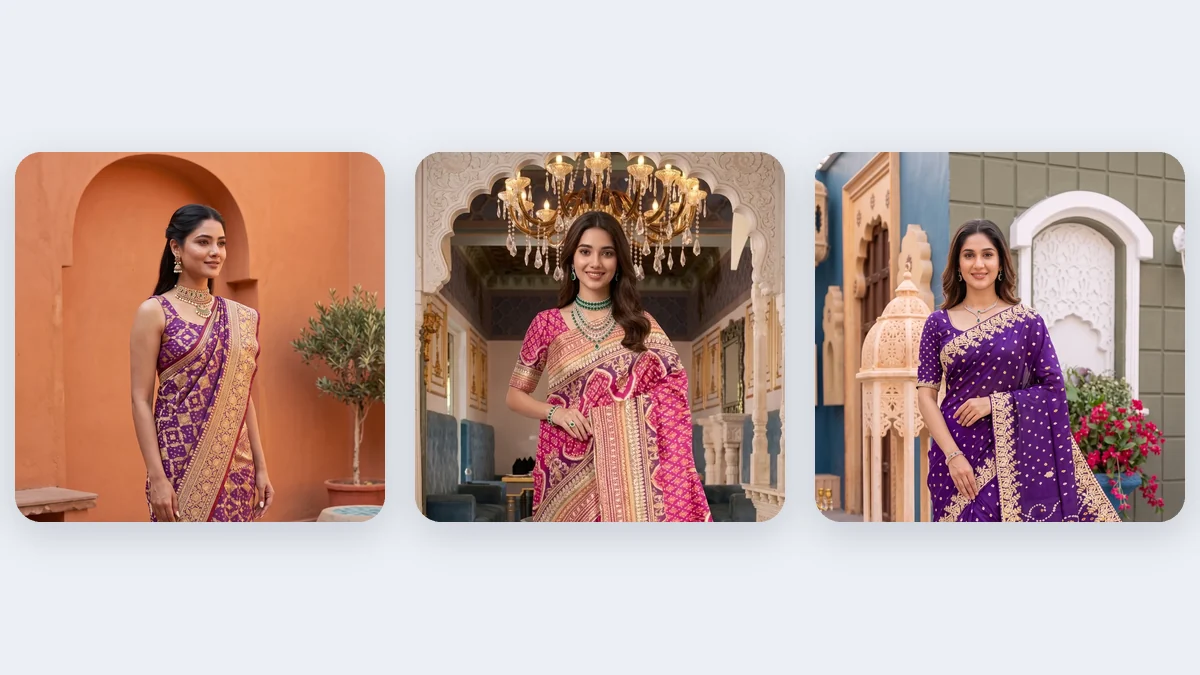
Shoppers cannot touch your product, so your photos do the selling. Clear, consistent ecommerce product photography builds trust, reduces returns and lifts conversion. Weak images make a good product look cheap, while sharp, accurate photos signal a reliable seller.
This guide covers everything: the shots you need, lighting, backgrounds, camera settings, editing, file sizes, marketplace rules, DIY versus hiring a professional product photographer, and when AI can fill the gaps.
Why product photos decide sales
Online buyers judge quality in seconds. Photos affect:
- Click-through rate in search results and ads
- Conversion rate on the product page
- Return rate, because accurate images set honest expectations
- Brand perception, since consistent visuals look professional
Treat photography as part of your conversion strategy, not decoration.
The shot list every product page needs
| Shot | Purpose |
|---|---|
| Hero (front) on a clean background | Main thumbnail in search and marketplaces |
| Back and side views | Shows full construction |
| Close-up / detail | Texture, stitching, print, embroidery |
| Scale shot | Shows size relative to a hand or object |
| In-use / on-model | Fit and context |
| Lifestyle | Emotional context for ads and social |
| Size / measurement graphic | Fewer sizing questions |
| Packaging shot | Builds unboxing expectation |
Aim for at least 5 to 7 images per product, and more for high-value items.
Equipment and setup
You do not need a studio to start. Basic kit:
| Item | Notes |
|---|---|
| Camera or recent smartphone | Shoot at the highest resolution |
| Tripod | Keeps angles identical |
| Light source | Window light or two softboxes |
| Diffuser | White curtain or diffusion panel |
| Reflector | White foam board or reflector |
| Backdrop | White sweep, paper roll or foam board |
| Table or lightbox | For small items |
For small products, a tabletop light tent is a quick way to get soft, even lighting.
Lighting basics
- Use soft, diffused light. A window with a white curtain works as a free softbox.
- Avoid mixing light colours. Switch off warm room lights when shooting by daylight.
- Control reflections on glossy items with a polarising filter or angled light.
- Use a white reflector to fill shadows.
- Keep light consistent across all product shots.
Two-light setup
Place two softboxes at 45 degrees on either side of the product, slightly above. Add a reflector in front for fill. This is the standard setup for clean, shadow-free product images.
Backgrounds that sell
White backgrounds are required by many marketplaces and keep attention on the product. For your own website, a light grey, coloured or textured backdrop can add personality. Keep the style the same across the catalogue. Seamless paper sweeps avoid visible edges and corners.
Camera and phone settings
- Shoot at the highest resolution available.
- Keep the camera level and use a tripod.
- Lock focus and exposure so every shot matches.
- Use a small aperture (f/8 to f/11) for sharpness across the product.
- Keep ISO low (100 to 400) to reduce noise.
- Shoot in RAW if you plan to edit heavily.
- Export at 1000 px or larger on the long side so zoom works.
Editing checklist
- Crop consistently with equal margins.
- Correct white balance so colours match the real product.
- Remove dust and wrinkles.
- Replace or clean up the background if needed.
- Add soft shadows or reflections if the product floats.
- Compress files so pages load fast without visible quality loss.
- Name files clearly, such as product-name_front.jpg.
File specs and SEO for product images
| Item | Recommendation |
|---|---|
| Format | JPG or WebP for photos, PNG for transparency |
| Size | 1000 to 2000 px long side |
| File weight | Under 200 KB where possible |
| Filename | Descriptive, with hyphens |
| Alt text | Describe the product plainly |
| Aspect ratio | Consistent across the catalogue |
Good alt text and filenames help your images appear in image search and improve accessibility.
Category-specific tips
Clothing and apparel
Use a model or mannequin so shoppers see fit and drape. Steam garments, show front, back and detail views, and keep colours accurate. For ethnic wear like sarees and lehengas, show the pallu, border and pleats.
Jewellery
Use diffused light and macro lenses to control reflections. See our jewellery photography guide for details.
Glossy and reflective items
Use large diffused light and black or white cards to shape reflections.
Food and beverages
Natural light, props and fresh styling make products look appetising.
Electronics
Show ports, buttons and scale. A clean white background keeps focus on features.
DIY vs product photography studio vs AI
| Option | Best for | Watch out for |
|---|---|---|
| DIY with phone | Starting out, low volume | Inconsistency, time |
| Freelance product photographer | Medium catalogues | Availability, rights |
| Product photography studio or service | Premium or complex items | Higher cost, turnaround |
| AI-assisted photos | Many SKUs, apparel on models | Needs quality review |
Many brands combine approaches. For example, hire a studio for hero images and use AI for secondary angles and variants.
How to choose a professional product photography service
Ask these questions:
- Do you have a portfolio in my category?
- How many edited images are included per product?
- What is the turnaround time?
- What is the pricing model (per image, per product, per day)?
- Who owns the final files and what usage rights do I get?
- Do you provide white-background and lifestyle versions?
- What is the revision policy?
Compare quotes using cost per final edited image, not total price alone.
Apparel needs extra care
Clothing photographs best on a model because shoppers want to see fit and drape. If a model shoot for every SKU is too costly, tools like Vastralook can generate on-model images from your garment photo so your catalogue stays consistent. Always check the final image against the real product before publishing.
Marketplace requirements to check
- Main image background rules (often pure white)
- Minimum image dimensions
- Rules on text, logos and watermarks
- Number of images allowed
- Rules about AI-generated or edited images
Policies change, so review each platform's current guidelines.
Common mistakes
- Inconsistent sizes and backgrounds across a collection.
- Colour mismatch between photo and product.
- Only one image per listing.
- Heavy filters that misrepresent the item.
- Slow-loading, uncompressed images.
- Missing alt text.
A quick workflow for a new product
- Prepare and clean the product.
- Set up lighting and backdrop.
- Shoot hero, back, side and detail frames.
- Shoot lifestyle or on-model frames.
- Edit with a consistent preset.
- Export web-ready versions.
- Upload with descriptive filenames and alt text.
- Track conversion and update images that underperform.
Advanced tips to make product photos convert better
Show scale. Add one image with the product beside a hand, a coin or a model. Shoppers often misjudge size from a cropped photo.
Use consistent angles across a category. When every kurta is shot from the same height and distance, comparison becomes easy and the catalogue looks premium.
Answer objections visually. If customers ask about transparency, stretch, weight or texture, add an image that answers it: backlit fabric, a stretch test, a close-up of the weave.
Order images deliberately. Image one earns the click, images two to four answer questions, and the final images build emotion.
Test and iterate. Change only the main image on a few listings and compare conversion over two weeks. Keep what wins.
Product photography budget guide
| Stage | Smart spend |
|---|---|
| Starting out | Tripod, diffuser, reflector, plain backdrop |
| Growing | Softboxes, light tent, editing software |
| Scaling | Outsourced studio for hero shots, AI for variants |
| Established | Dedicated photographer plus content calendar |
Great photos are cheap compared with the traffic you are already paying for, so treat them as an investment in conversion.
Next step
Pick your five best-selling products, re-shoot them using the shot list above, and compare their conversion before and after. For apparel, try Vastralook to add on-model images without booking a studio.
Frequently asked questions
How many product photos do I need?
Five to seven covers most categories.
Is a white background mandatory?
For many marketplaces, yes for the main image. Check the platform's rules.
Can I take professional product photos with a phone?
Yes, with good light, a tripod and careful editing.
How much does a product photoshoot cost?
It depends on the number of products, shots per product, models and location. Request itemised quotes and compare cost per final image.
What size should ecommerce product images be?
Usually 1000 to 2000 pixels on the long side, compressed for speed.
Should I use AI for product photos?
It can work well for catalogues and apparel, as long as the images match the real product.