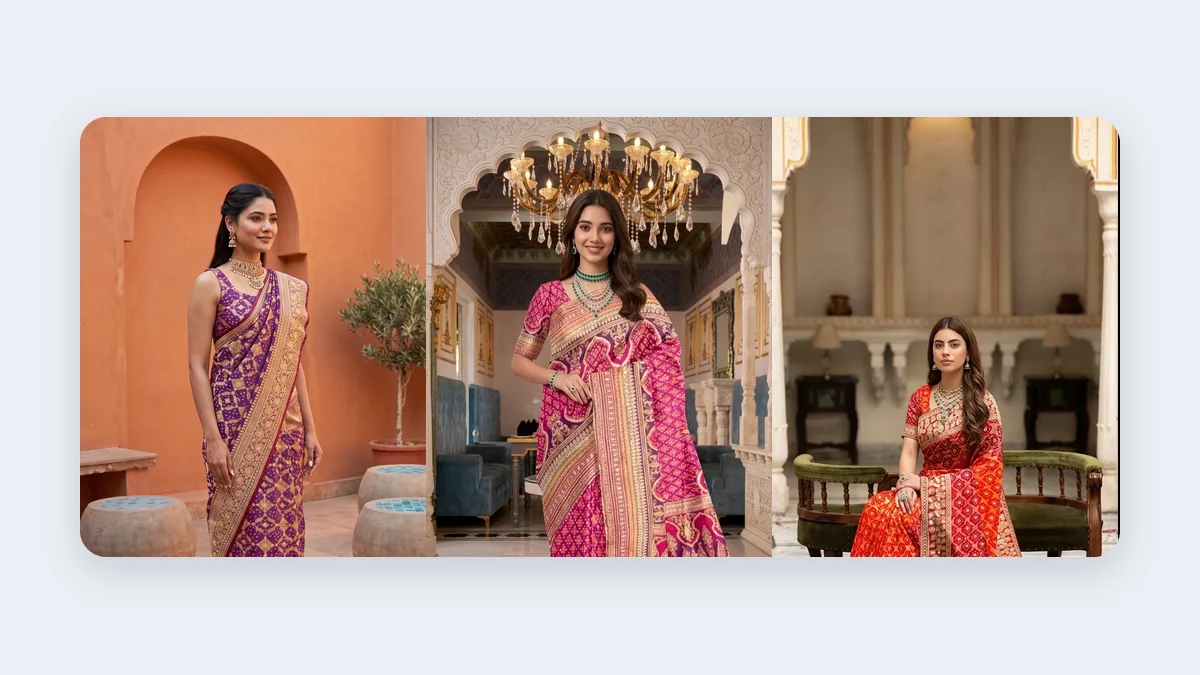
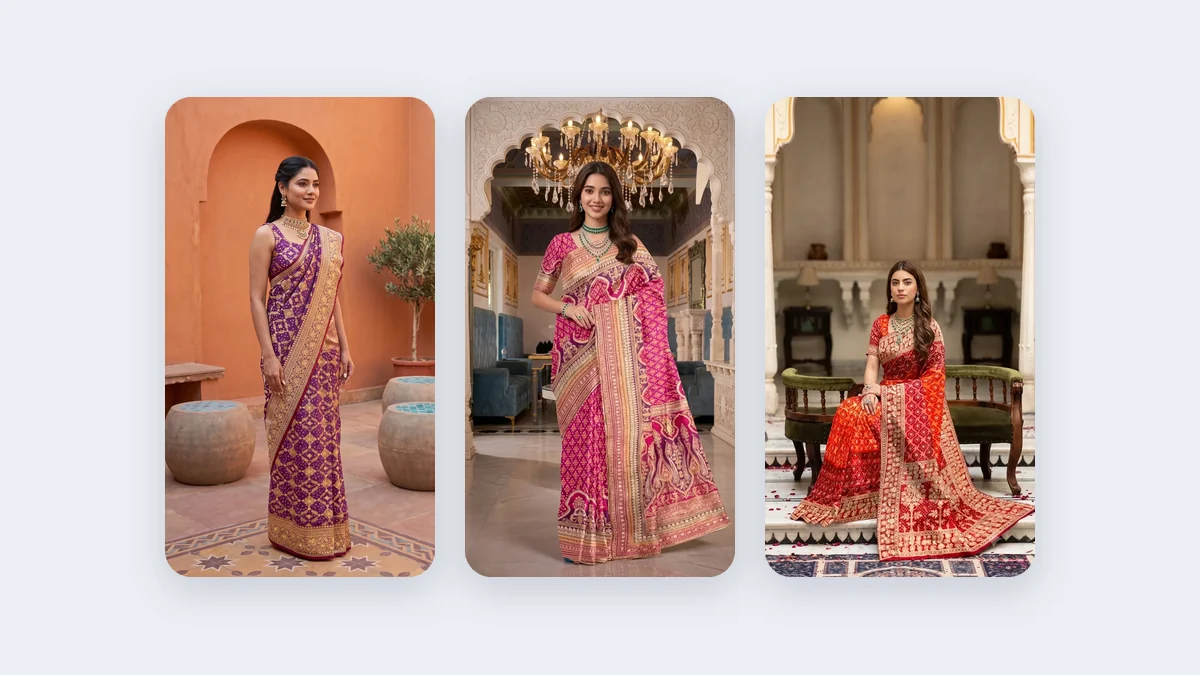
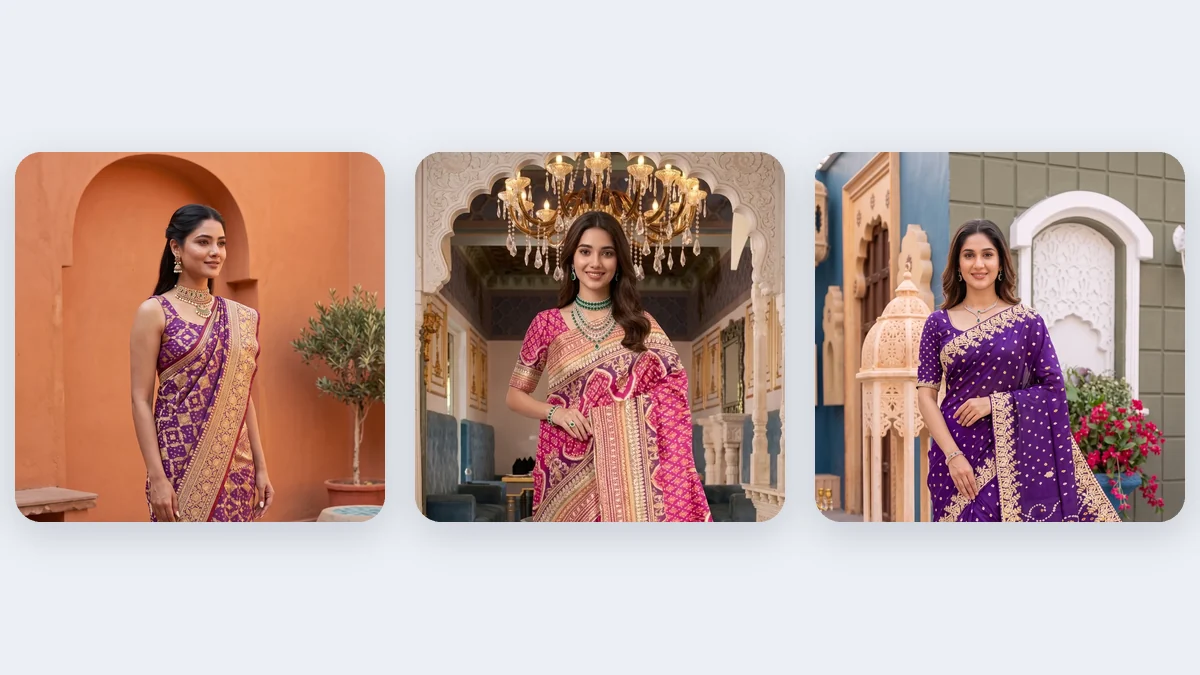
An indo-western dress is bought for how its pre-draped pleats, cape or cut-outs sit on a body, so the photo has to keep those parts readable. Customers cannot touch the fabric, which means every fold, overlay and neckline must be clear in the image.
This guide shows what to photograph, which poses work for draped and caped styles, and how to turn one source photo into a consistent set with Catalogue Studio.
What does a buyer need to see in the photo?
A buyer needs to see the silhouette, the drape and any overlay, such as a cape or shrug, from the neckline to the hem. Four things matter most in the source photo:
- The neckline and bodice, including any embroidery or crop cut.
- Where the pleats or drape are stitched in and how they fall.
- The cape, shrug or sheer layer, shown apart from the dress beneath it.
- The hem, so the length and the flare are clear.
The library holds 10 reference photos of indo-western dresses, grouped with the other flowing garments.
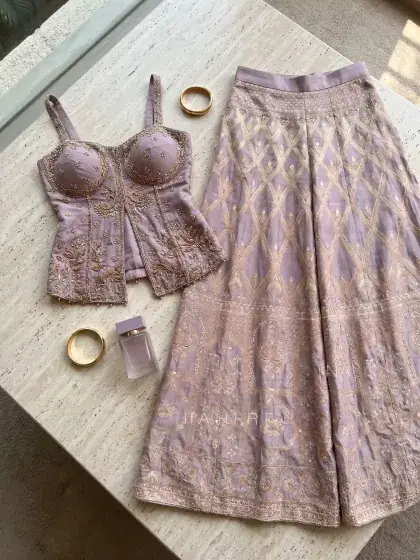
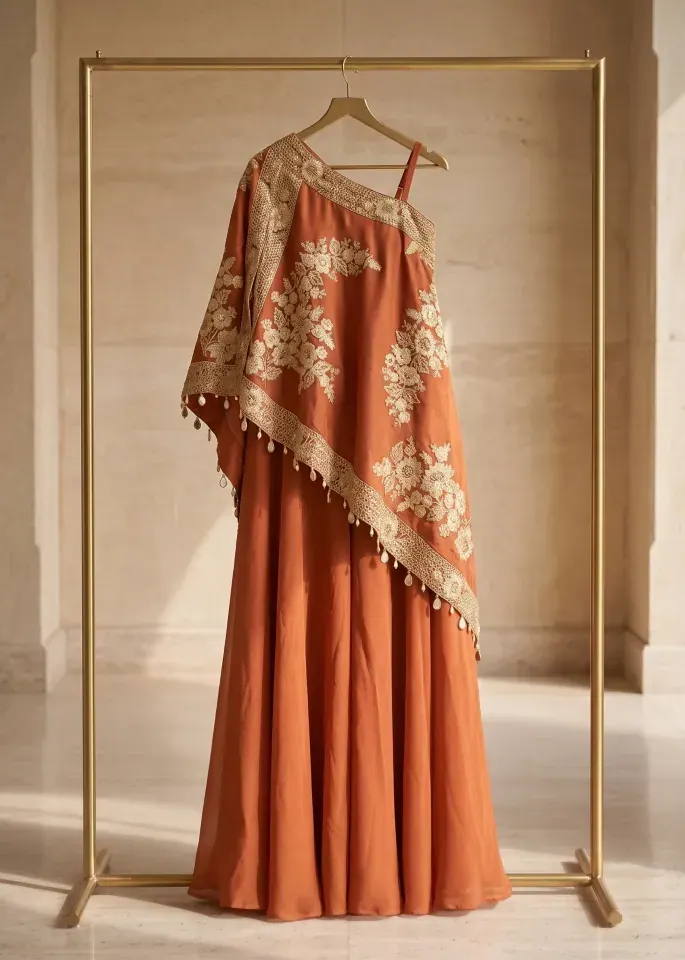
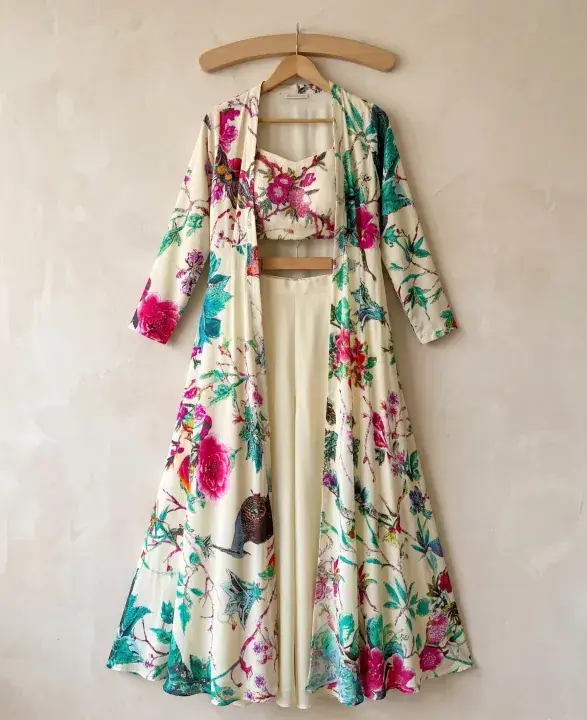
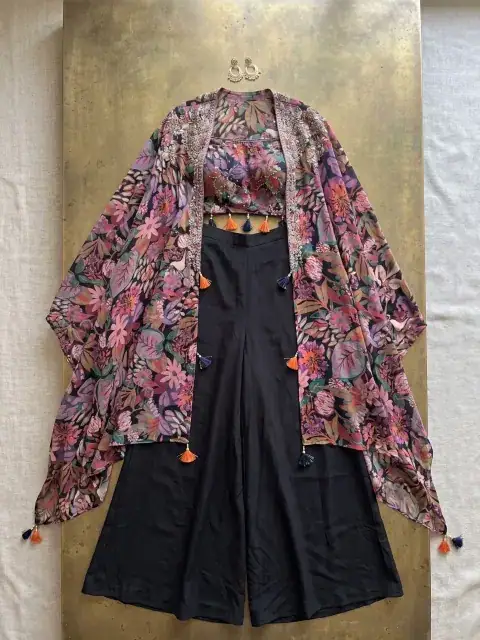
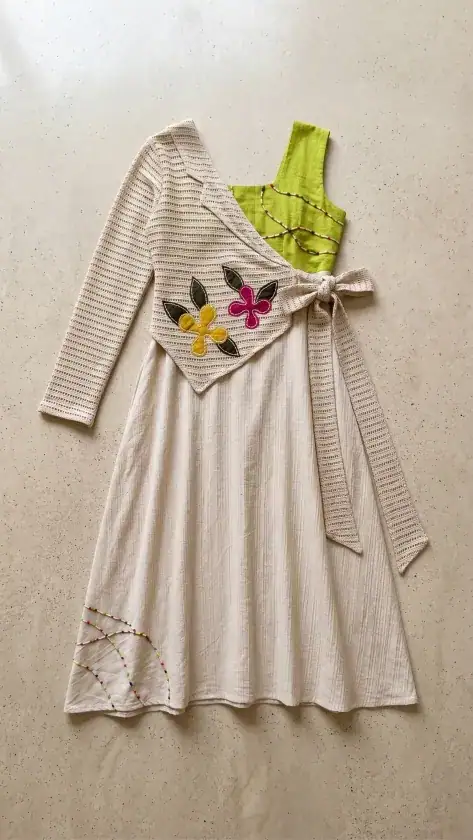
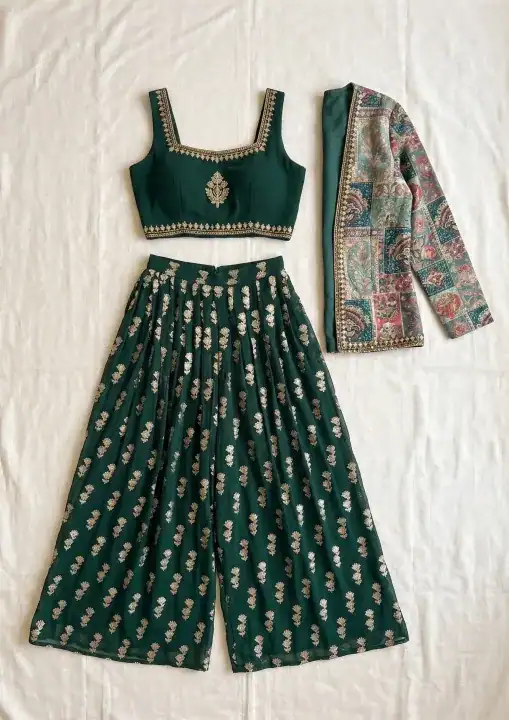
Compare how the waist seam, the drape and the hem change from one reference to the next.
How do you shoot a draped or caped design?
Hang it so the fall is visible, steam it, and shoot it square-on in soft light with the cape or overlay arranged as it is worn.
- Steam and hang the dress
Steam the dress on a hanger and let the drape fall naturally. Smooth the pleats by hand so the folds are even from the waist to the hem.
- Arrange the cape or overlay
Place the cape or shrug as it sits on the shoulders, with its edge visible against the dress. A sheer layer shows best against a plain, contrasting surface.
- Frame the full length
Keep the neckline and the lowest hem in one frame and hold the camera level. Cropping the hem removes the line the dress is bought for.
- Upload and choose a pose
Upload the front photo, plus a back or detail shot if the dress has one. In the Styles tab pick a pose that suits the feature you want to show.
- Check the details
Zoom in on the pleats, the cut-outs and the hem. Recreate any frame where a fold or an edge has gone wrong.
Which poses show a cape, pleats and a cut-out?
A stance with a little movement shows a cape, a straight front stance shows pleats, and a three-quarter turn shows a cut-out.
| Feature | Pose that shows it | What to check |
|---|---|---|
| Cape or shrug | A gentle step, so the layer moves | The edge stays clear of the dress |
| Pre-stitched pleats | A straight front stance | The pleats fall evenly from the waist |
| Cut-outs or a crop bodice | A three-quarter turn | The cut-out outline and the neckline |
| Printed or abstract fabric | Front and three-quarter frames | The print continues across the seams |
What do real packages look like?
These two library packages show a caped dress and a printed draped dress in matching frames. Each package keeps the model, the setting and the angles the same across its frames, which is what makes a product page look like one shoot.
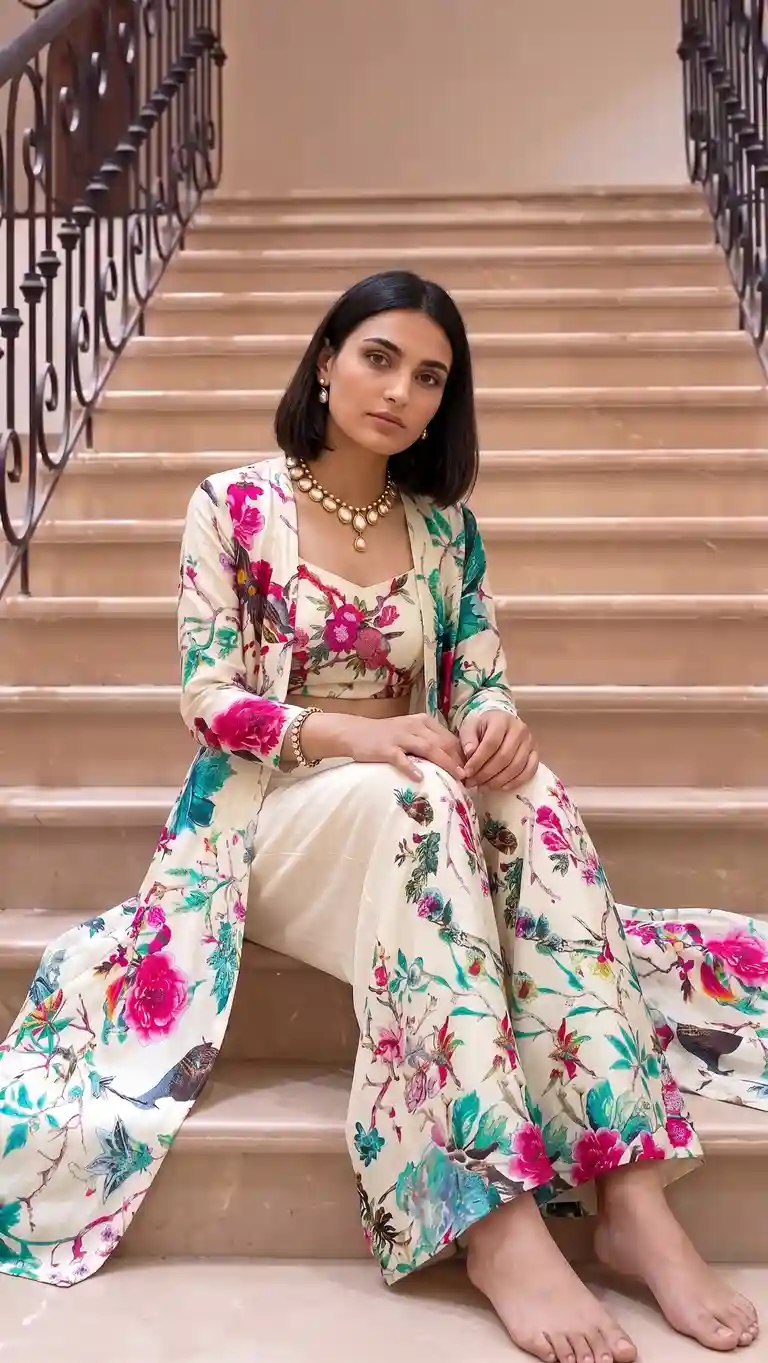
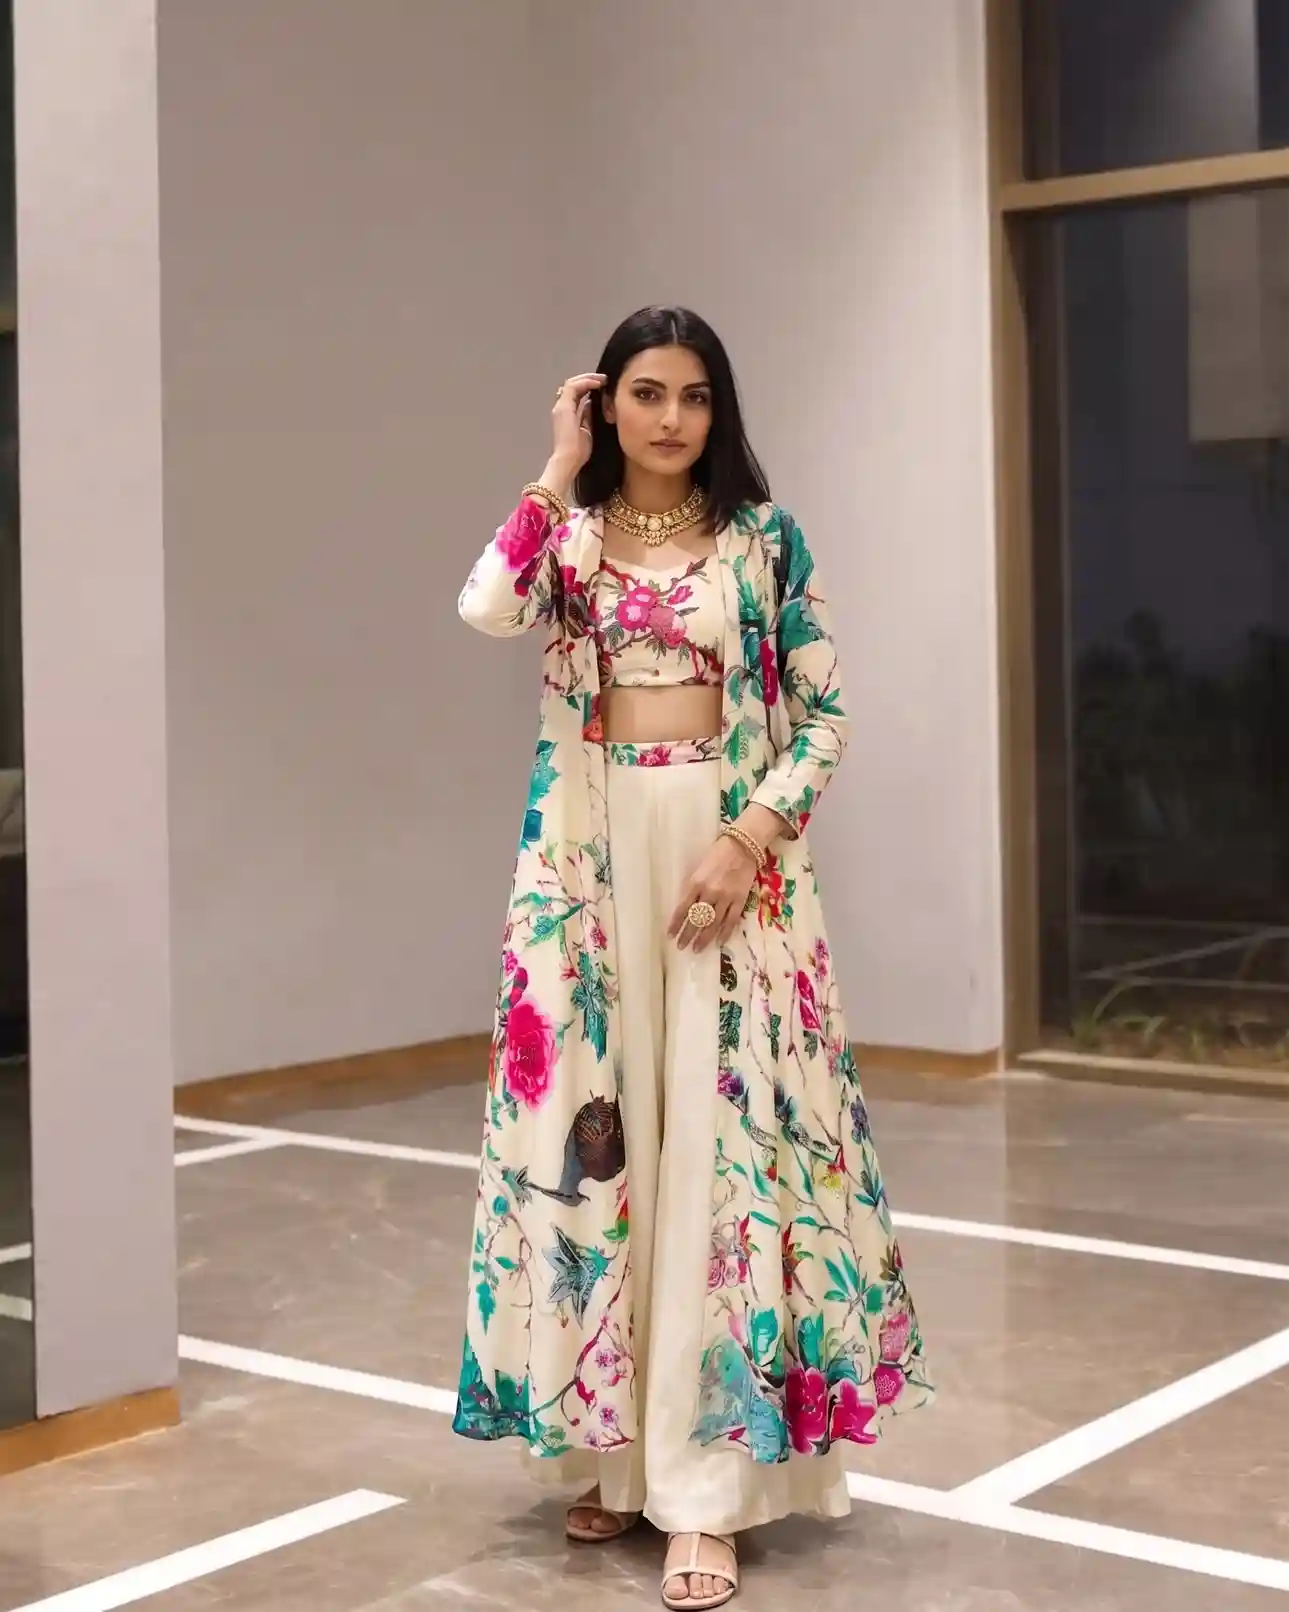
Look at how the cape moves in the three-quarter frame while the draped skirt keeps its shape.
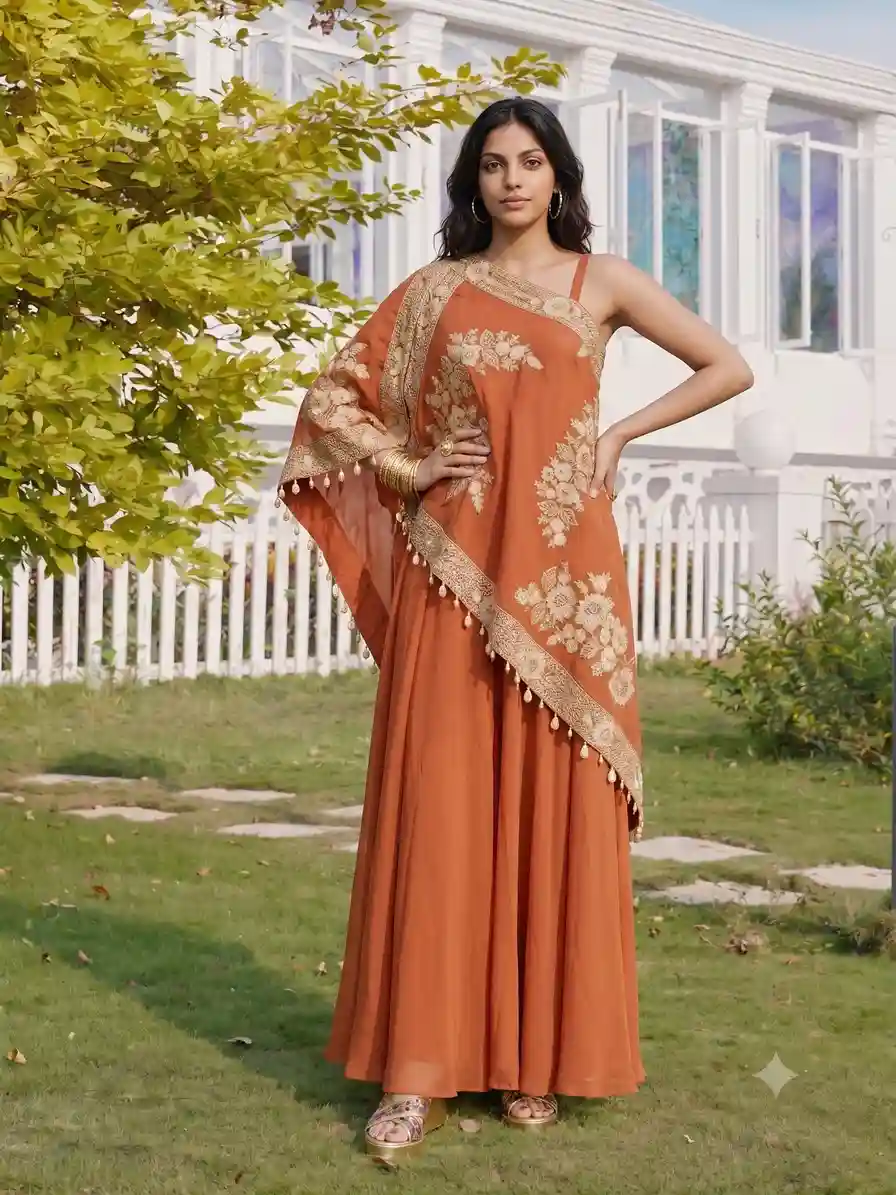
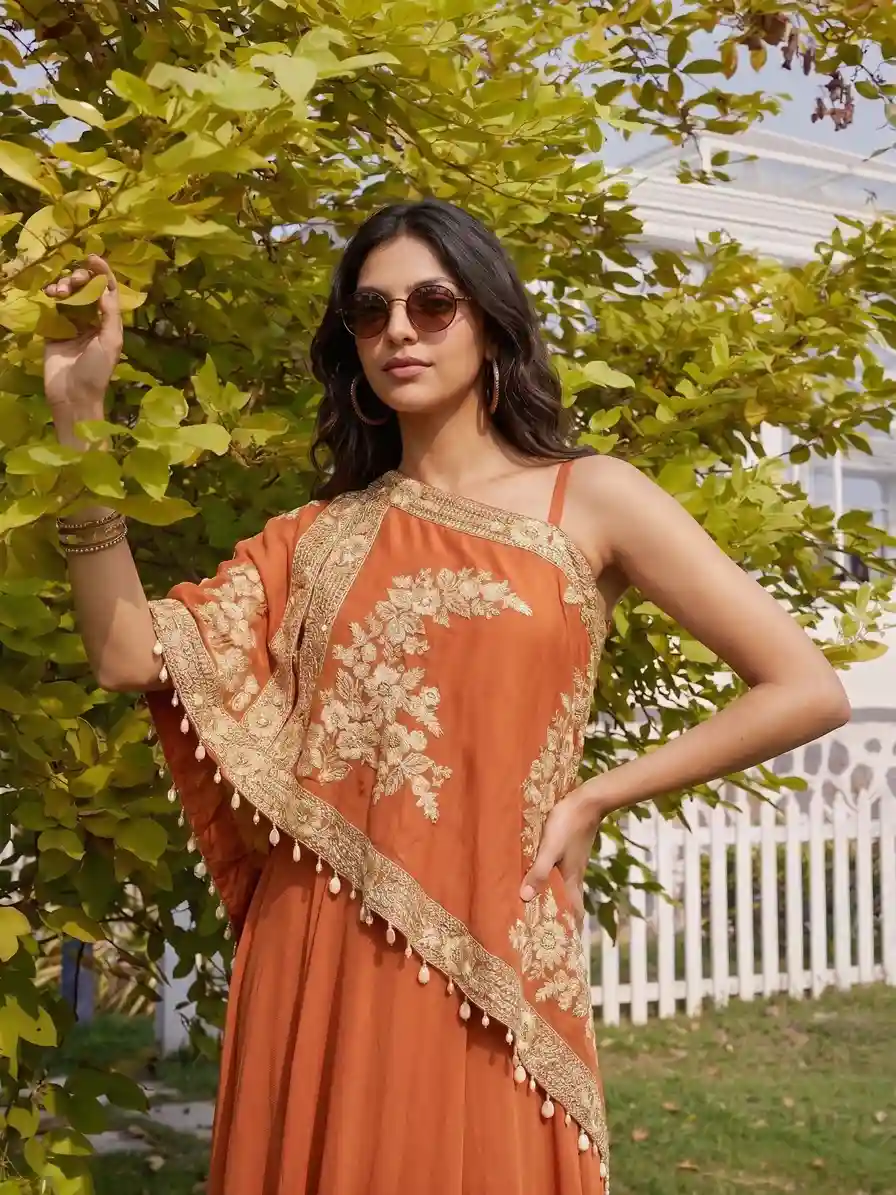
Check that the print runs across the pleats and the waistline in both frames.
Which setting suits fusion wear?
A plain cream studio backdrop suits marketplace listings, while staircases, patios and arches suit lookbooks.
| Setting | Best for | Mood |
|---|---|---|
| Warm cream studio backdrop | Marketplace listings | Clean, with the focus on the garment |
| Palace staircase with carved railings | Festive and wedding-guest looks | Grand and formal |
| Sunlit boutique patio | Cocktail and day-to-evening fusion | Relaxed and modern |
| Terracotta archway with soft shadow | Resort and artisan collections | Warm and earthy |
How many angles does each style need?
Most listings need a front view, a three-quarter view, a back or side view and one close detail. Each marketplace sets its own image rules, so check them before you plan the set.
A checklist for the source photo
Run through this list before you upload the dress photo.
- The full dress from the neckline to the hem in one frame.
- Pleats smoothed and creases steamed out.
- Cape, shrug or sheer layer arranged as worn, with its edge visible.
- Even daylight or two diffused lights, with no hard shadow across the bodice.
- A plain surface that contrasts with the colour of the dress.
- A close-up of the embroidery or print if it is a selling point.
What can you expect from an AI shot of draped fabric?
The model, the setting and the angles are handled for you, but a clear source photo and a last look at the folds are still your job.
- Keeps the model, the angle and the background you chose across the batch
- Lets you add a new colourway without a new booking
- Shows what will be made in the Summary tab before you order
- A flat, well-lit source photo
- A pose chosen for movement when a cape has to fall naturally
- A full-zoom check of logos and fine embroidery
Frequently asked questions
How do I photograph a dress with a cape?
Arrange the cape as it sits when worn and shoot it against a surface that contrasts with its colour. In Catalogue Studio choose a pose with a gentle step so the cape falls naturally.
Can I use these photos on marketplaces?
Choose a plain background for listings and check each marketplace's own image rules first. Our marketplace guide explains what to look for.
What if the dress comes in several colours?
Upload each colourway on its own and run it with the same model and pose choices. The set then reads as one collection on your product grid.
How do packages work?
A package in the Styles tab bundles a model, a setting and several poses. Pick one and Catalogue Studio makes the full set of frames for your dress.
Do I need studio equipment for the source photo?
No. A clear photo taken in daylight against a clean wall or sheet is enough, as long as the dress is smooth and fully in frame.
Ready to build the catalogue?
Upload one clear photo, then choose a model, a pose and a backdrop to make your first set.