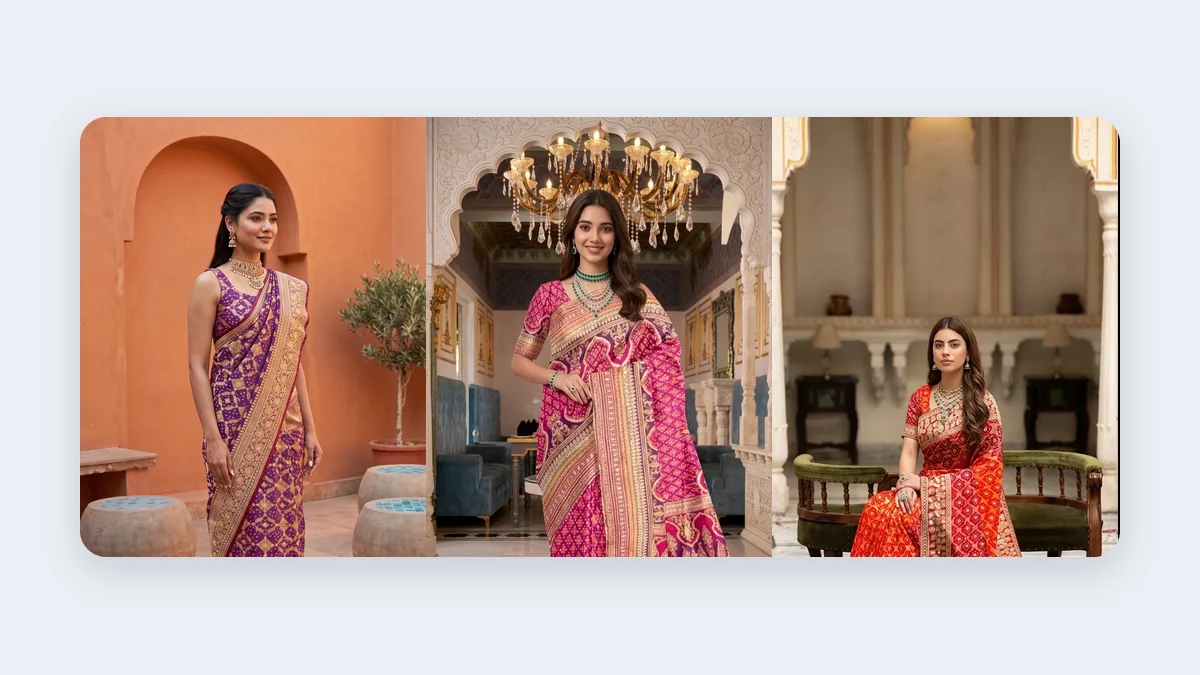
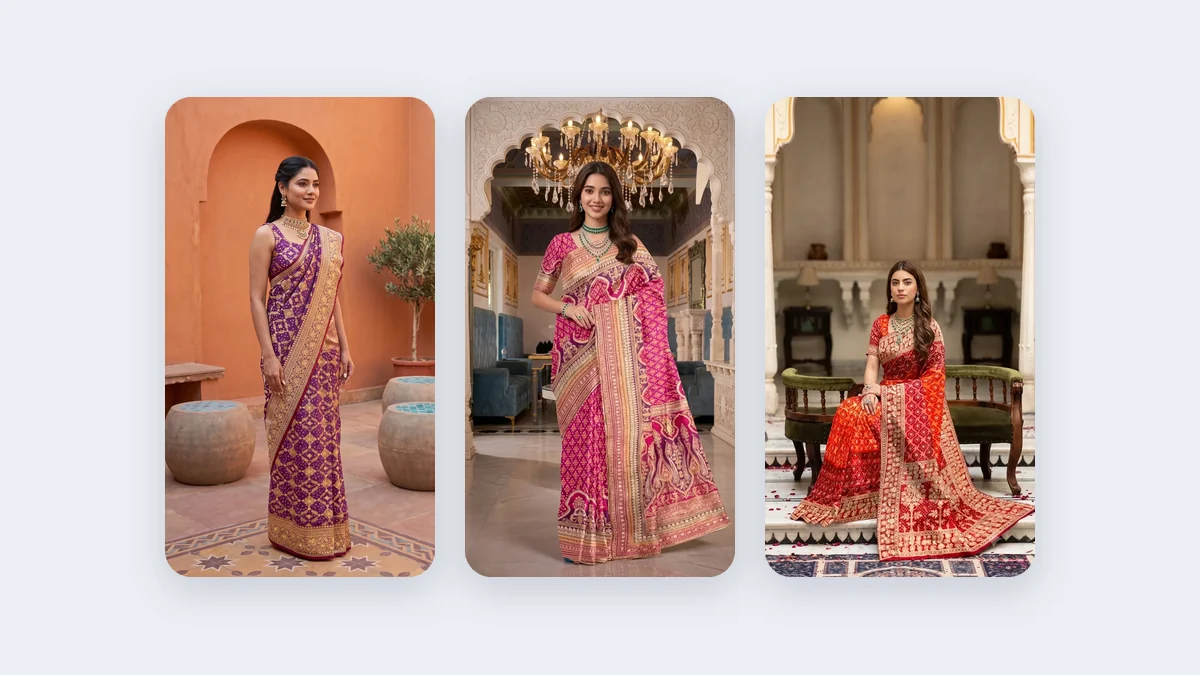
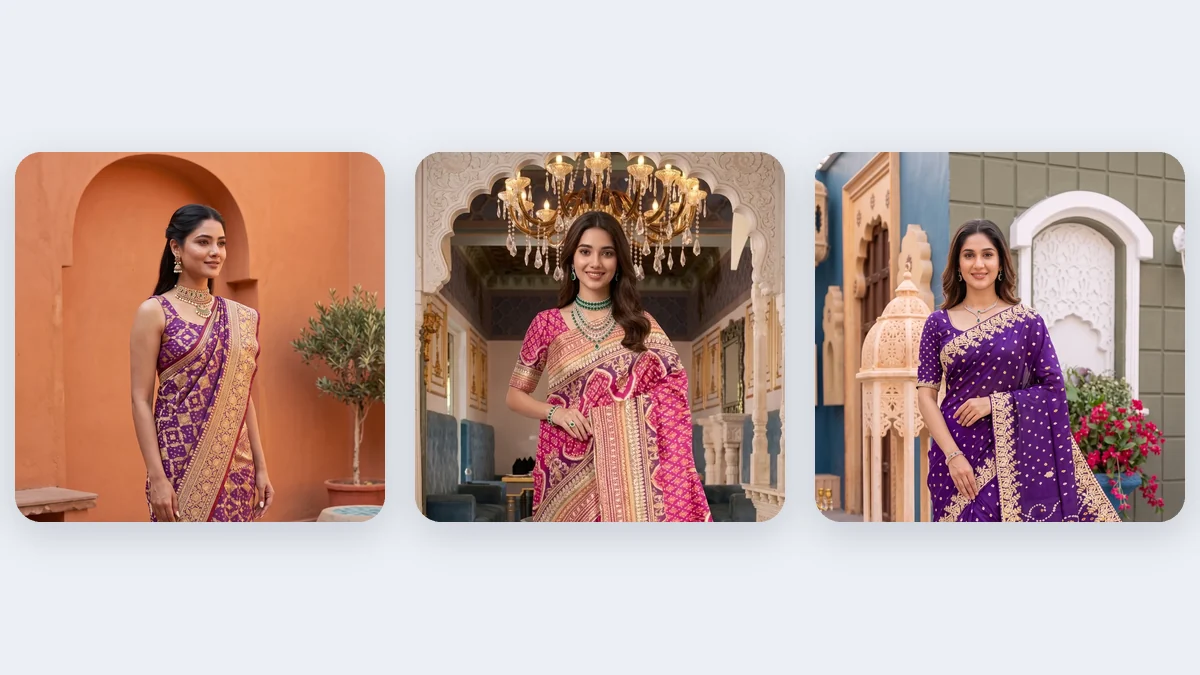
To photograph a tiered skirt set for an online store, show the top and the skirt together and let every tier read as a separate layer. Shoppers judge these sets on three things: how full the skirt is, where the top ends, and whether the print carries across both pieces.
This guide covers why tiers go flat in a plain photo, how to prepare the set, which angles to shoot and how to set up the batch in Catalogue Studio. It is written for sellers who photograph the sets themselves and want a full run of on-model shots from one source photo.
Why do gathers look flat in a plain photo?
Gathers collapse when nothing is inside them. A skirt laid on a table becomes a pile of fabric where the tiers overlap and the seams between them disappear. On a body the same tiers stand away from each other and show their length, and that gap is what your source photo has to keep.
Fabric changes the problem. Light voile and crinkle rayon cling at the waist and hang straight, while stiffer poplin holds a fuller shape. Photograph the set the way it really behaves, so the buyer is not surprised when it arrives.
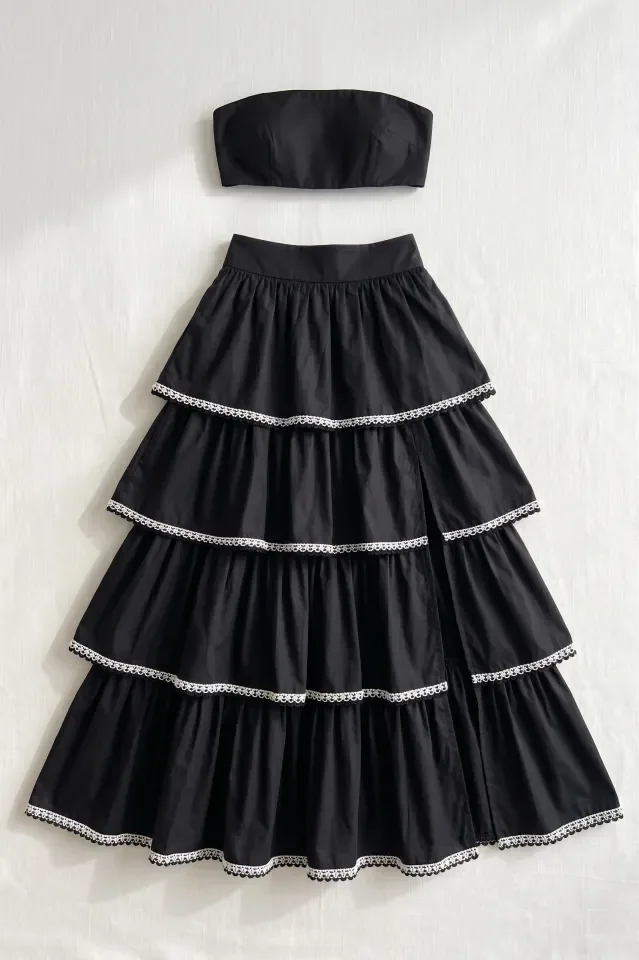
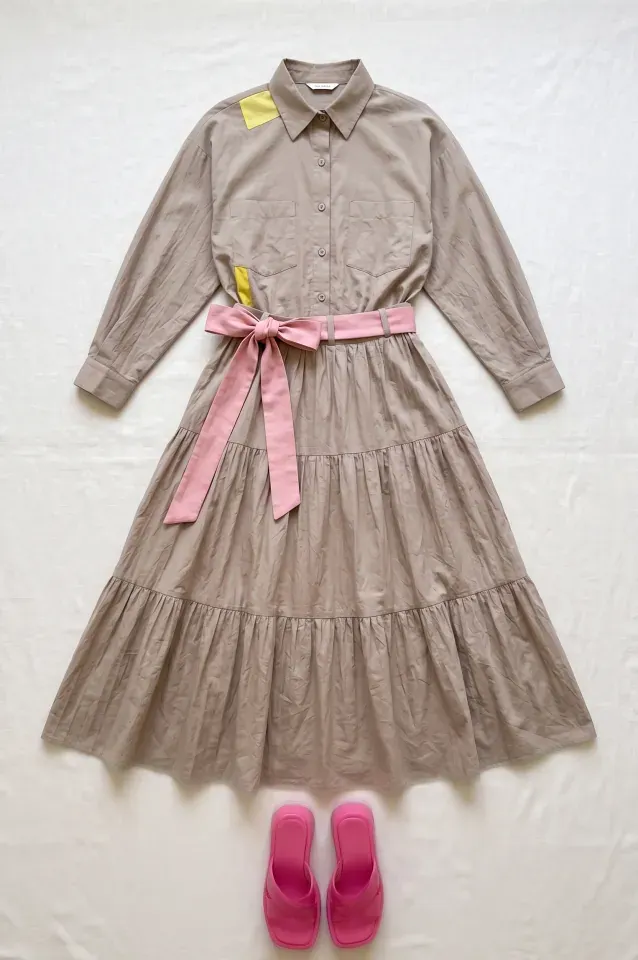
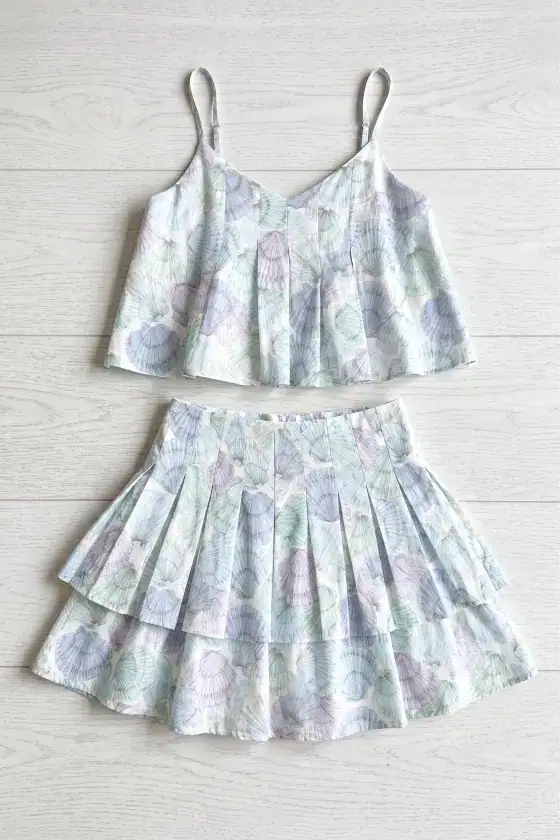
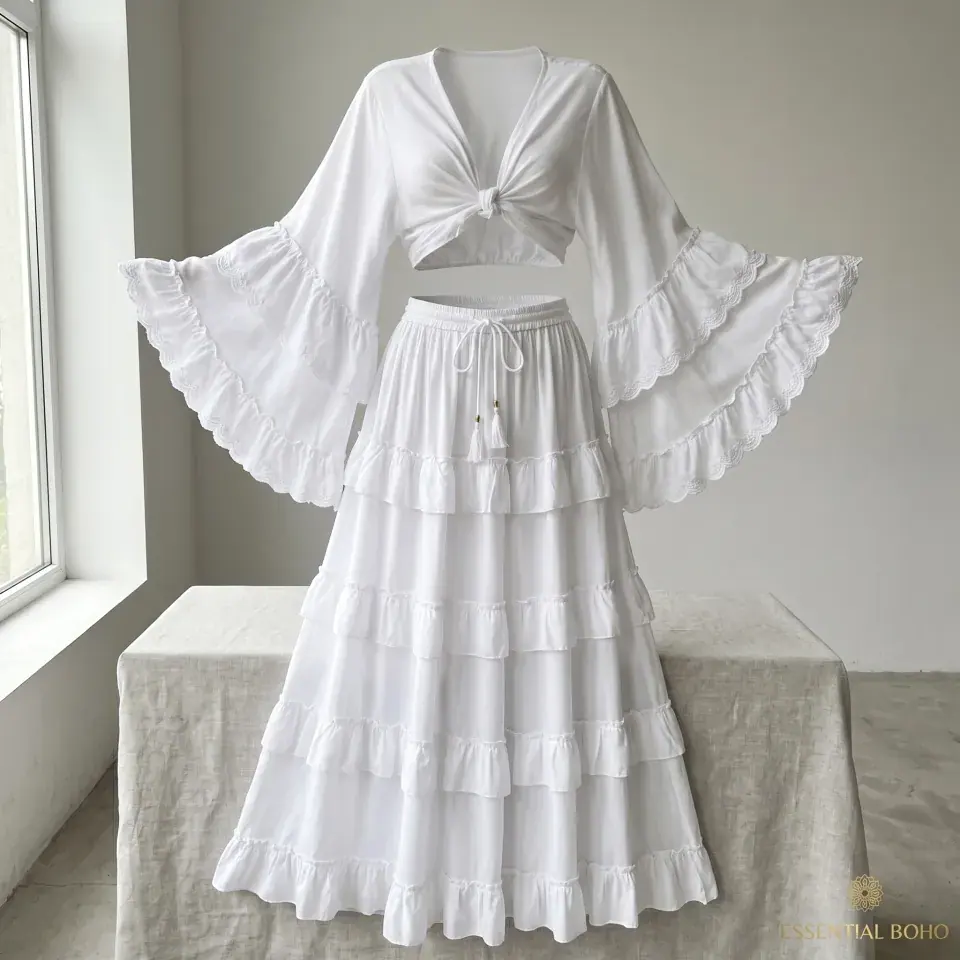
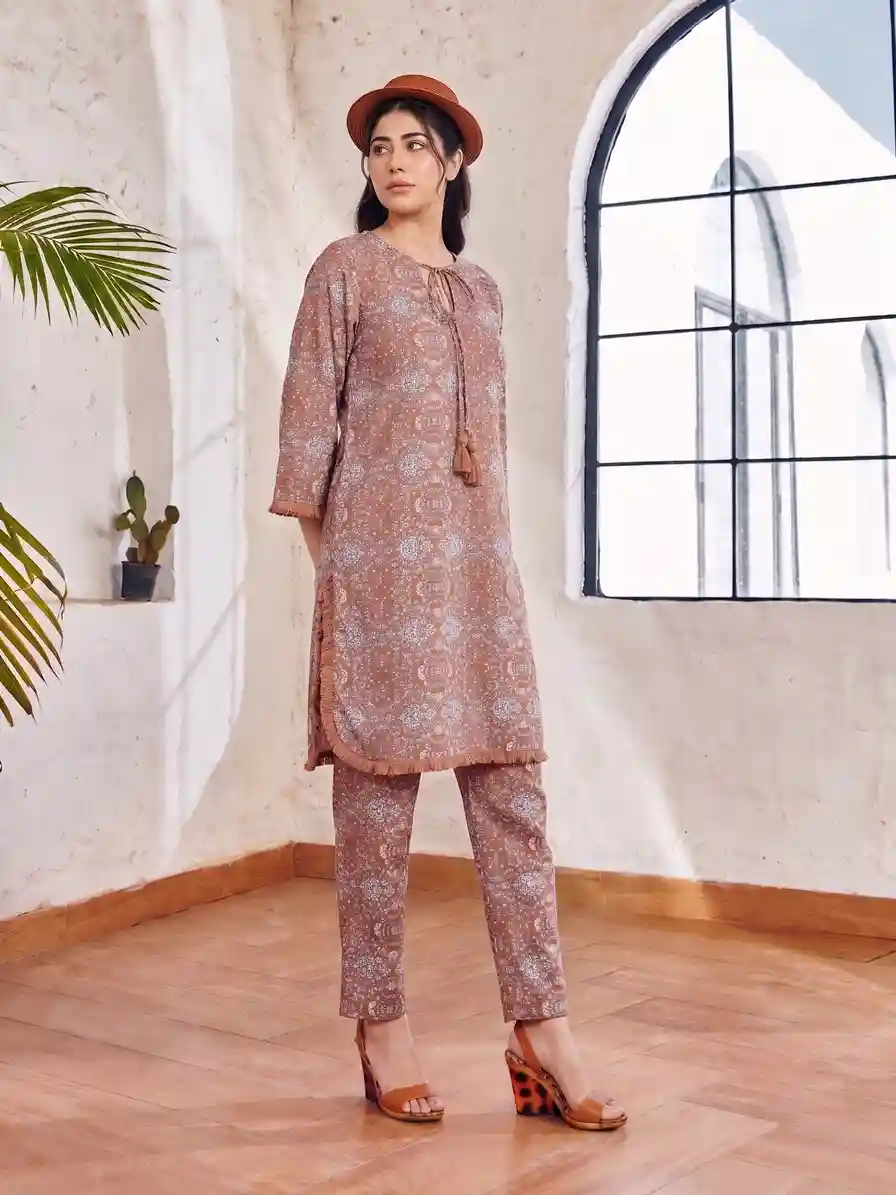
The library files tiered skirt sets under Co-ord Set. These are real co-ord uploads, so notice how much frame each piece gets and how the top and bottom are shown together.
How do you prepare the set for the camera?
Steam it, hang it, and let the tiers fall before you press the shutter. The six steps below take about as long as setting up the shot.
- Steam each tier from the inside
Work from the top tier down. Steaming the outside flattens the gathers you want the camera to see.
- Hang the skirt by its waistband
A skirt hanger with clips lets the tiers drop under their own weight and keeps an elastic or zip waist square.
- Set the top and skirt as worn
Put both pieces in one frame, top above skirt, with the gap or overlap you want customers to see.
- Shoot straight on at waist height
Keep the camera level so the tiers are not stretched or shortened. Fill the frame from the neckline to the bottom hem.
- Add one close frame of the hem
Show the lowest tier, any trim and the print at a size where the motif is legible.
- Upload both pieces as one garment
Add the set in Catalogue Studio, pick models and styles, then read the Summary tab before you generate.
Which angles should the catalogue include?
Four frames cover most listings. Add a fifth only if the set has a feature the other four cannot show.
| Angle | What it shows | Easy to get wrong |
|---|---|---|
| Front, full length | Overall fullness, where the top ends, the waist | Cropping the bottom tier |
| Three-quarter | How the tiers step down and turn | The skirt hiding the hem of the top |
| Back | Zip or tie closure, the back of the top | Skipping it because it looks the same |
| Close on the hem | Trim, gather density, print scale | Soft focus on the fabric |
What does a finished two-piece set look like?
Package #498 below is a different set from yours: a printed crop top with cowl dhoti pants. It is still a useful guide, because every two-piece set needs the same three checks.
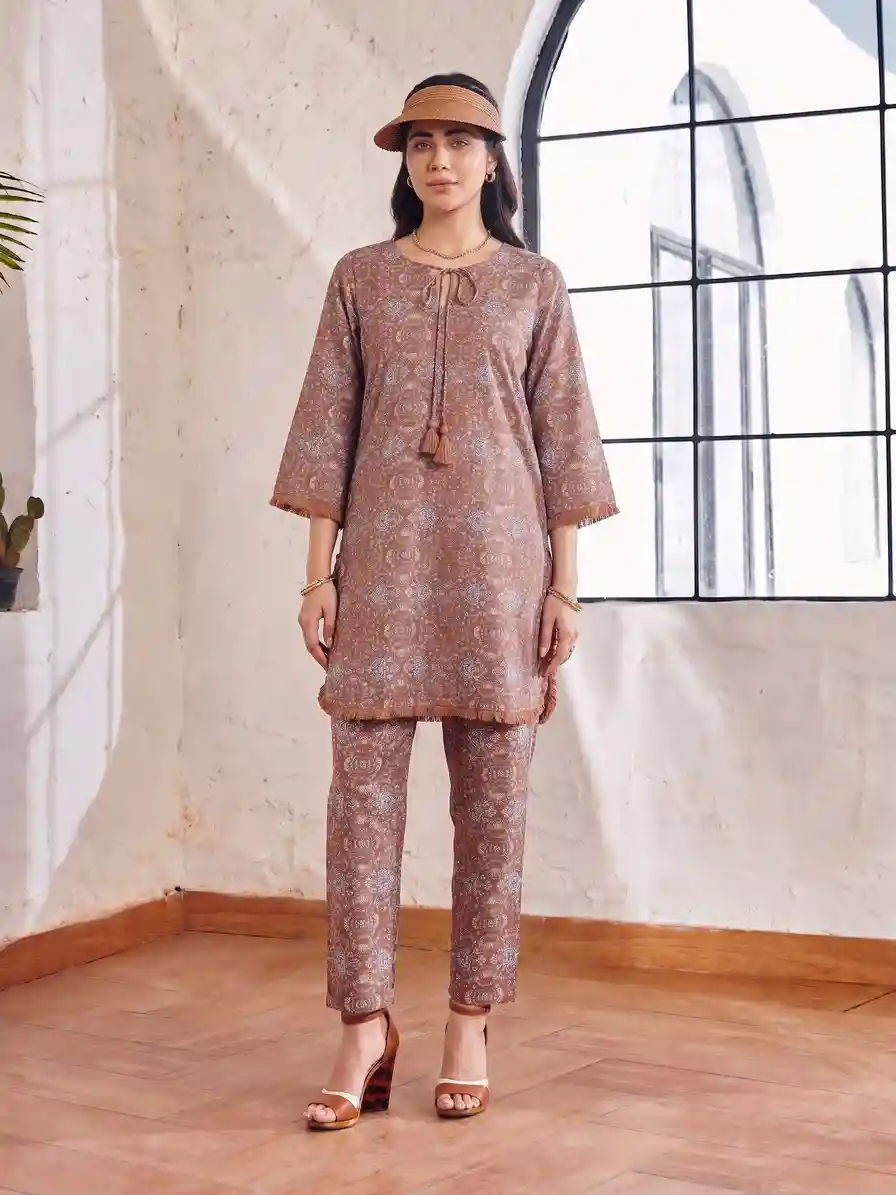
Two frames of one co-ord set. Check how the print meets at the waist, where the top's hem lands, and how the bottom keeps its volume in the side view.
Which backdrop shows the layers best?
Use a plain backdrop for the product page and a softer scene for lookbooks and social posts.
| Backdrop | Use it for | Why it works |
|---|---|---|
| Warm off-white studio wall | Product page and marketplace listing | Keeps the eye on the tiers and the print |
| Sunlit garden or meadow | Lookbooks and social posts | Suits floral and boho prints; keep the hem in frame |
| Whitewashed courtyard | Summer collections | Soft shadows show the depth of each tier |
| Pale grey wall | Deep or very bright colours | Gives contrast so the outline stays clear |
- Keeps the same model and lighting across every colourway of a set
- Lets you change a pose or a background without rebooking anyone
- Gives you a shot to check, and to recreate if a tier or print looks wrong
- Leaves you the owner of every image, free to use commercially
- You need a clean, steamed source photo to start
- Fine gathers and printed trim must be checked at full zoom before you publish
- You direct by choosing options, not by talking a model through a pose
- Both pieces steamed, with no folds from the packaging
- Top and skirt in one frame, arranged as they are worn
- Camera level, centred on the waist
- Neckline to hem fully inside the frame
- Soft, even light with no hard shadows between the tiers
- A second, closer frame of the hem and print
Questions sellers ask about two-piece skirt sets
Should I photograph the top and the skirt together or separately?
Together, as worn, in one frame, so the pairing carries into the result. Add a separate close frame of each piece when their scales differ a lot, such as a short crop top and a very full skirt.
How do I stop the tiers looking flat?
Steam from the inside, hang the skirt by its waistband and let it fall before you shoot. Do not press the gathers flat with an iron.
Will the print line up across the two pieces?
Check it at full zoom before you publish. If a print or trim does not meet where it should, recreate the shot, or reshoot the source with the pieces laid more squarely.
Which category do I choose for a tiered skirt set?
Co-ord Set, because the set is sold as two matching pieces. Upload both pieces together as one garment.
Can I use the generated photos in my own store and on marketplaces?
Yes, you own the images and can use them commercially. Marketplaces differ in what they accept, so read the current rules before you upload.
Plan your first set
Start with your best-selling set. Shoot it with the steps above, run it through the Summary tab and compare the result with your hanger photo before you do the rest of the range.