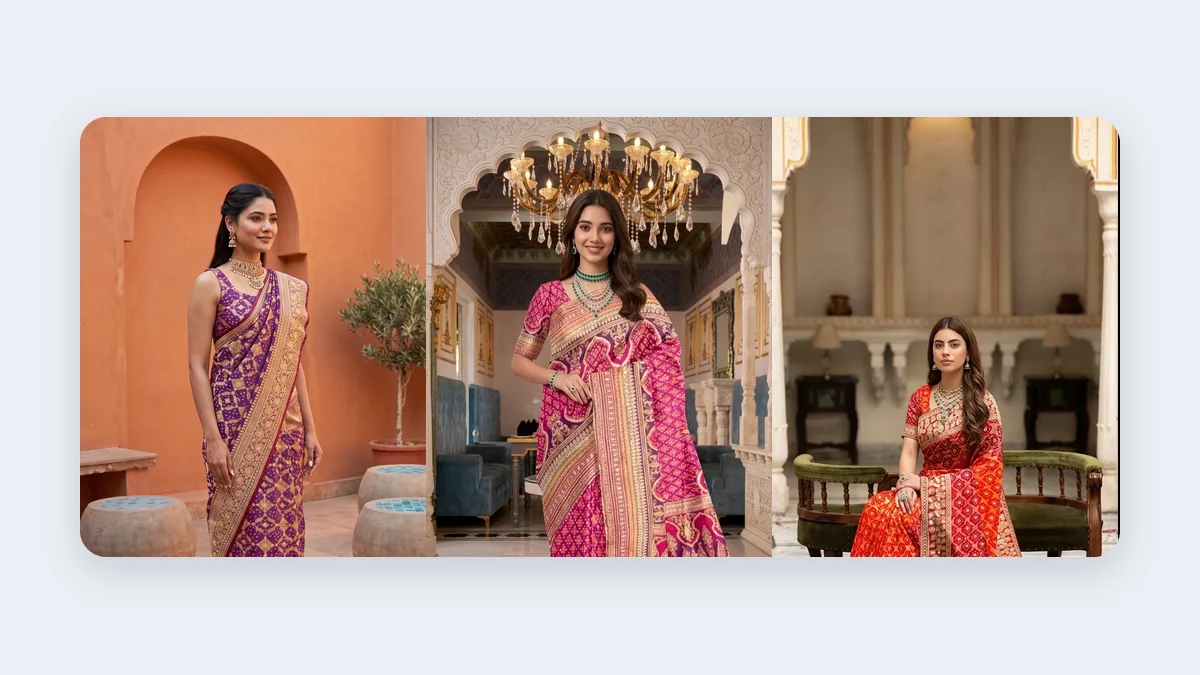
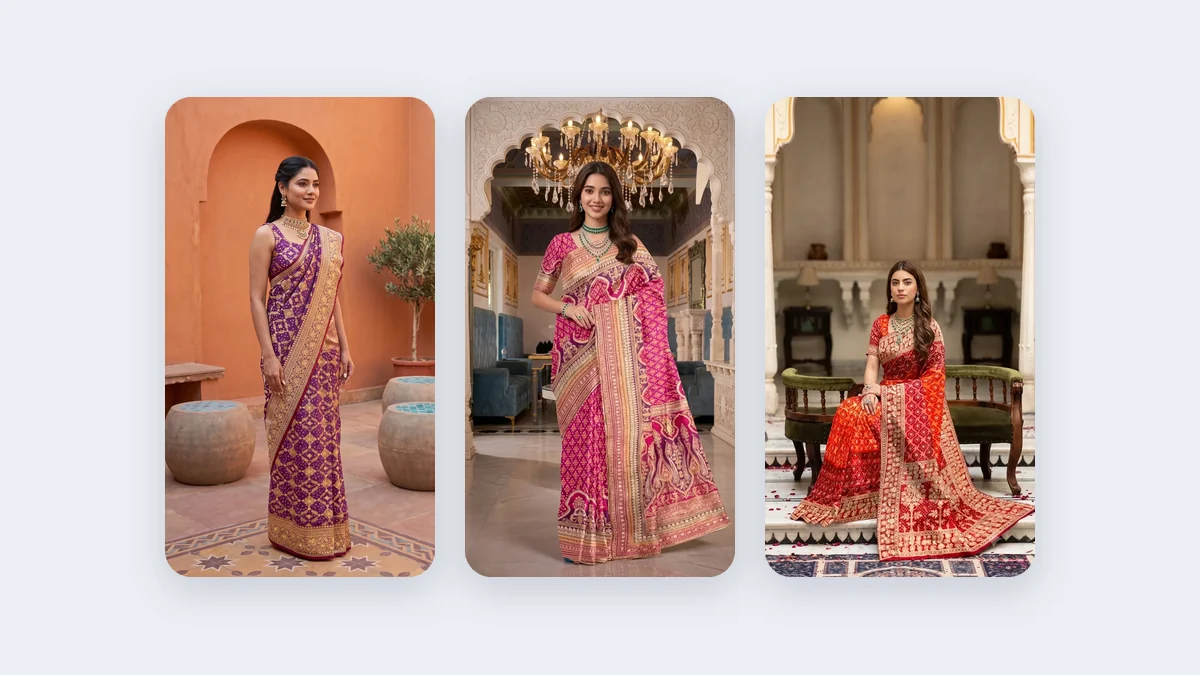
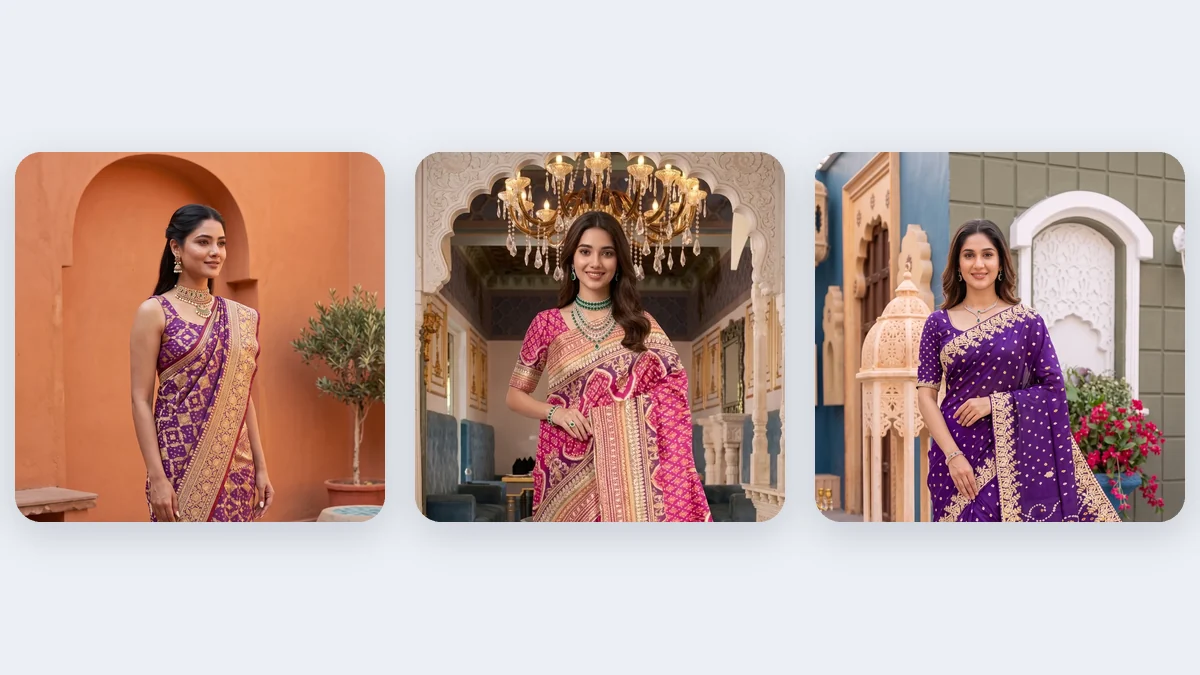
An indo-western gown sells on two things at once: the western cut of its bodice and skirt, and the Indian detail laid over it, such as a zari border, an attached dupatta or a jewelled neckline. This guide covers how to photograph one for a catalogue, which angles to include, and how to set up Catalogue Studio so the whole range looks like one collection.
Which details must the photo prove?
It must prove the silhouette line, the surface work and the way the attached drape falls, because those are what a buyer cannot judge in person. The fusion is in the details: a structured corset bodice or sweetheart neckline above a flared or mermaid skirt, with zari, sequins or stone-work catching the light. If the gown has a pallu or sheer dupatta fixed at the shoulder, it needs clear space of its own in the frame.
How do you lay out the skirt and the attached dupatta?
Hang it on a padded hanger or a dress form with the skirt fanned out, so the line from neckline to hem is readable. Steam out the folds first, because creases in a heavy skirt come through as real shape in the result. Arrange an attached dupatta over the shoulder so its edge and fall stay visible instead of bunching behind the body. Light it from the front with soft daylight and avoid flash, which turns zari and sequins into white hot spots.
Source photo checklist: skirt, bodice and attached dupatta
- Neckline to hem inside the frame, with floor space below the hem.
- Skirt fanned evenly, not gathered to one side.
- Attached dupatta or pallu pulled clear of the body so its edge is visible.
- Soft, even light with no cast shadow from the hanger or the wall.
- A plain wall in a colour that differs from the gown, so sheer layers and the outline stay readable.
- One extra close frame of the bodice if the neckwork is the main detail.
Which angles does the listing need?
Front, three-quarter, back and one close frame cover most gown listings, and each proves something different.
| Angle | What it proves | Watch for |
|---|---|---|
| Front, full length | Silhouette and neckline | Hem cropped at the bottom of the frame |
| Three-quarter | How the skirt flares and the dupatta falls | Dupatta bunched behind the shoulder |
| Back | Closure, back neckline and any train | Zip or hooks left open |
| Close frame | Zari border, stone-work or sheer edge | Soft focus on the surface work |
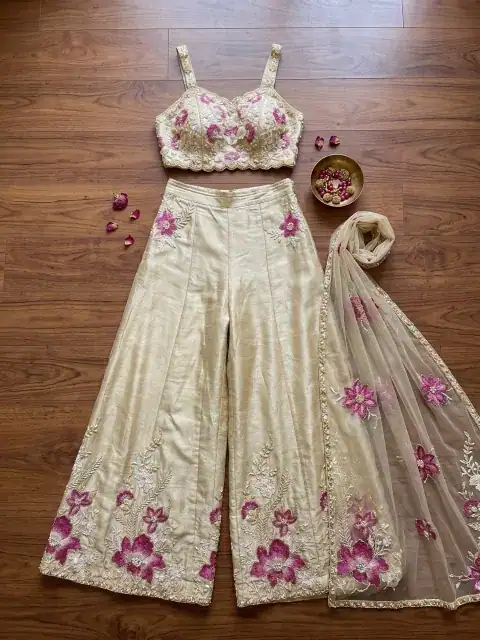
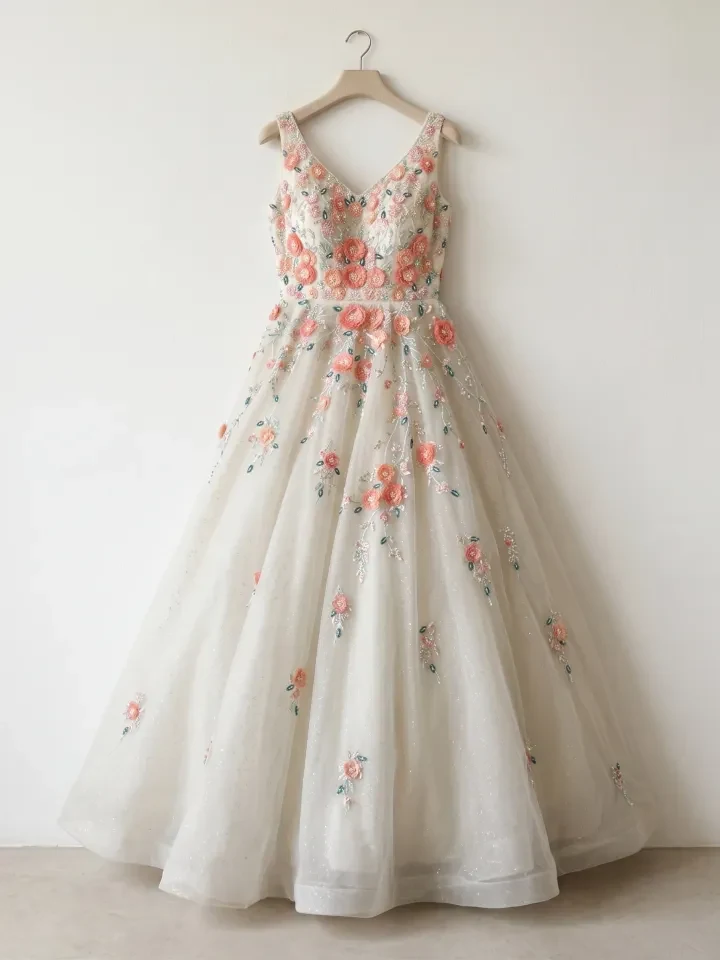
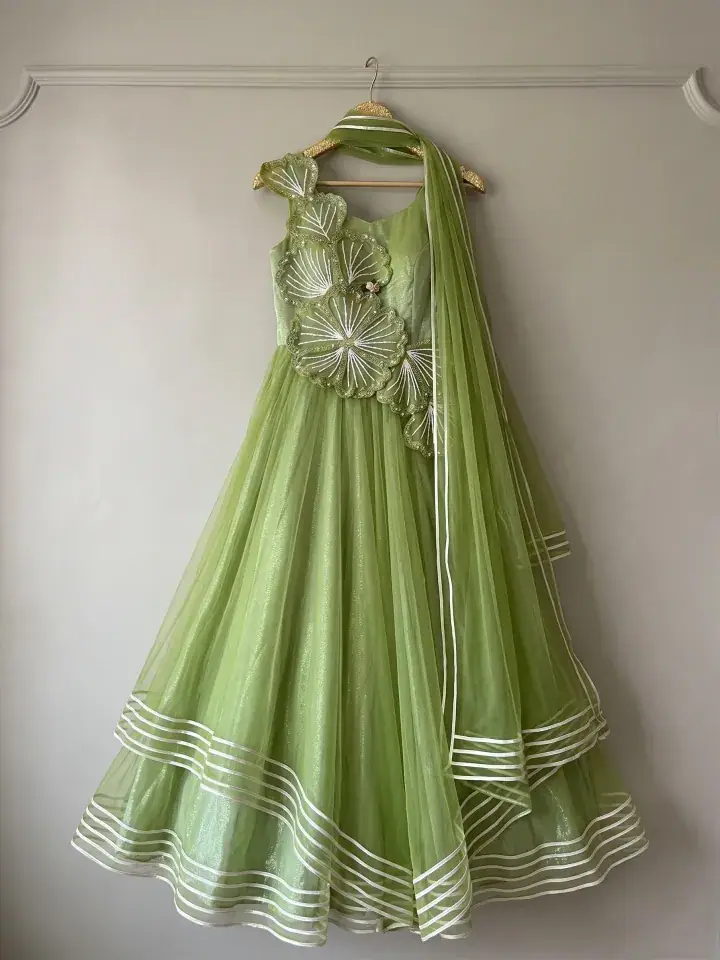
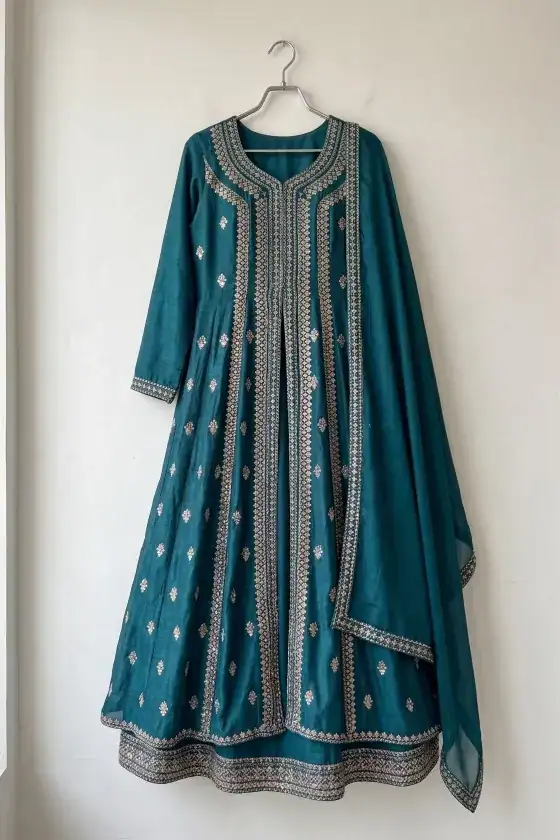
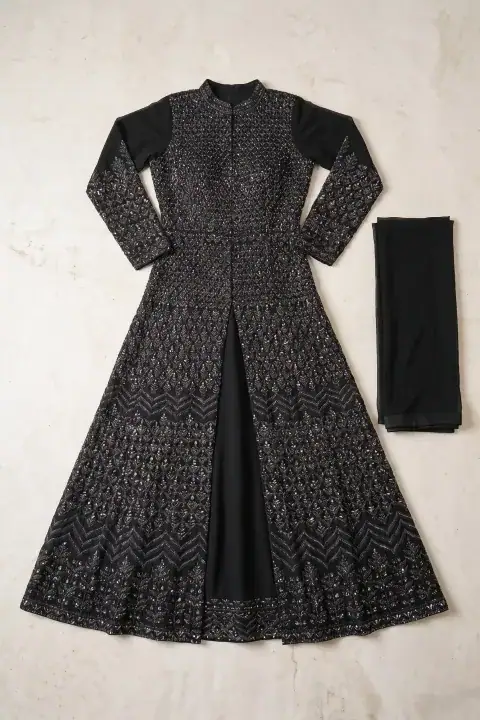
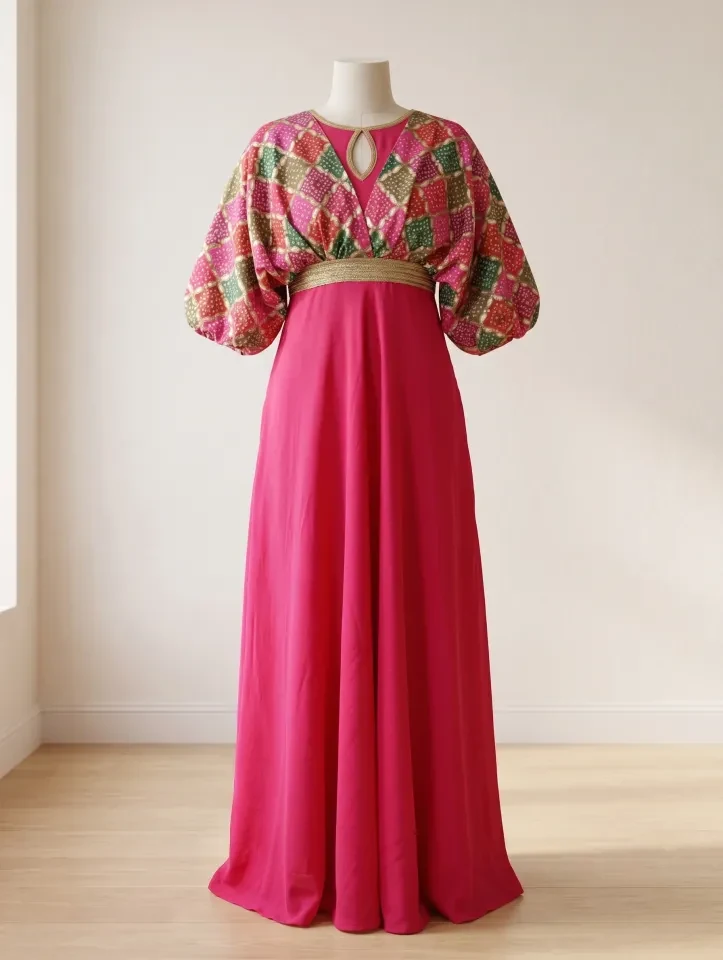
These plain, square-on source photos work best: the whole gown in frame, nothing covering the hem, even light. The library holds 9 reference photos for this garment type.
What does a finished set look like in Package #29?
Package #29 in our studio library shows an ivory and gold embroidered gown with sheer dupatta detailing, in a regal front stance and a three-quarter posture. Compare the two frames: the gold border keeps its line, and the sheer fabric stays see-through at the edge.
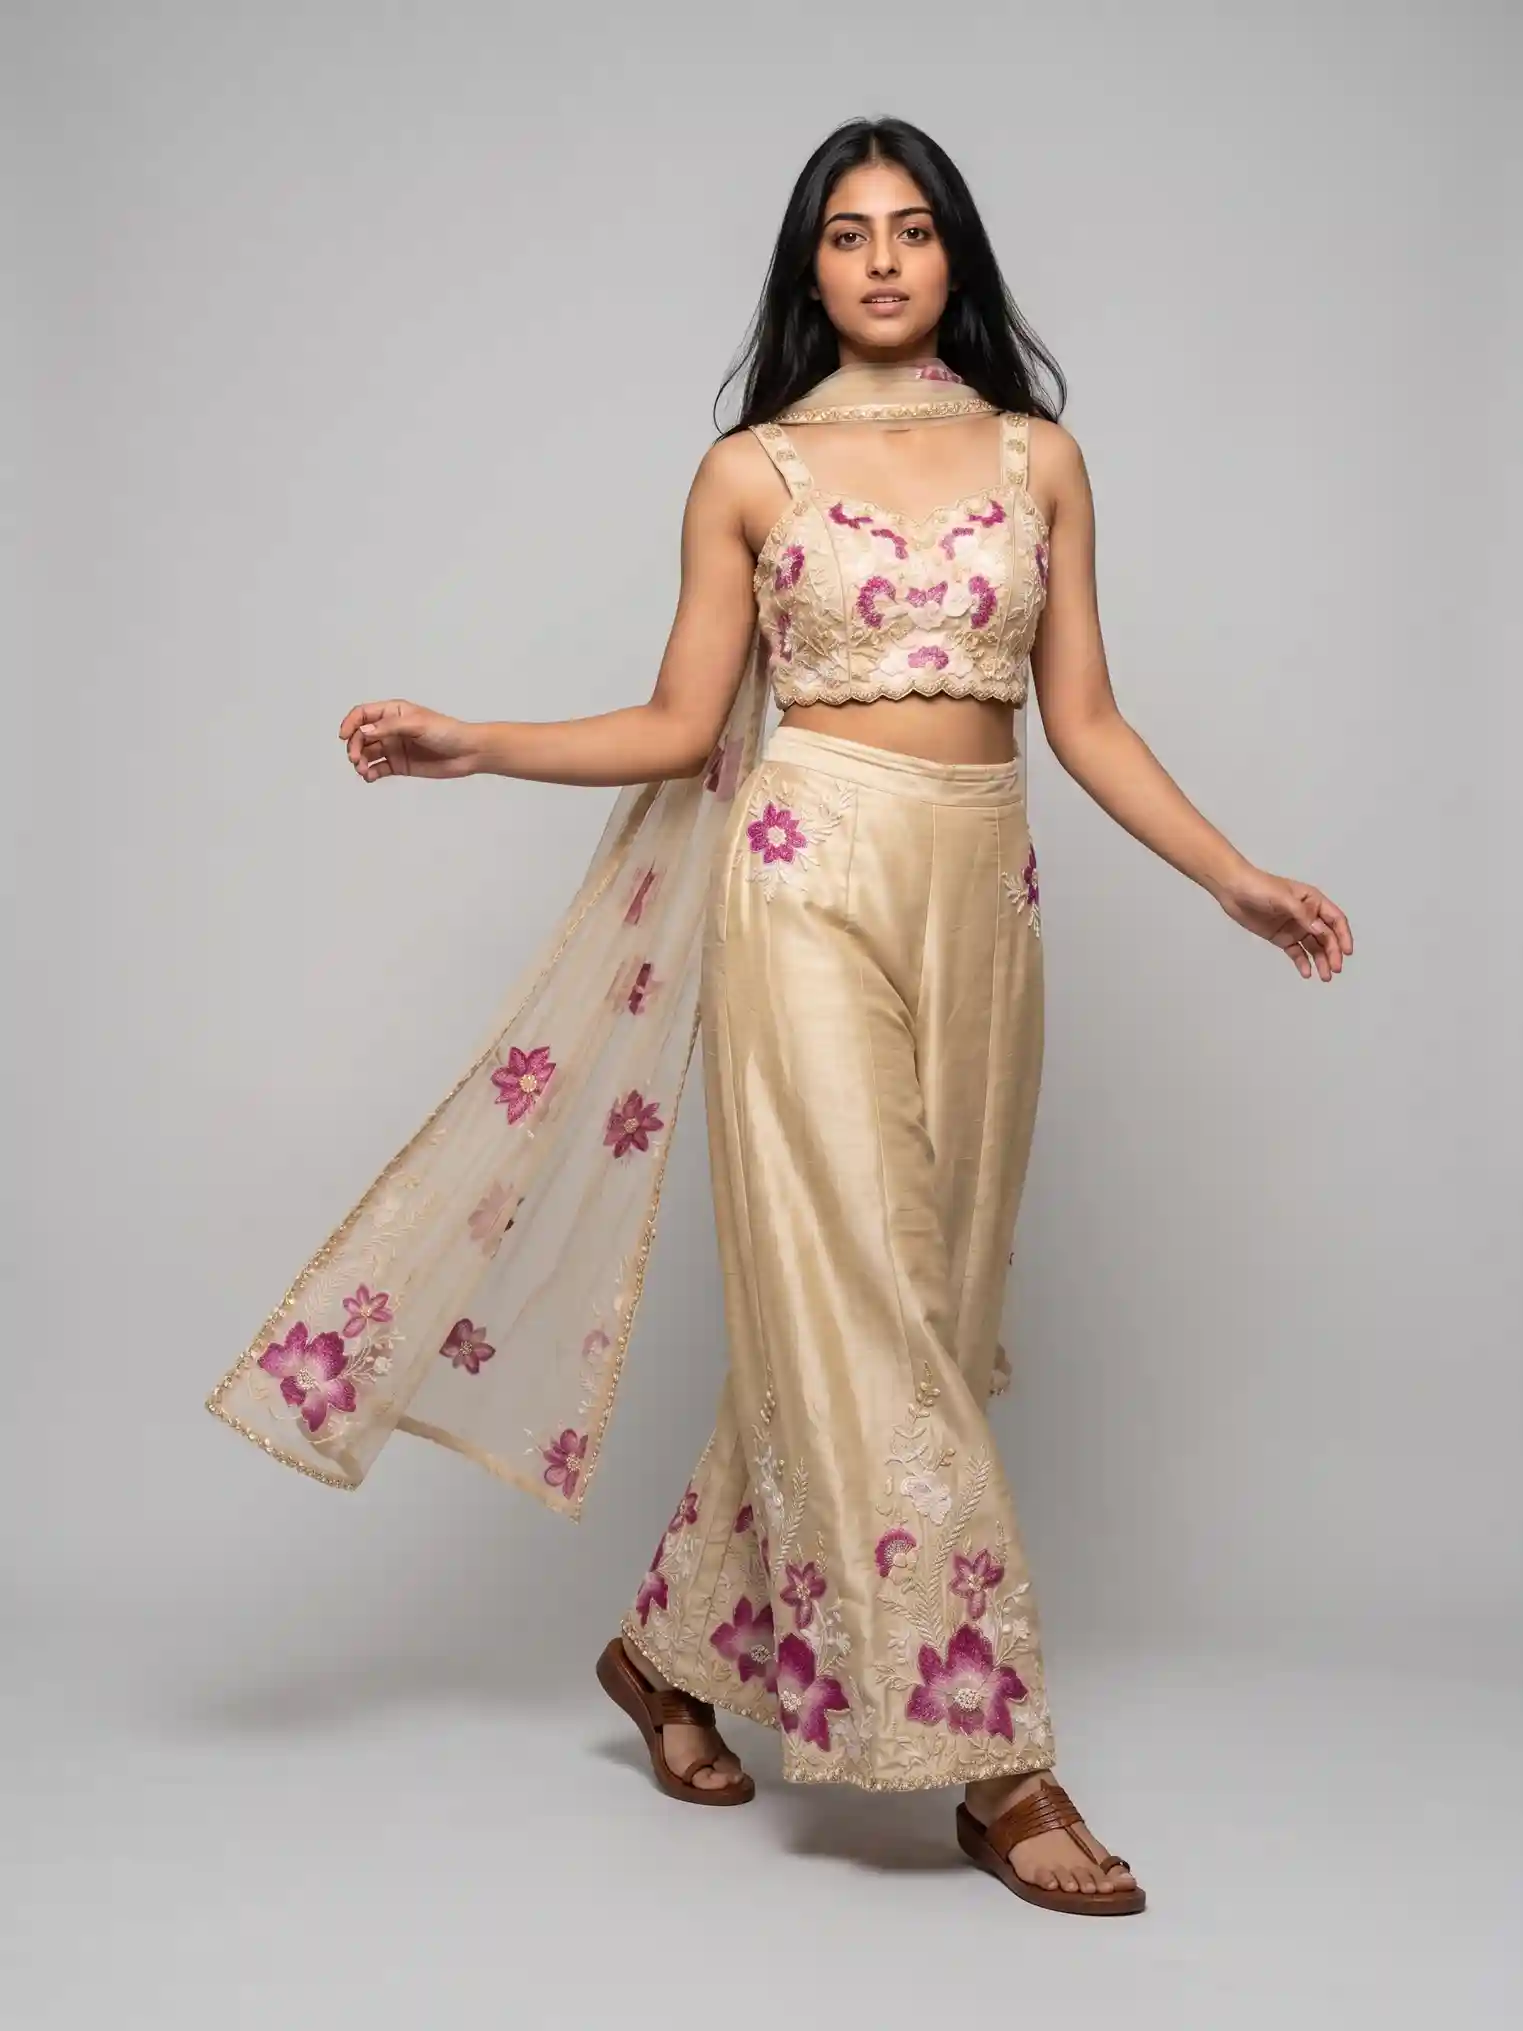
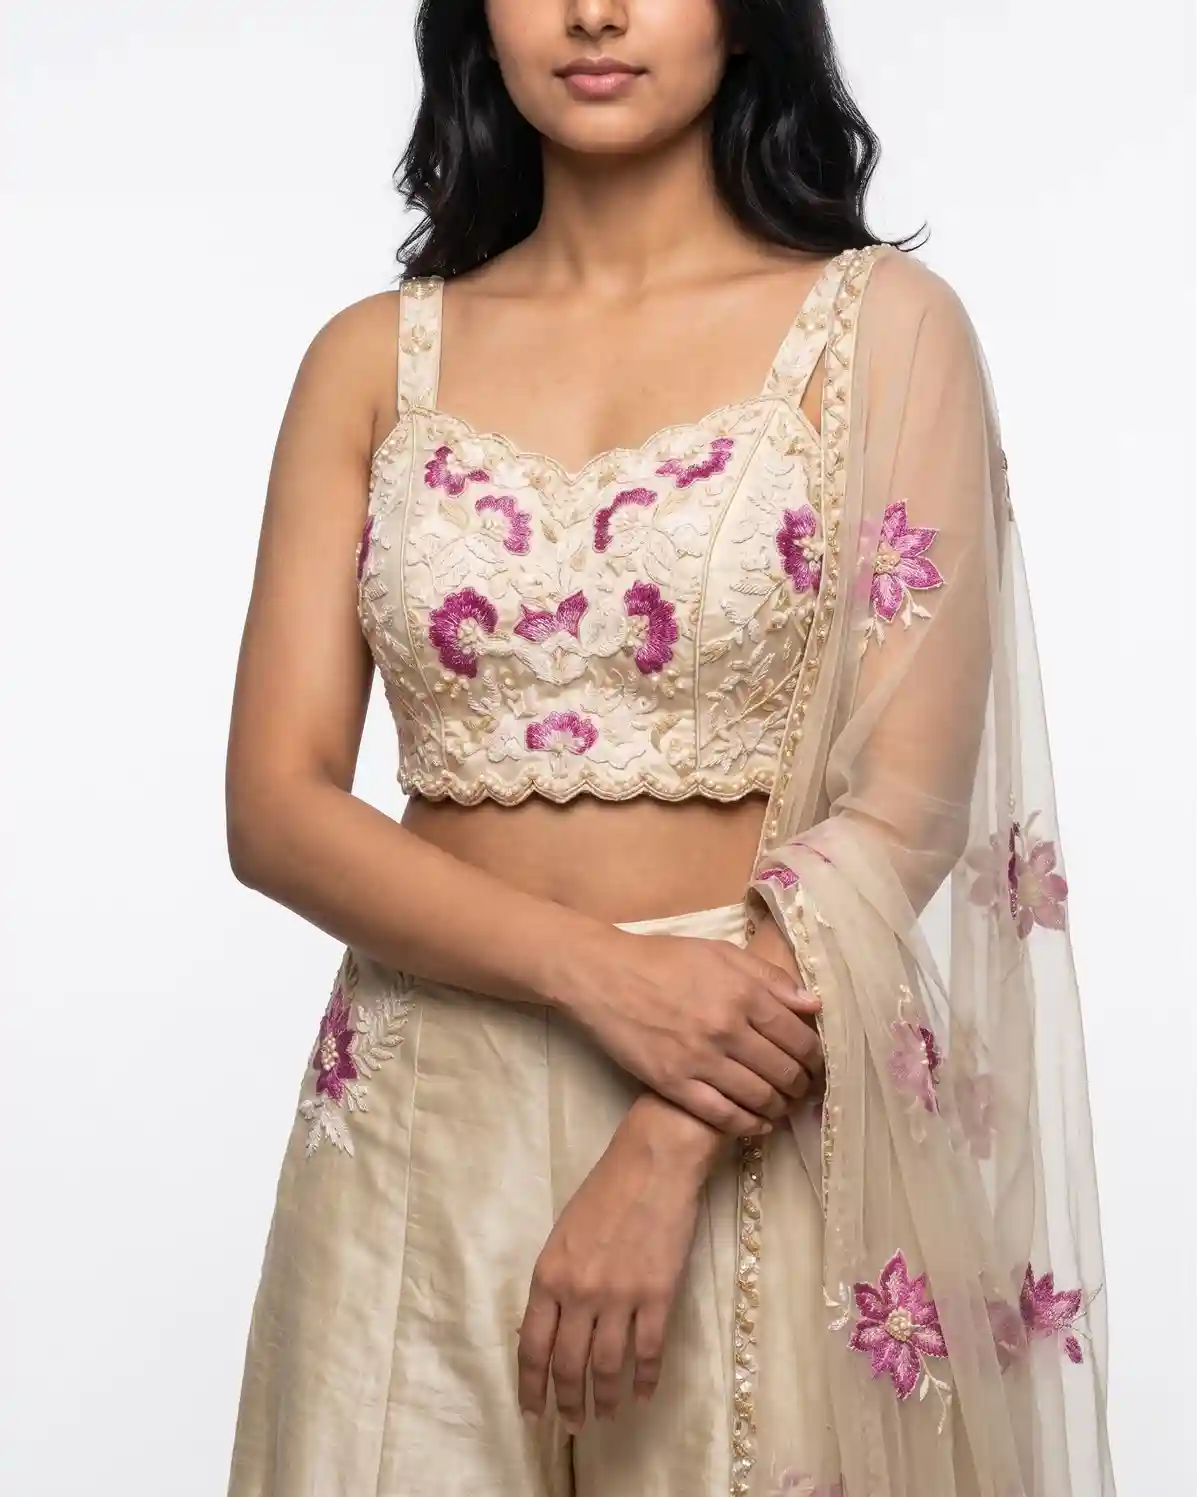
Look at the gold border in both frames and at the sheer dupatta edge. These are the details to check in your own set.
How do you shoot the set in Catalogue Studio?
- Prepare the gown
Hang it or dress it on a form, steam the skirt and fan it out, and arrange the attached dupatta over the shoulder.
- Take the source photo
Shoot square-on in soft daylight with the full gown in frame and floor space under the hem.
- Choose the category
In Catalogue Studio pick Indo-Western Gown and upload the photo. Add a close frame of the bodice if the neckwork matters.
- Pick model, pose and backdrop
Make these choices before you order. A regal front stance suits a formal gown, and a walking pose shows how the skirt moves.
- Check the summary
The summary lists every combination you are about to order. Read it through, then place the order.
- Review each shot
Zoom in on the border, the neckline and the dupatta edge. Use Recreate on a shot that missed, or ask for half the credits back.
Which backdrop suits a gown that is half Indian, half western?
A warm ivory studio wall suits store listings, and a palace or courtyard setting suits lookbooks.
| Backdrop | Best for | Effect |
|---|---|---|
| Warm ivory studio wall | Store and marketplace listings | Clean, detail comes first |
| Carved marble courtyard | Reception and sangeet lookbooks | Regal and formal |
| Heritage archway | Wedding-season campaigns | Warm, rich and ceremonial |
| Neutral grey wall | Comparing colourways side by side | Calm and true to colour |
What works well, and what to watch
- The same model, light and backdrop across every colourway of the gown
- Each extra colourway starts from its own source photo, with no studio day to book
- You choose the pose and setting before you order
- A creased or half-hung gown gives a creased result
- Fine zari motifs need a close check at full size
- A heavily embellished gown needs a second close frame so the surface work stays readable
Which four mistakes spoil the shot?
Four mistakes cause most of the poor gown photos we see.
- Cropping the hem, which removes the line the gown is bought for.
- Photographing the gown flat on a bed, which hides the flare of the skirt.
- Letting the dupatta hang behind the body so its edge never shows.
- Shooting against a wall close to the gown's own colour, so sheer layers disappear.
How many photos does the listing need?
Plan on the front, three-quarter, back and one close frame as a base set, then check the marketplace's own rules before you export. Each marketplace sets its own image requirements, so we keep a separate guide for them.
Questions sellers ask about photographing gowns
Can I photograph a gown on a hanger instead of a mannequin?
Yes, if the skirt is fanned out and the whole gown is in frame. A dress form gives a truer bodice shape, so use one when the neckline and waist seam are the selling point.
Do I need to shoot the attached dupatta separately?
Not usually. Arrange it over the shoulder in the main photo so its edge and fall are visible. If it carries its own embroidery, add a close frame.
How do I stop the zari looking blown out?
Use soft daylight or diffused light from the front, not a flash. Check the border at full size after you generate, and use Recreate if it looks flat or blotchy.
Can I make the same gown in other colourways?
Yes. Photograph each colourway the same way and run it through the same model, pose and backdrop, so the set reads as one range.
Who owns the images I generate?
You do, and you can use them commercially. Each shot is yours to check, to Recreate, or to ask for half the credits back if it missed.
Ready to build your first set?
Start with one gown: photograph it as described above, choose the model and backdrop, and check the summary before you order.