Jewellery is one of the hardest products to photograph. Metal reflects everything, stones scatter light and small details disappear. A great jewelry photoshoot controls reflections and shows size, shine and craftsmanship. Here is how to do it.
Why jewellery is tricky
- Polished metal acts like a mirror.
- Gemstones need sparkle without blown-out highlights.
- Pieces are small, so focus and depth of field matter.
- Dust and fingerprints show up at macro scale.
Equipment
| Item | Use |
|---|---|
| Camera with macro capability or phone with a macro lens | Close detail |
| Tripod | Sharp, repeatable framing |
| Light tent or diffused softboxes | Soft reflections |
| White and black cards | Control reflections and contrast |
| Jeweller's cloth, gloves, tweezers | Clean handling |
| Putty or wax | Hold pieces in position |
Lighting setups
- Light tent for shiny metal. Surround the piece with diffusion so reflections are soft and even.
- Black cards for contrast. Place a black card beside the piece to define edges of silver and gold.
- Angled light for gemstones. Move the light until facets sparkle, but avoid pure white blown highlights.
Backgrounds
- White for marketplaces.
- Black or dark velvet for diamonds and silver.
- Soft coloured or textured props for lifestyle images.
Shot list
- Hero shot on white.
- Angled view showing depth.
- Macro close-up of stones, clasp and hallmark.
- On-model shot to show scale.
- Lifestyle or festive styled shot.
Showing scale on a model
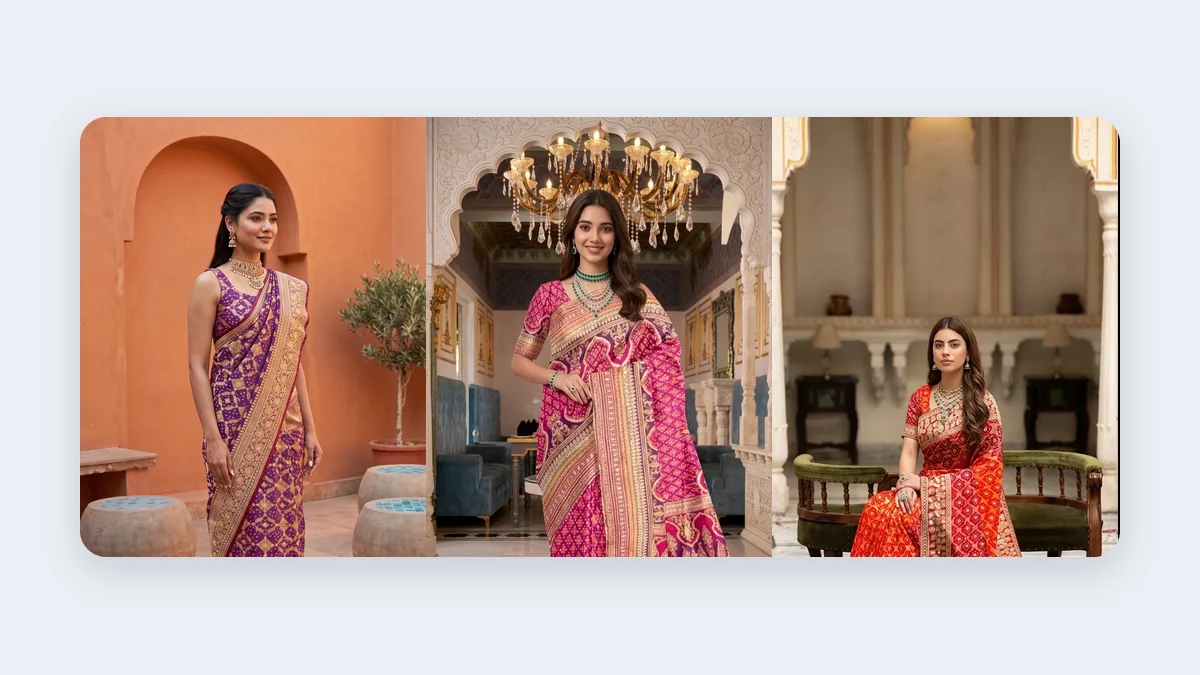
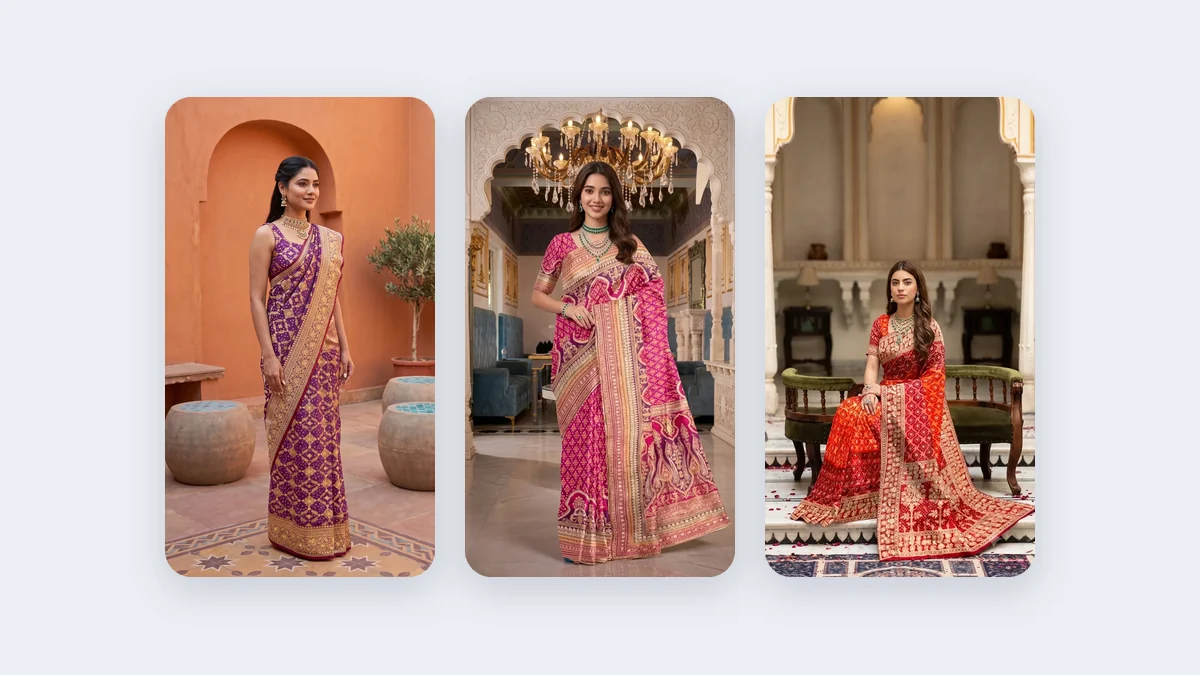
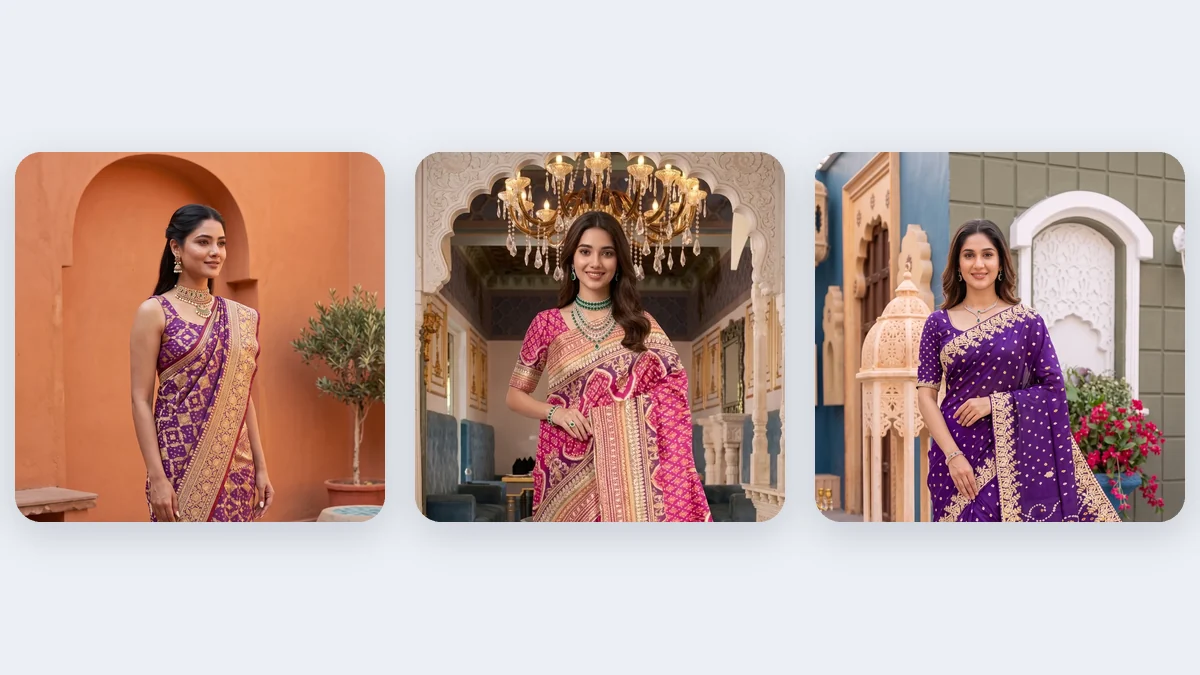
Customers need to know how a necklace or earrings sits. An on-model shot answers size questions better than any measurement. For traditional and bridal jewellery, show it with the matching outfit such as a saree or lehenga. AI tools like Vastralook can help create styled on-model visuals when arranging live models for every piece is not practical.
Editing tips
- Remove dust and fingerprints.
- Adjust colour so gold looks like real gold and not yellow-green.
- Sharpen gently without halos.
- Keep a consistent background and crop.
Mistakes to avoid
- Photographing with direct flash.
- Leaving fingerprints on metal.
- Colour casts from nearby objects.
- Shots too small to see detail.
Photographing different types of jewellery
Each jewellery category has its own challenges. Use the setups below as a starting point.
| Type | Main challenge | Best approach |
|---|---|---|
| Rings | Small, reflective, hard to hold | Use putty or a ring stand; macro lens; light from above and sides |
| Necklaces | Chains tangle and sag | Pin to a display bust or lay flat on a neutral surface |
| Earrings | Need symmetry and scale | Shoot pairs together; use earring stands or foam |
| Bracelets and bangles | Round shape reflects the room | Stand on a clear support; control reflections with cards |
| Pendants | Chain may twist | Hang from a hook and photograph against a plain background |
| Anklets and nose pins | Tiny details | Macro lens and tripod for sharp focus |
| Bridal sets | Many pieces together | Arrange on velvet or fabric in a balanced layout |
| Polki, kundan and temple jewellery | Detailed stones and metal work | Soft light with slight angles to highlight depth |
Macro and focus stacking
Small jewellery has a shallow depth of field at close distances. To keep the whole piece sharp:
- Use a tripod and a remote shutter or timer.
- Set a small aperture (f/11 to f/16), but note that very small apertures can soften images due to diffraction.
- Use focus stacking: take several shots, moving the focus point slightly each time, then merge them in editing software.
- Shoot at a low ISO for clean detail.
- Clean the piece again if dust appears at high magnification.
Handling and cleaning jewellery
- Wear clean cotton or nitrile gloves to avoid fingerprints.
- Use a microfibre cloth and jewellery cleaning solution.
- Use an air blower to remove dust before every shot.
- Store pieces in soft pouches between shots to avoid scratches.
- Be careful with delicate stones and antique pieces.
Lighting recipes
Recipe 1: Gold jewellery on white
- Light tent with two soft lights on the sides
- White card in front to fill shadows
- Slightly warm white balance to keep gold natural
Recipe 2: Diamonds and silver on black
- Black velvet or acrylic surface
- Small, bright light sources angled to create sparkles
- Black cards to define edges
Recipe 3: Gemstones with colour
- Diffused backlight under translucent stones
- Soft front light to show surface detail
Styling with props
Props add context but must not distract.
| Prop | Use |
|---|---|
| Velvet or silk | Premium feel for bridal sets |
| Natural stone or wood | Earthy, modern look |
| Flowers and leaves | Festive or romantic mood |
| Mirror or glass | Reflections and elegance |
| Brass or copper trays | Traditional Indian feel |
Keep props smaller than the jewellery and neutral in colour so the piece remains the focus.
On-model jewellery photography
Models help customers judge scale and wearability.
- Choose a model with clean, neutral styling and well-groomed hands or neck.
- Use soft front light with a subtle fill to avoid harsh shadows on skin.
- Shoot close-ups of neck, ears and hands, rather than full-length portraits.
- Keep clothing plain so the jewellery stands out.
- For bridal jewellery, show matching outfits such as sarees and lehengas. Vastralook can generate on-model visuals with ethnic wear to help you preview styling when live shoots are not practical.
Editing jewellery photos
- Remove dust, scratches and fingerprints with the healing and clone tools.
- Brighten highlights carefully, so metal does not look flat.
- Correct colour so gold, rose gold and silver look accurate.
- Use selective sharpening on stones and engravings.
- Keep edits natural. Overly smoothed metal looks fake.
- Create a consistent background with a soft gradient and subtle shadow.
Common jewellery photography mistakes
| Mistake | Fix |
|---|---|
| Reflections of the photographer or room | Use a light tent or black cards |
| Yellow or green gold tones | Set white balance with a grey card |
| Blurry stones | Use focus stacking and a tripod |
| Harsh shadows | Add a reflector or diffuse the light |
| Scale confusion | Include an on-model or reference image |
Selling jewellery online: image requirements
- Main image on white, front view
- Angle view showing depth
- Close-up of stones or craftsmanship
- Scale or on-model image
- Packaging or gift image
- Certificate or hallmark image, where applicable
Quick checklist
- Jewellery cleaned and dust-free
- Camera on tripod, manual focus
- Light tent or diffused lights ready
- Reflections controlled with cards
- Colour accuracy checked
- On-model or scale image included
Pro tips for polished jewellery images
Build a small kit for every jewellery shoot: microfibre cloths, an air blower, tweezers, gloves, putty, a grey card and spare backgrounds. Shoot a quick test frame to check exposure before each new piece, as gold, silver and gemstones reflect light very differently. Keep a consistent background and shadow style across your store, so a collection looks like one brand. For repeat shoots, take notes on light positions and distances. Back up original files before editing, and save a layered version so you can adjust colours later without starting again. These habits save hours when you photograph large inventories.
Final thoughts on jewellery photography
Consistency, cleanliness and honest colour are what turn good jewellery photos into sales. Take time to clean each piece, control reflections, and show scale clearly. When you grow your catalogue, document your lighting and editing process so any team member can repeat it. Review your best-selling listings regularly, test new angles on slower sellers, and keep learning from customer questions, because they reveal exactly which details your photos are missing.
Conclusion
Soft light, clean pieces and sharp macro shots make jewellery look valuable. Add an on-model image to show scale and style.
Frequently asked questions
How do I show real size?
Include a scale image on a hand or neck and list measurements in millimetres in the product description.
How do I photograph pieces that tarnish easily?
Handle with gloves, clean just before shooting and avoid touching surfaces that leave marks.
Should I retouch gemstone colour?
Make only minimal corrections. Customers compare photos with the real stone, so accurate colour protects your reputation and reduces returns.
Can I shoot jewellery with a phone?
Yes, with a macro lens, a tripod and diffused light.
What background is best?
White for catalogues, dark for diamonds and silver.
How do I stop reflections?
Diffuse the light and use black or white cards to control what the metal reflects.