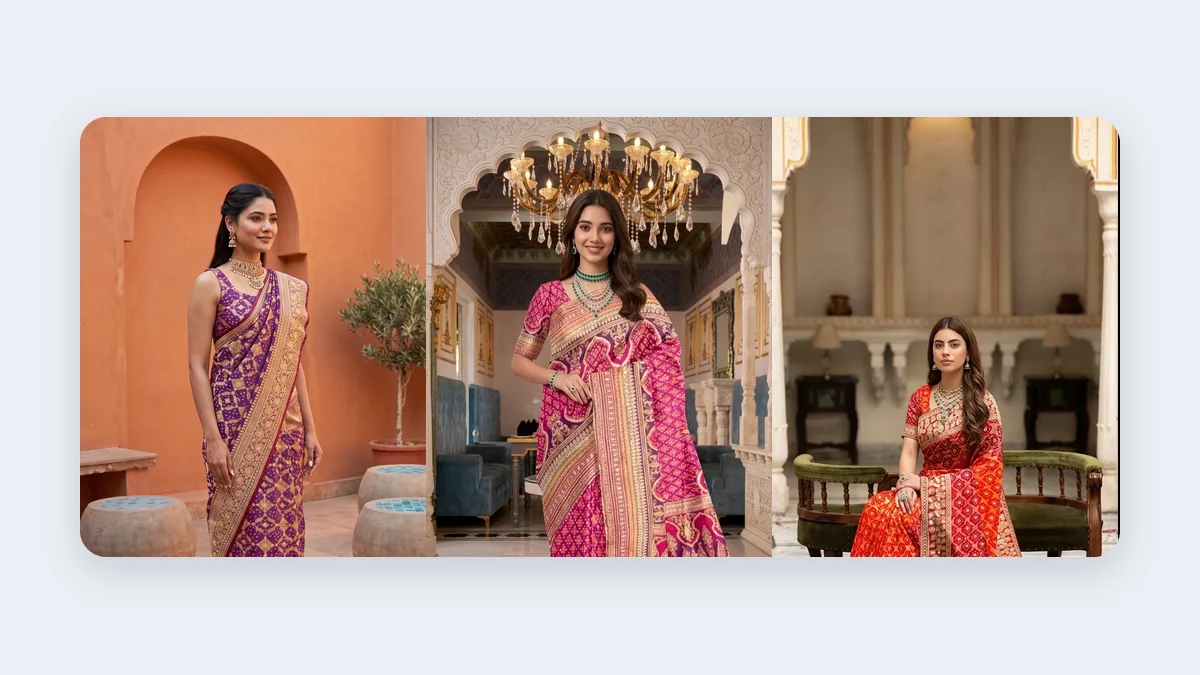
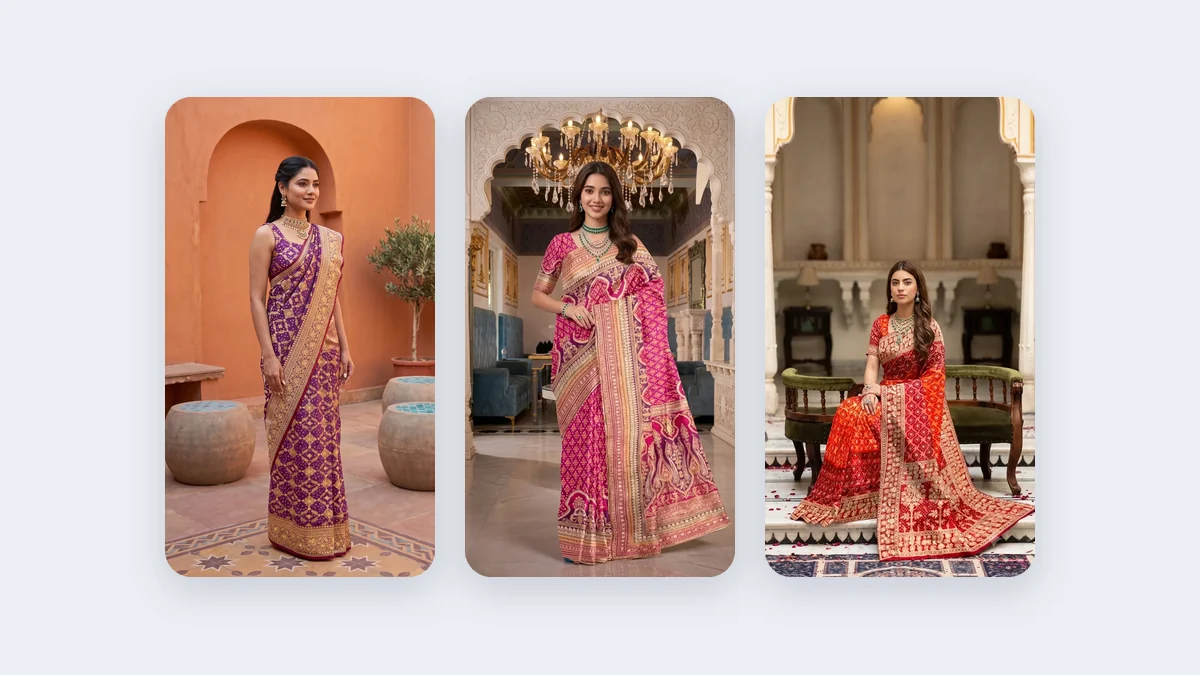
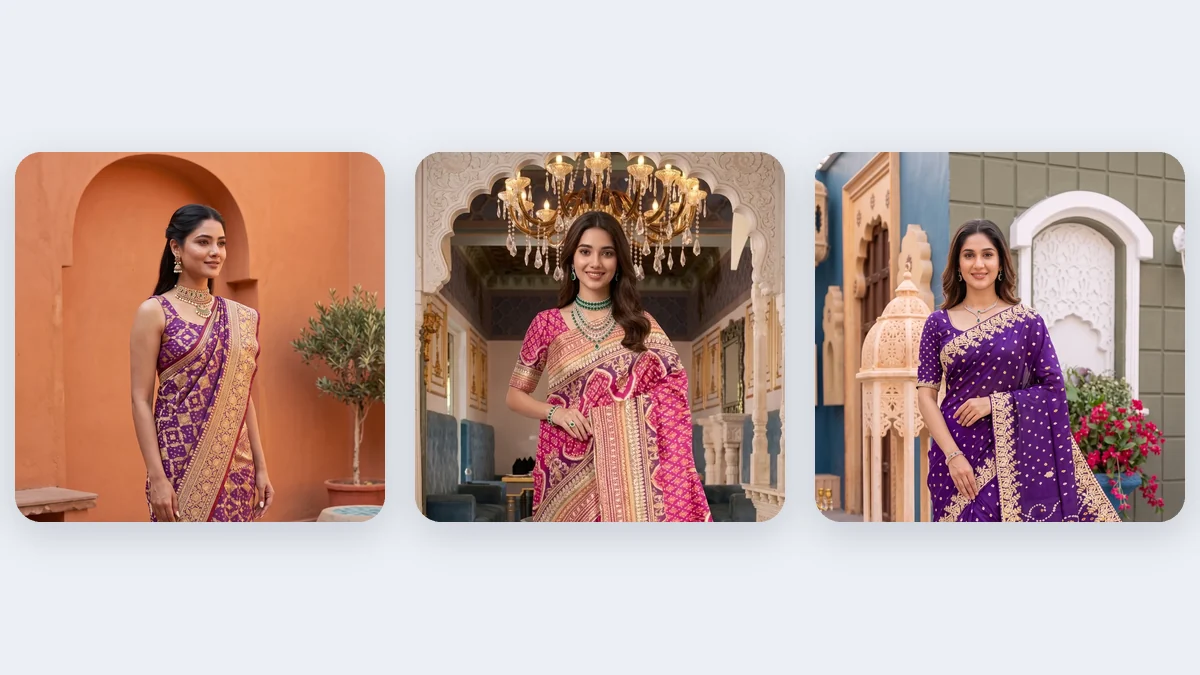
A sharara set sells on its flare, so a catalogue photo has to prove the legs are wide trousers and not a skirt. Buyers look for where the flare begins, how the hem border falls and how the short kurti balances the volume below it. A folded set on a table hides all three, which is why a model shot earns its place.
This guide covers how to prepare and photograph the set, which poses make the flare readable, and how to turn one source photo into a consistent set of shots with Catalogue Studio.
What must the source photo show?
It must show every piece of the set in one frame, with the flare, the knee seam and the border all visible. Catalogue Studio can only place what it can see, so a set uploaded as a lone kurti comes back without the sharara or the dupatta. Arrange the pieces as they are worn, with the kurti on top, the sharara legs below it and the dupatta beside them.
- All pieces in one frame: kurti, sharara and dupatta, arranged as worn.
- The sharara legs fanned out evenly, so the flare below the knee is visible.
- The hem border or gota trim flat and fully in frame, with no fold hiding it.
- Creases steamed out, especially across the thigh panels and the hem.
- Even daylight or two diffused lights, with no hard shadow under the flare.
- A close-up of the dupatta border or the embroidery if that is the selling detail.
How do you shoot the set, step by step?
Steam the pieces, lay them out as worn, shoot square-on in soft light, then upload the photo and choose a model and pose.
- Steam the three pieces
Hang each piece and steam it from the inside. Pay most attention to the thigh panels and the hem, where creases turn into stripes once the flare is enlarged.
- Lay out the set as worn
Place the kurti at the top, spread the sharara legs evenly below it and put the dupatta beside them. Keep the knee seams level so the flare starts at the same height on both legs.
- Shoot square-on in soft light
Hold the camera level and directly above a flat-lay, or straight in front of a hanger shot. Window light or two diffused lamps let the border read without glare.
- Add one detail frame
Take a close-up of the border, gota or embroidery and upload it with the main photo, so the fine work is available when the model shot is made.
- Choose the model and the pose
Pick a model and a pose with a step or a slight stance. Open the Summary tab to see what will be made before you place the order.
- Check every frame
Zoom in on the knee seam, the hem border and the dupatta edge. If a detail is off, recreate that frame or ask for credits back.
What do real results look like?
The library references and two packages below show the flare, the border and the dupatta on real shots. The library holds 13 reference photos of sharara sets, grouped with the other two-piece garments.
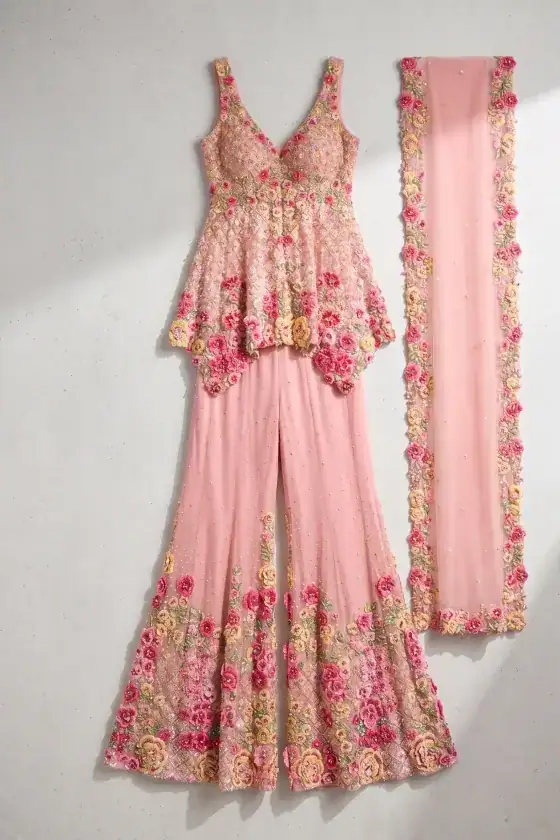
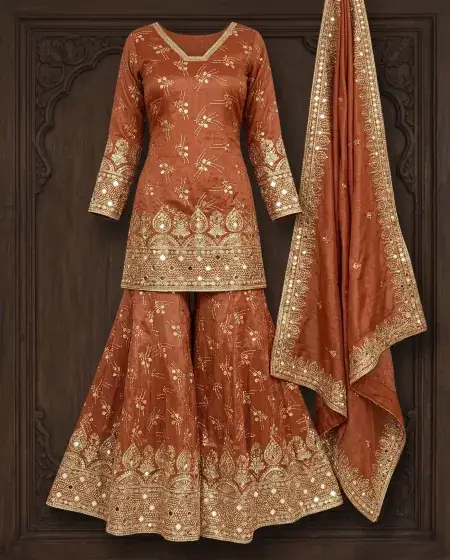
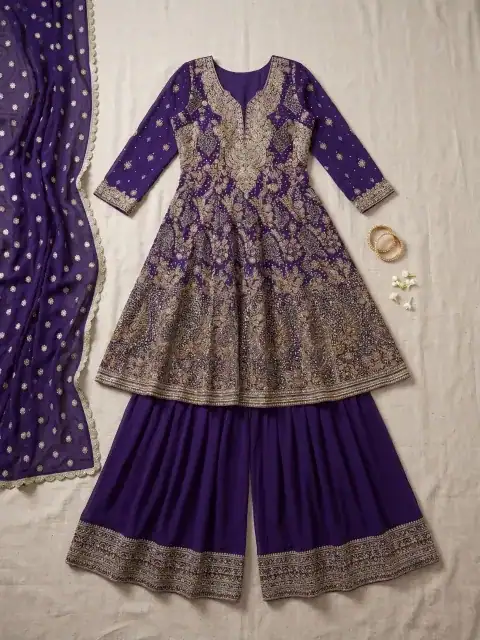
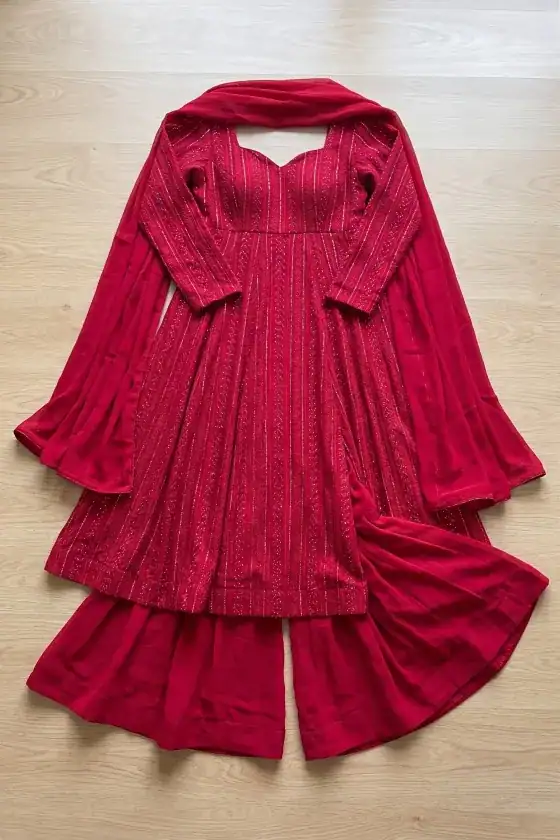
Compare where the flare begins and how the hem border is finished across these four references.
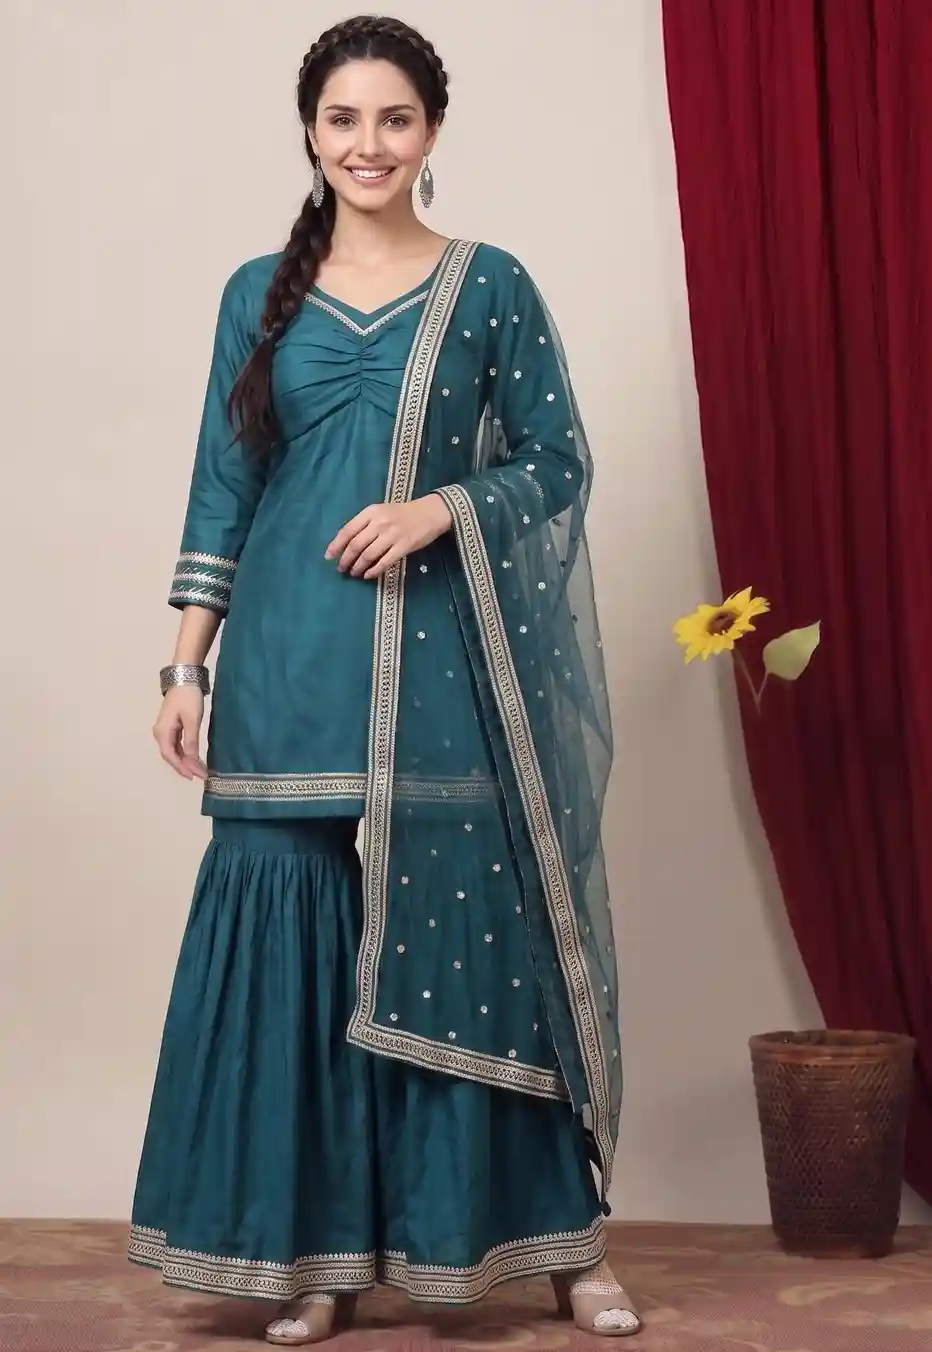
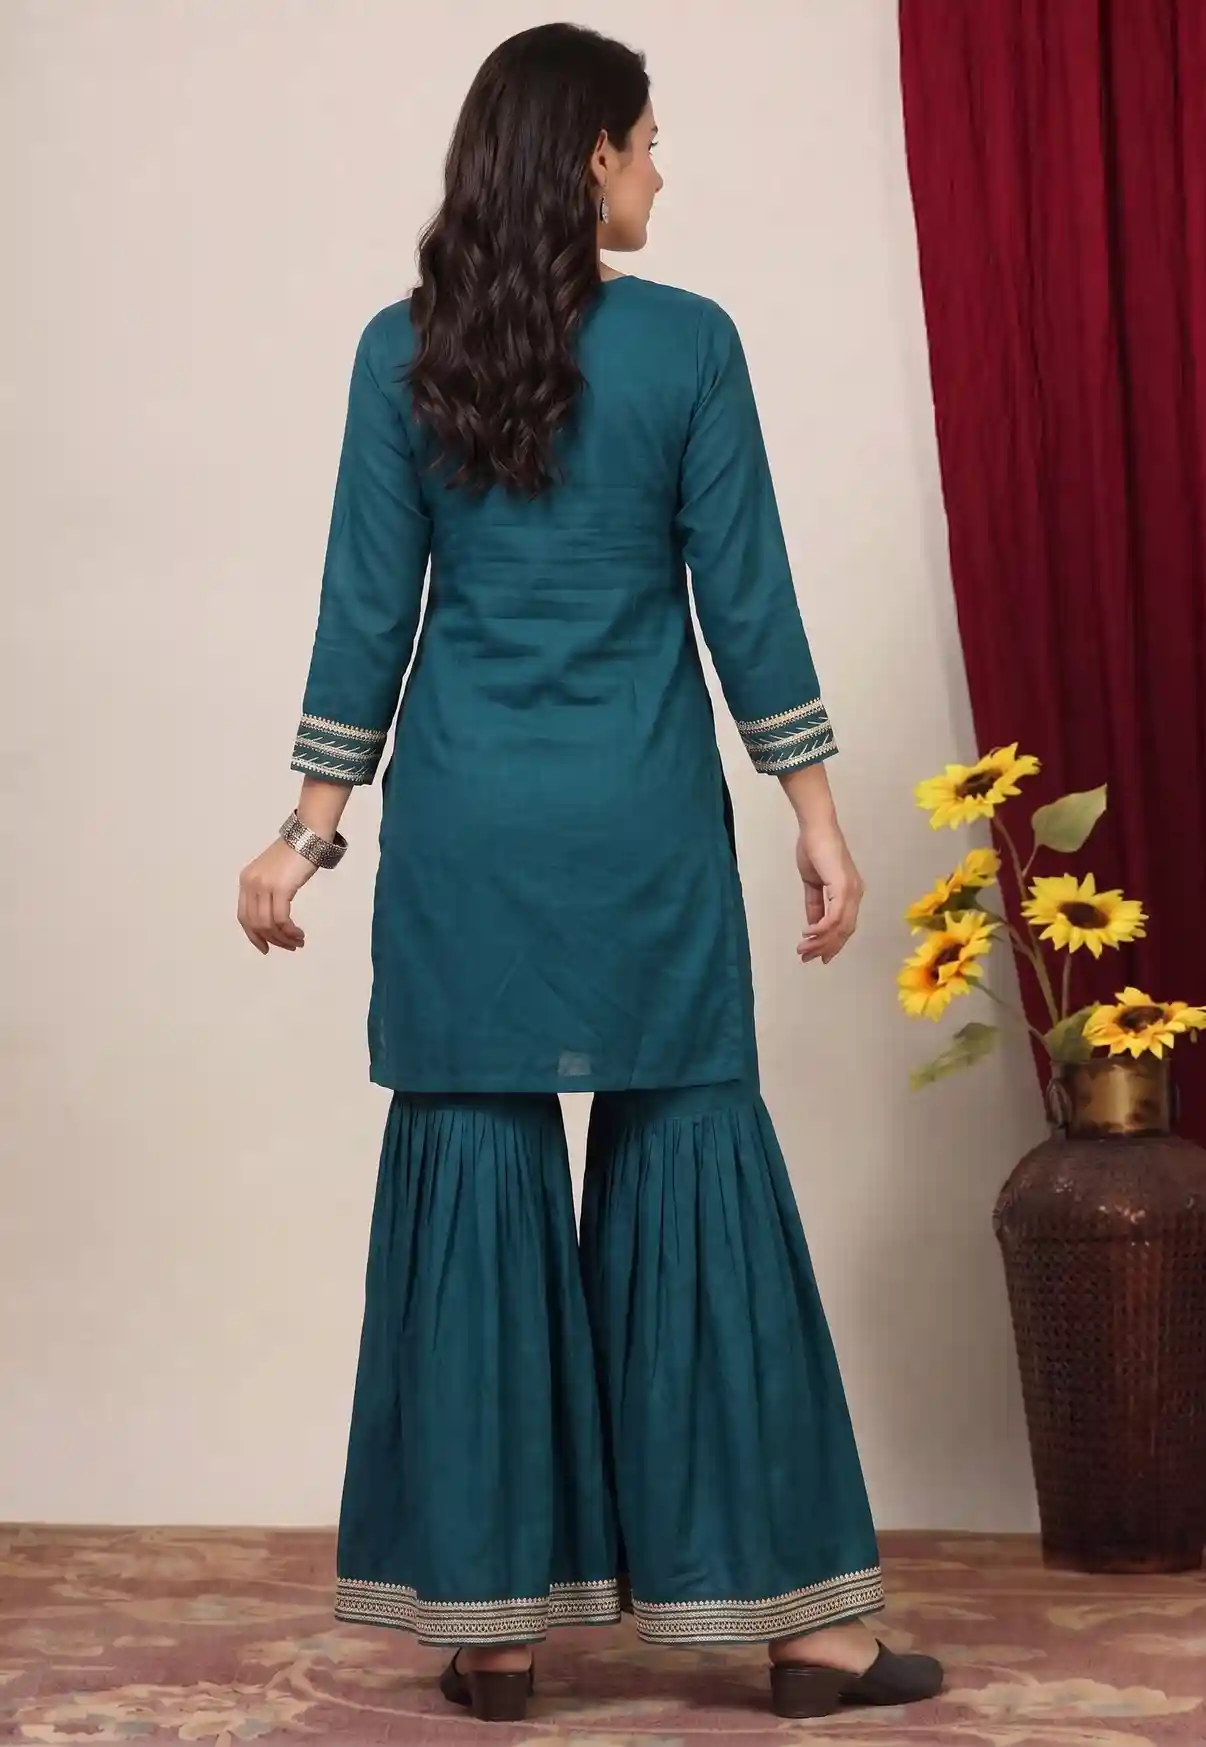
Look at the flare below the knee in the front frame and at the dupatta line in the three-quarter frame.
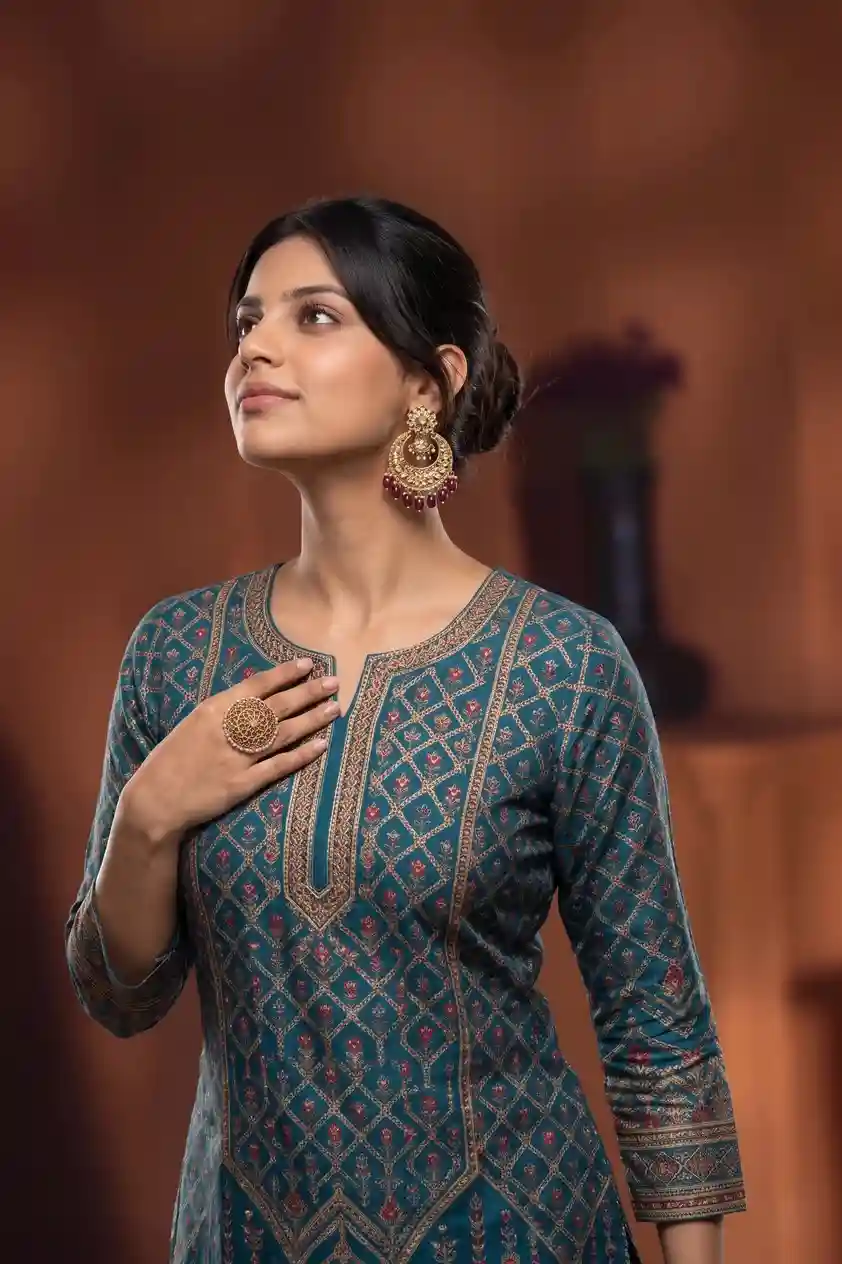
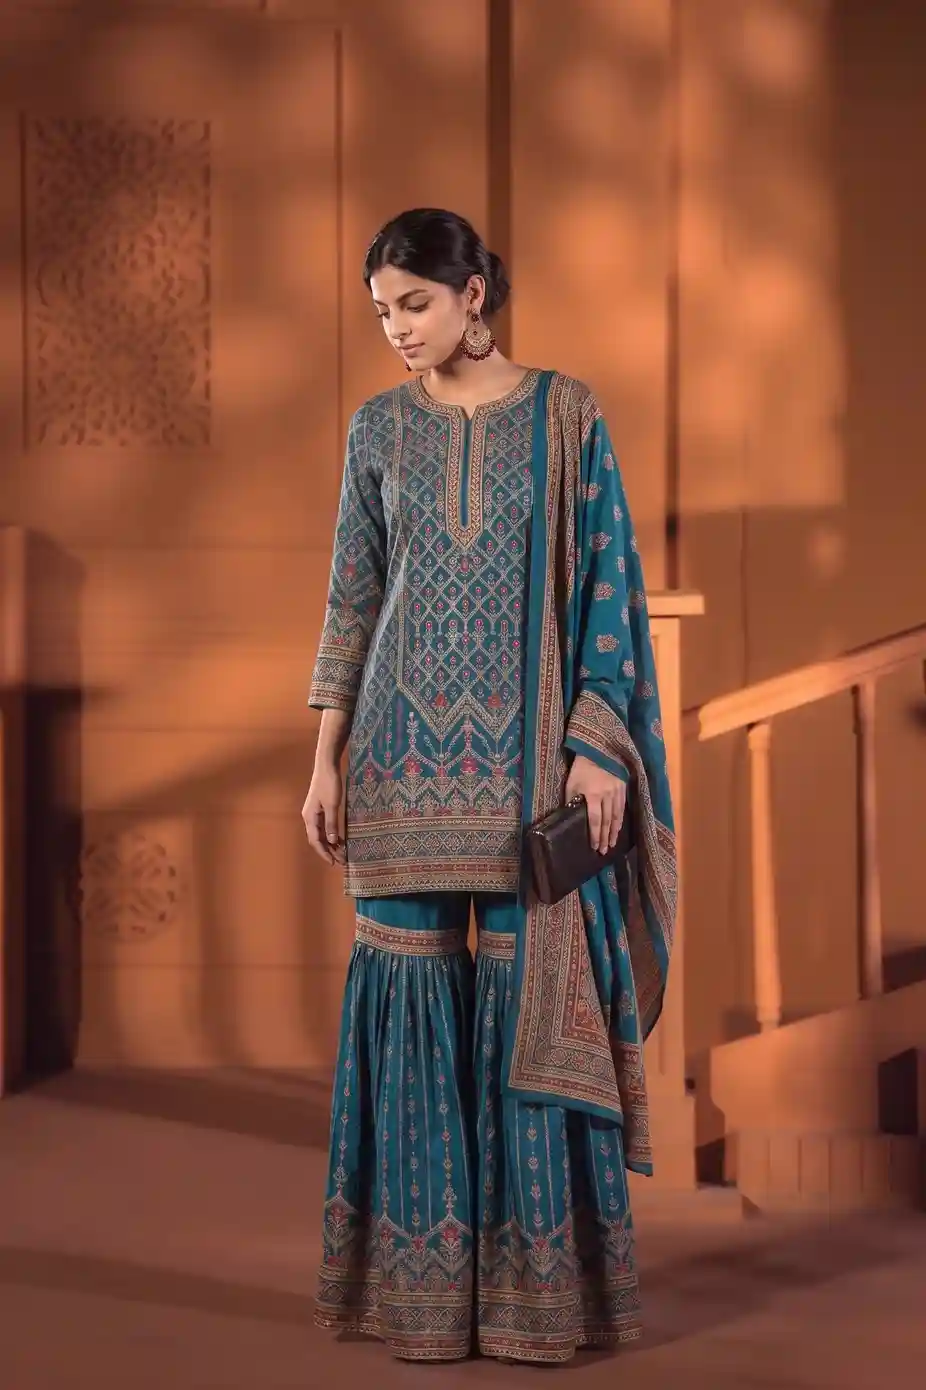
Look at the velvet pile and the embroidered border in the side frame; both stay readable.
Which backdrop suits which collection?
Match the backdrop to the occasion: a plain wall for listings, and warmer settings for festive and wedding sets.
| Backdrop | Suits | What it shows off |
|---|---|---|
| Plain off-white studio wall | Marketplace listings | The silhouette and the border, with nothing to distract |
| Courtyard with warm stone and lanterns | Mehendi, haldi and festive sets | Bright colour and a celebratory mood |
| Palace archway in warm light | Heavy bridal and zardozi sets | Embroidery and richness |
| Evening garden with soft lights | Sangeet and reception wear | Shine on velvet and zari |
What does the studio handle, and what is left to you?
The studio takes over the booking and the set, while you still provide a careful source photo and the final check.
- Keeps the same model across every colourway of the set
- Lets you try several poses without a new booking
- Shows a preview of what will be made before you order
- A clean, steamed source photo with every piece in frame
- A close-up when the embroidery is the selling point
- A check of each shot at full zoom before it goes live
Frequently asked questions
How do I show that a sharara is trousers and not a skirt?
Choose a pose with one foot slightly forward so the two legs separate. In the source photo, fan the legs apart instead of folding them together.
Do I upload the kurti, the sharara and the dupatta together or separately?
Upload them together in one frame, arranged as they are worn. Add a separate close-up of the dupatta border if that is where the detail is.
How should I light velvet or zari?
Use soft, diffused light from the side and avoid direct flash. Velvet soaks up light, so a lighter backdrop helps dark colours stand out, and zari needs a slightly angled view to avoid glare.
Can one model wear every colourway?
Yes. Upload each colourway on its own and run it with the same model and pose choices, so the product grid reads as one collection.
What if a shot comes out wrong?
Each shot is yours to check. You can recreate it, or ask for credits back if it missed.