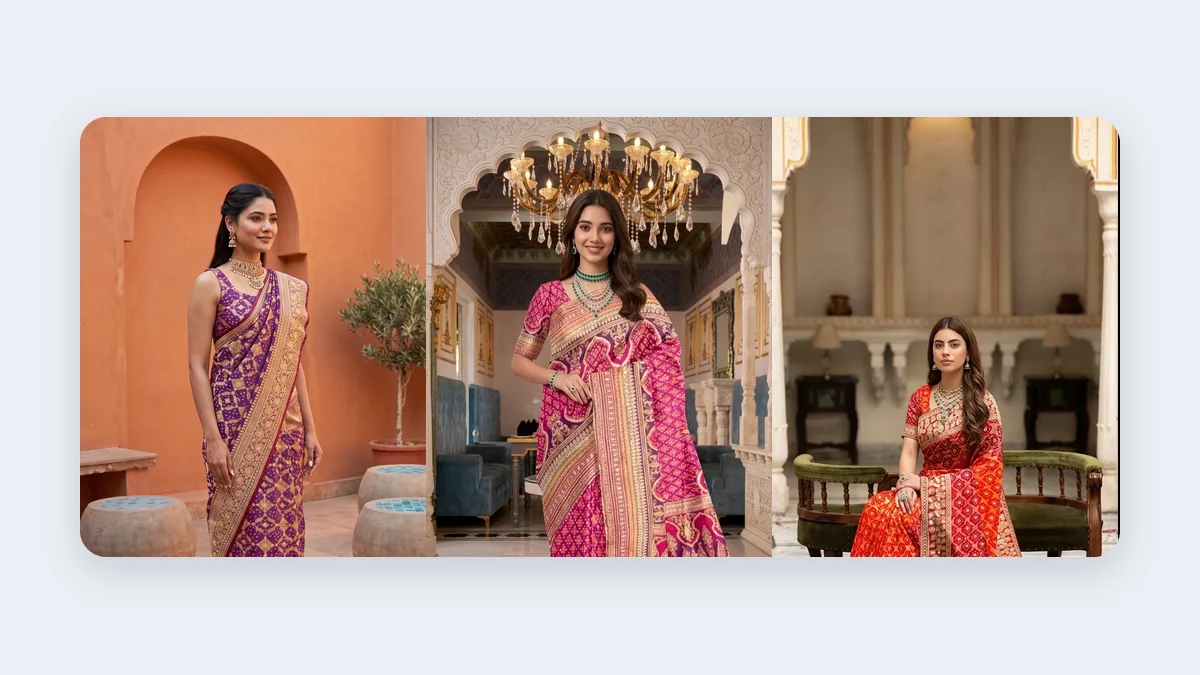
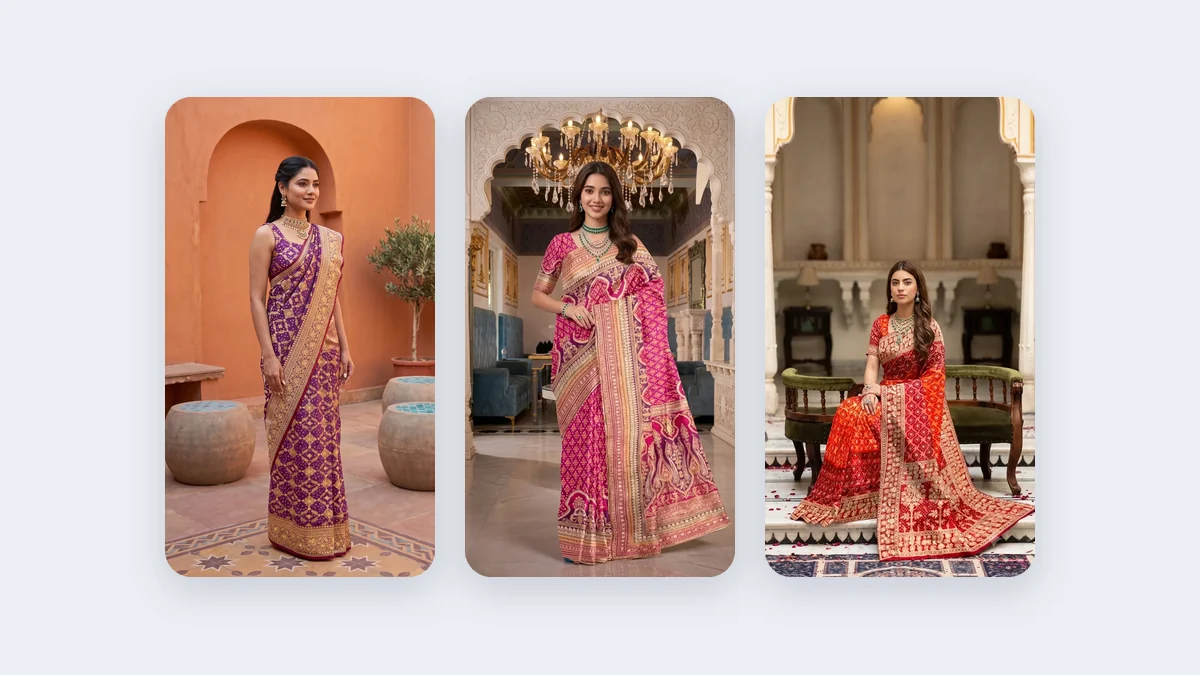
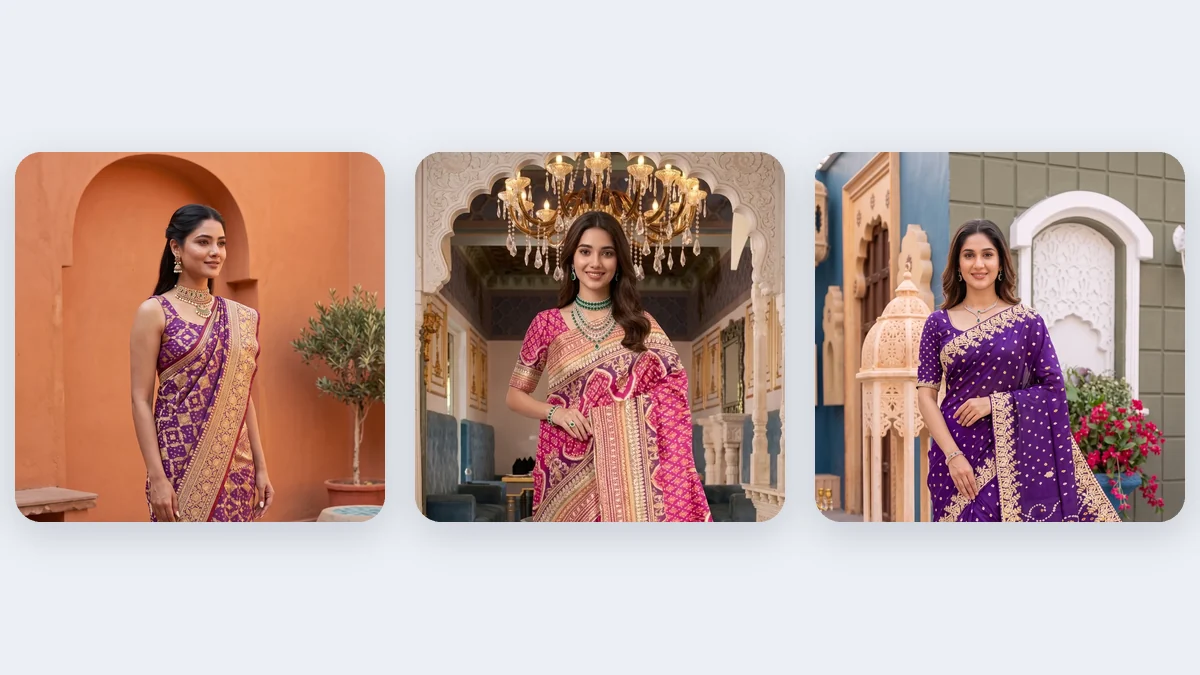
Buyers of sarees look at more than the front. They want to see the back of the blouse, how the pallu falls behind the shoulder, how the border sits from the side, and the zari up close. A seller who has only one flat photo cannot show any of that. This guide explains how to get multiple-angle saree photos from one saree photo with Drape Studio, how the drape is worked out so the design does not wander from one angle to the next, and how to check every shot.
The shot list a saree listing needs
From what sellers and photographers publish about saree listings, a practical set is four to seven pictures: a clean front, a back view, a side or three-quarter view, a seated or movement shot, a close-up of the pallu and a close-up of the border or zari. Marketplace guides give similar counts, though each marketplace has its own rules, so check its current page.
| Shot | What the buyer learns | Where it matters |
|---|---|---|
| Front | The overall look, the blouse, how the body of the saree falls | Every listing, the main image |
| Back view | The back of the blouse, the pallu behind the shoulder, the rear border | Heavy pallus, contrast blouses, bridal sarees |
| Side view | How the border runs along the edge, the pleats from the side | Borders and pallus that read well in profile |
| Seated | How the saree sits when the wearer sits, the pleats and the pallu | Soft fabrics and party wear |
| Pallu close-up | The pallu design and its detail | Pallu-led designs: paisley, zari and woven pallus |
| Zari or border close-up | The weave, the metallic work, the edge | Silks, Banarasi and Kanchipuram-style borders |
How the drape is worked out from your saree
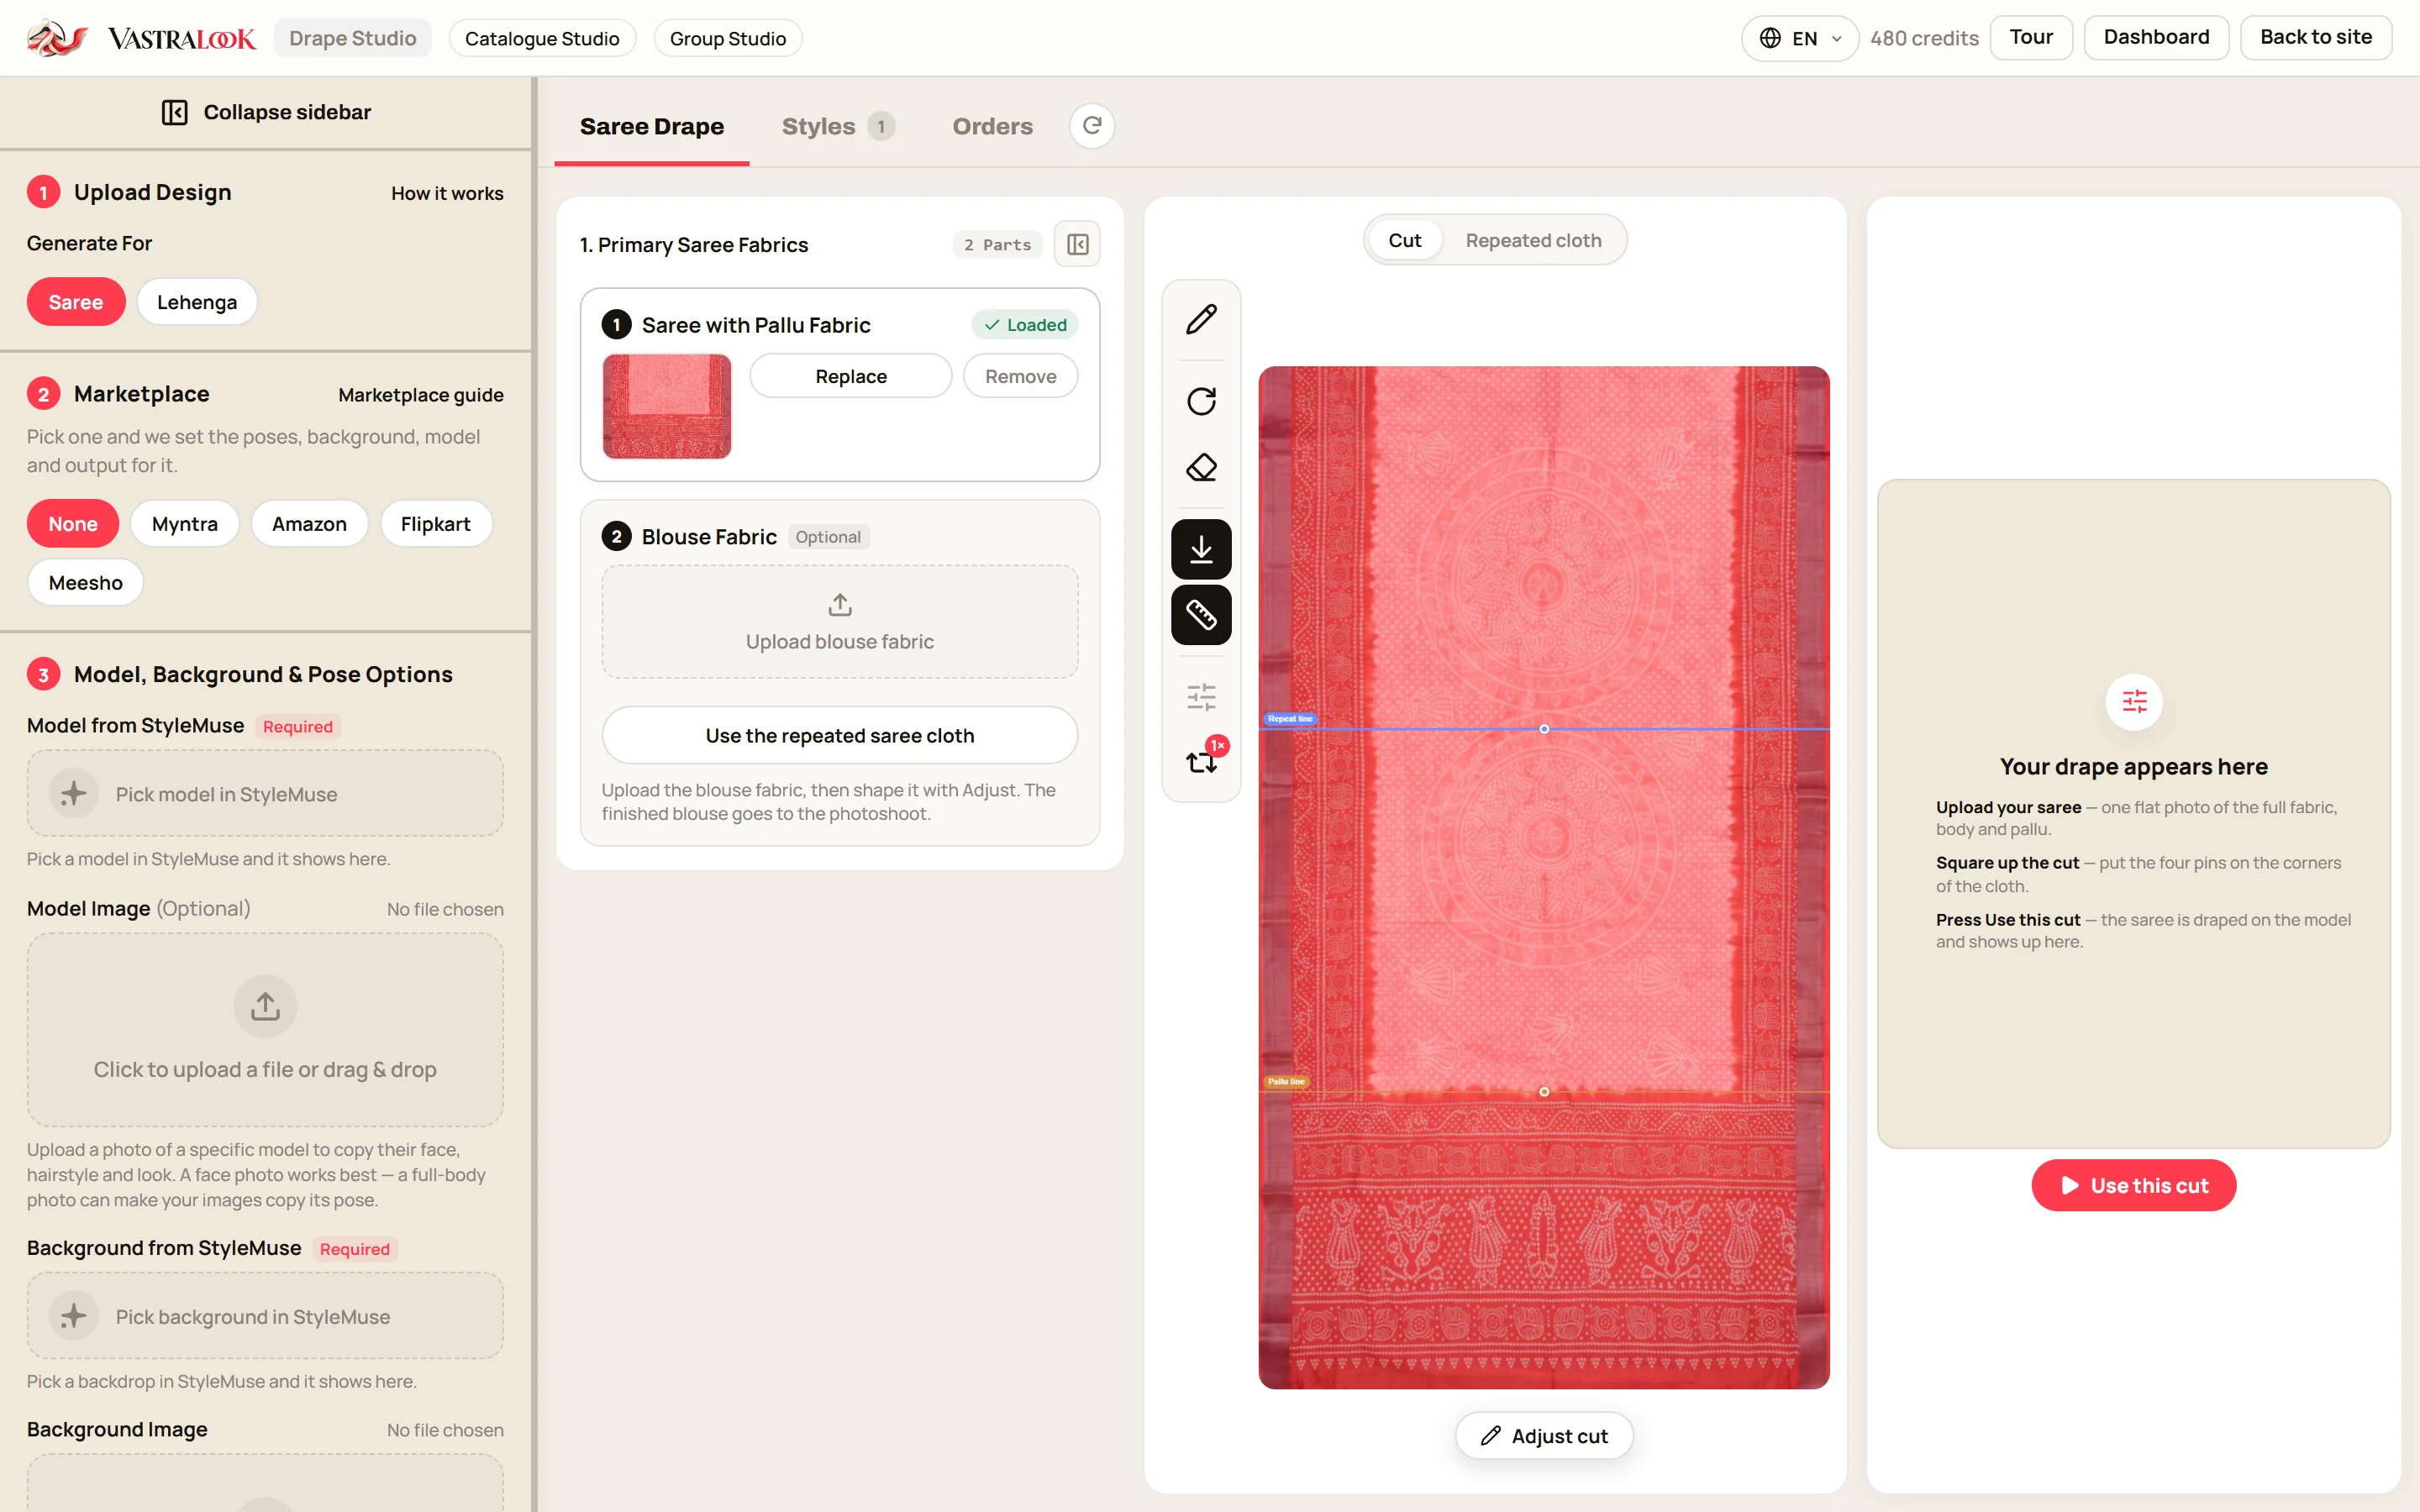
Here is the part that makes a saree different from a kurti. A saree is one long piece of cloth, and the same piece shows a different part of itself from every angle. The pallu at the back is the pallu you uploaded, the border at the side is the border you uploaded. If the studio does not know which part of your photo is the pallu and how big the pattern is, it can only guess, and the guess changes from one angle to the next.
That is why Drape Studio asks you for a few things before it drapes anything. This is the practical meaning of draping intelligence:
- It finds the cloth
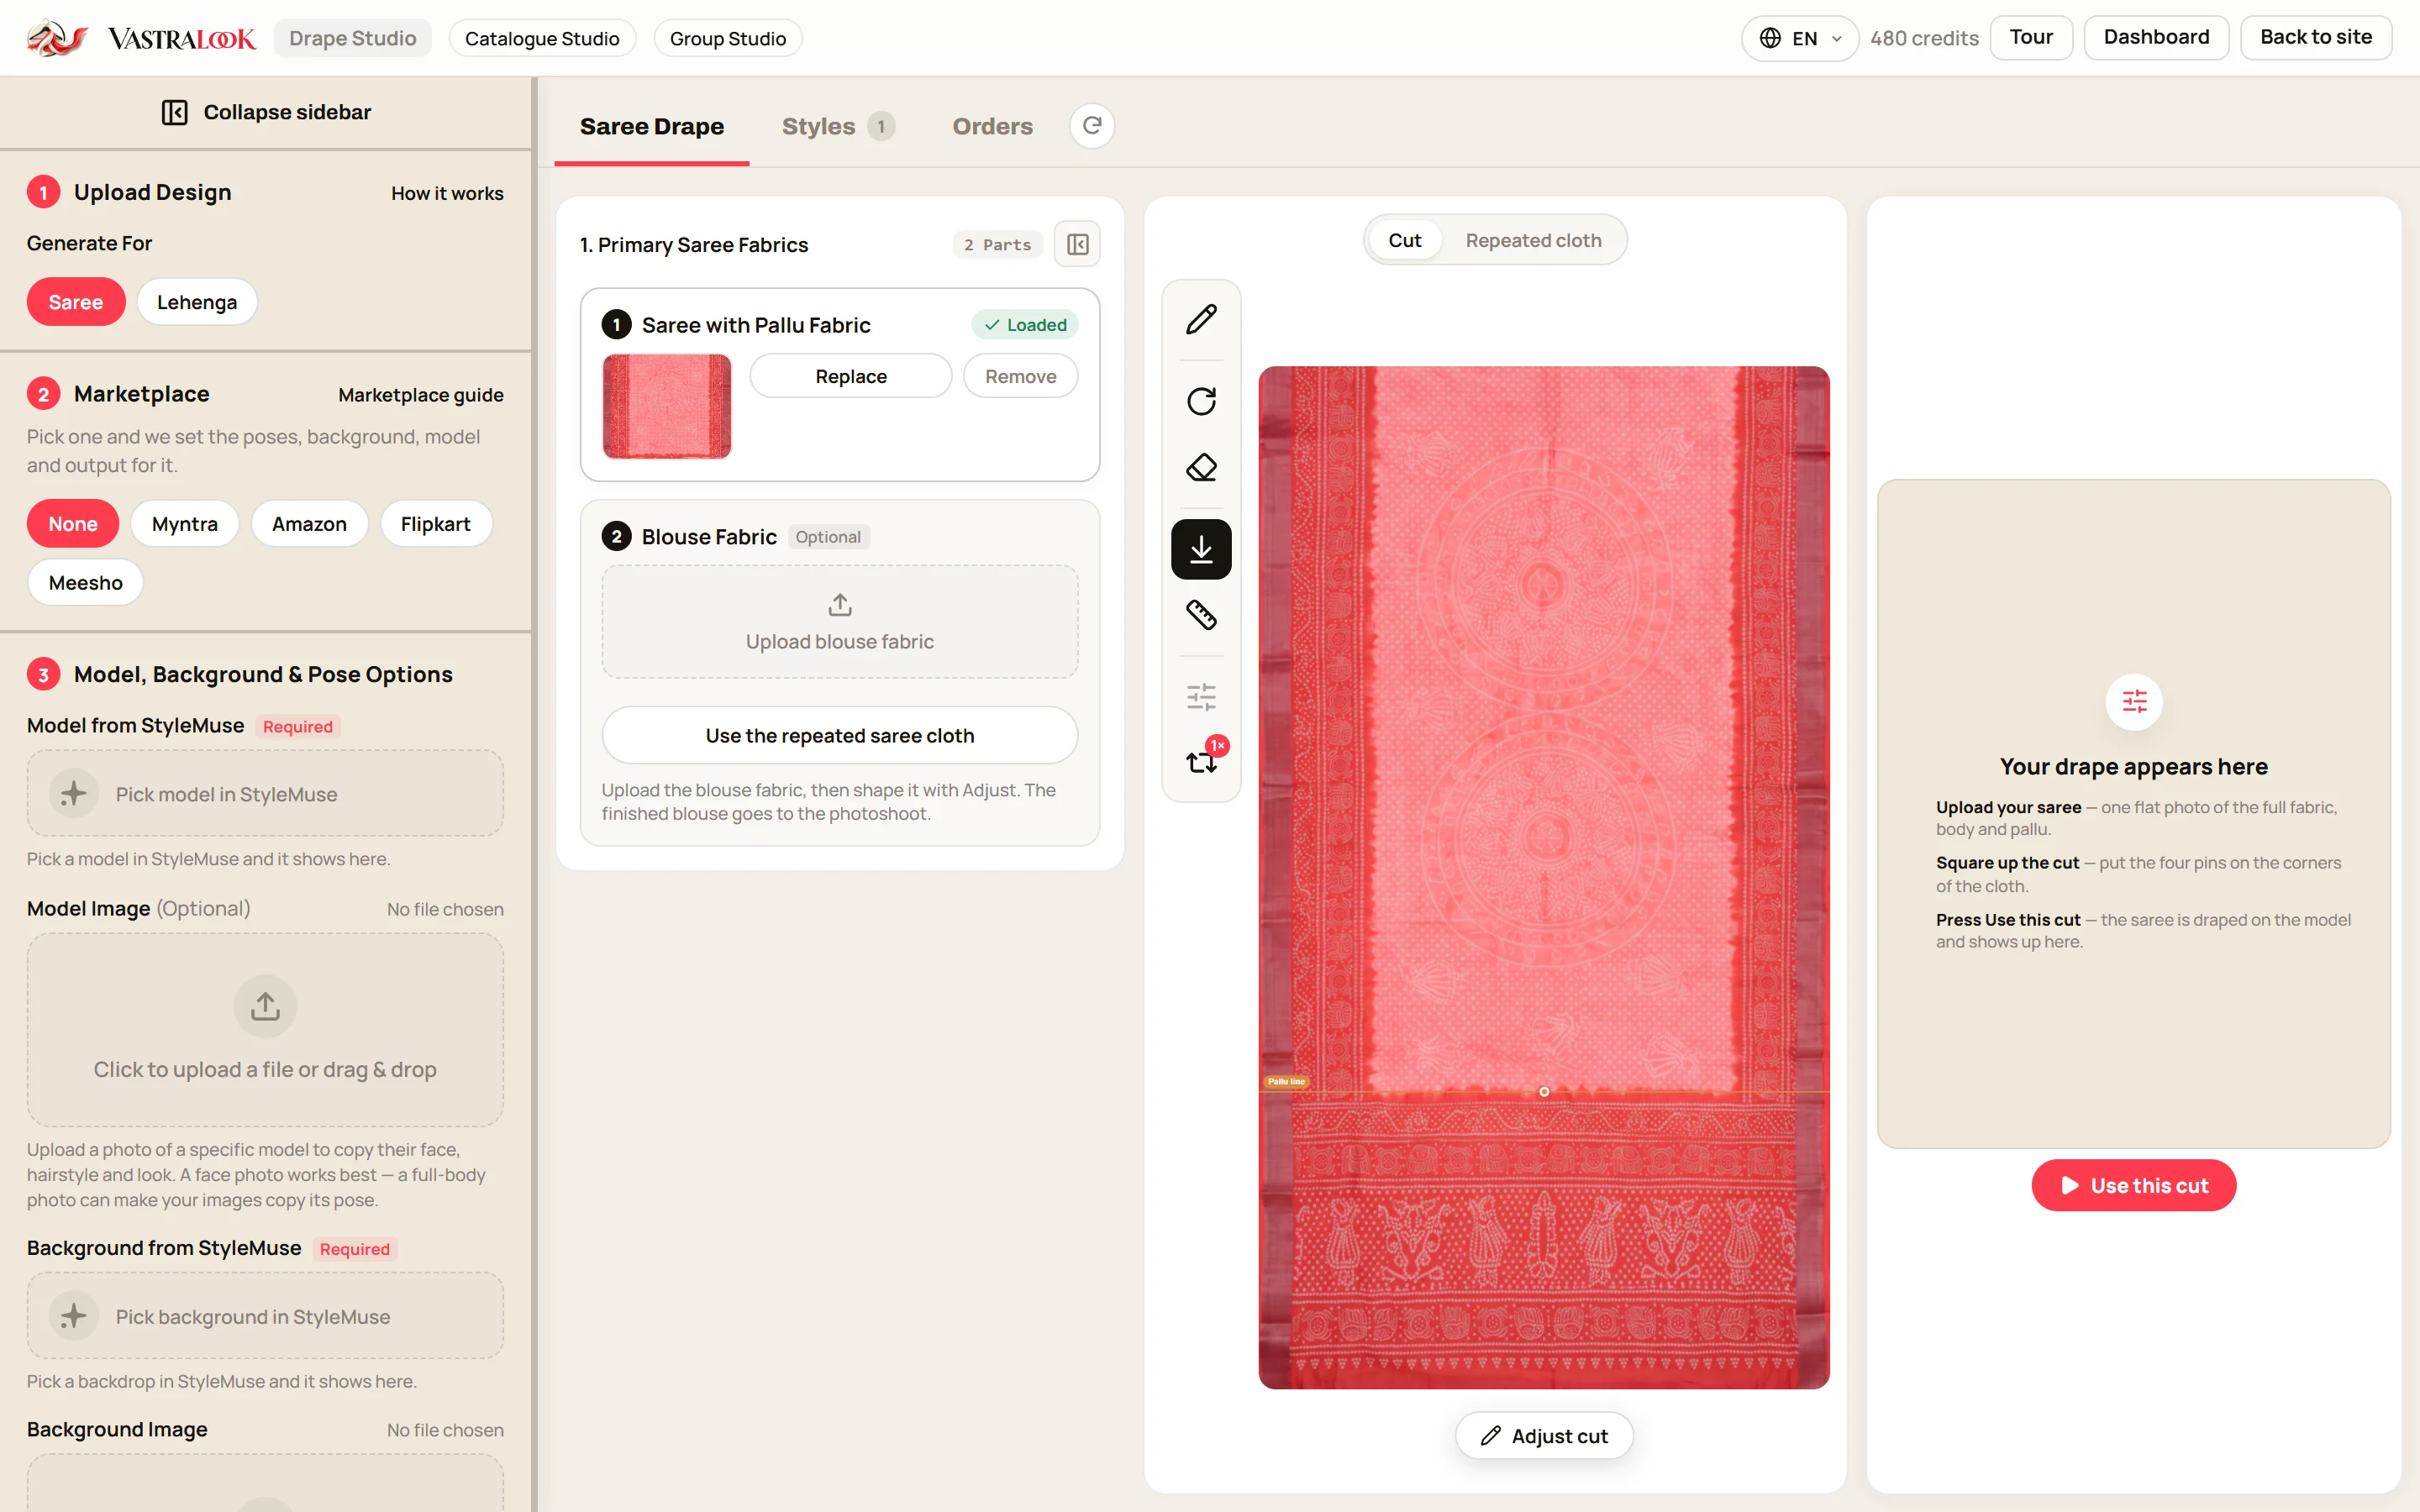
The studio detects the edges of the fabric in your photo and straightens it. If the outline is slightly off, drag the corners and press Use this cut.
- You mark the pallu line
Say whether the pallu is at the top or the bottom of your photo and drag the line to where it starts. The pallu design then goes where a pallu goes.
- You mark the pattern repeat
One line marks a single repeat of the body pattern, so a small butti stays small and a large motif stays large, whichever way the model turns.
- You add the blouse and close-ups
A blouse piece and close-ups of zari, lace or the border give the studio the fine detail it should keep.
- The live drape preview shows the result of all that
Your fabric is draped on a body and updates as you edit. This is what the studio works from, so a wrong cut or a pallu on the wrong side shows up here, before you order.
Back view, side view and close-up: what you get from one photo
Once the saree is set up, you choose the poses. The Styles tab holds ready poses: different ways of wearing and showing the saree. When you pick a marketplace, the studio offers that marketplace's packages, which are sets of poses such as front, back, left, right, sitting and a close-up, so one order gives a listing's worth of angles. You can also pick poses one by one.
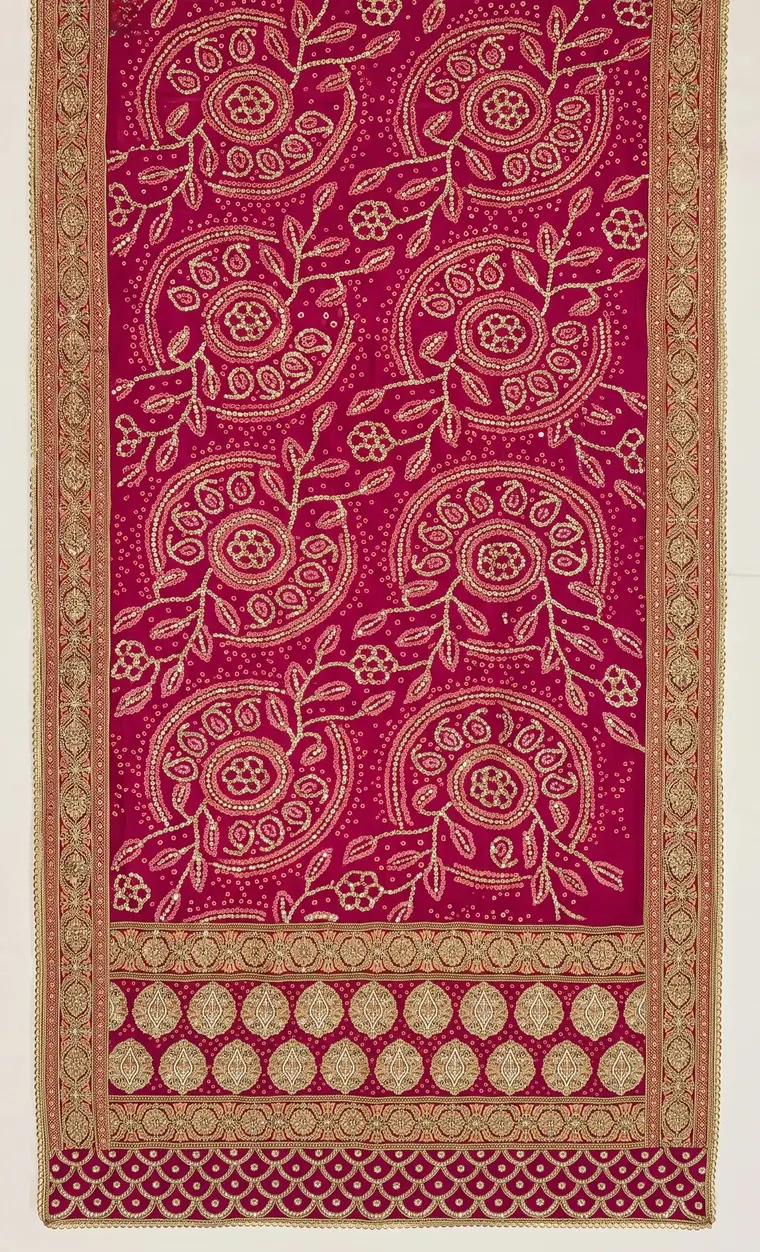 Flat photo you upload
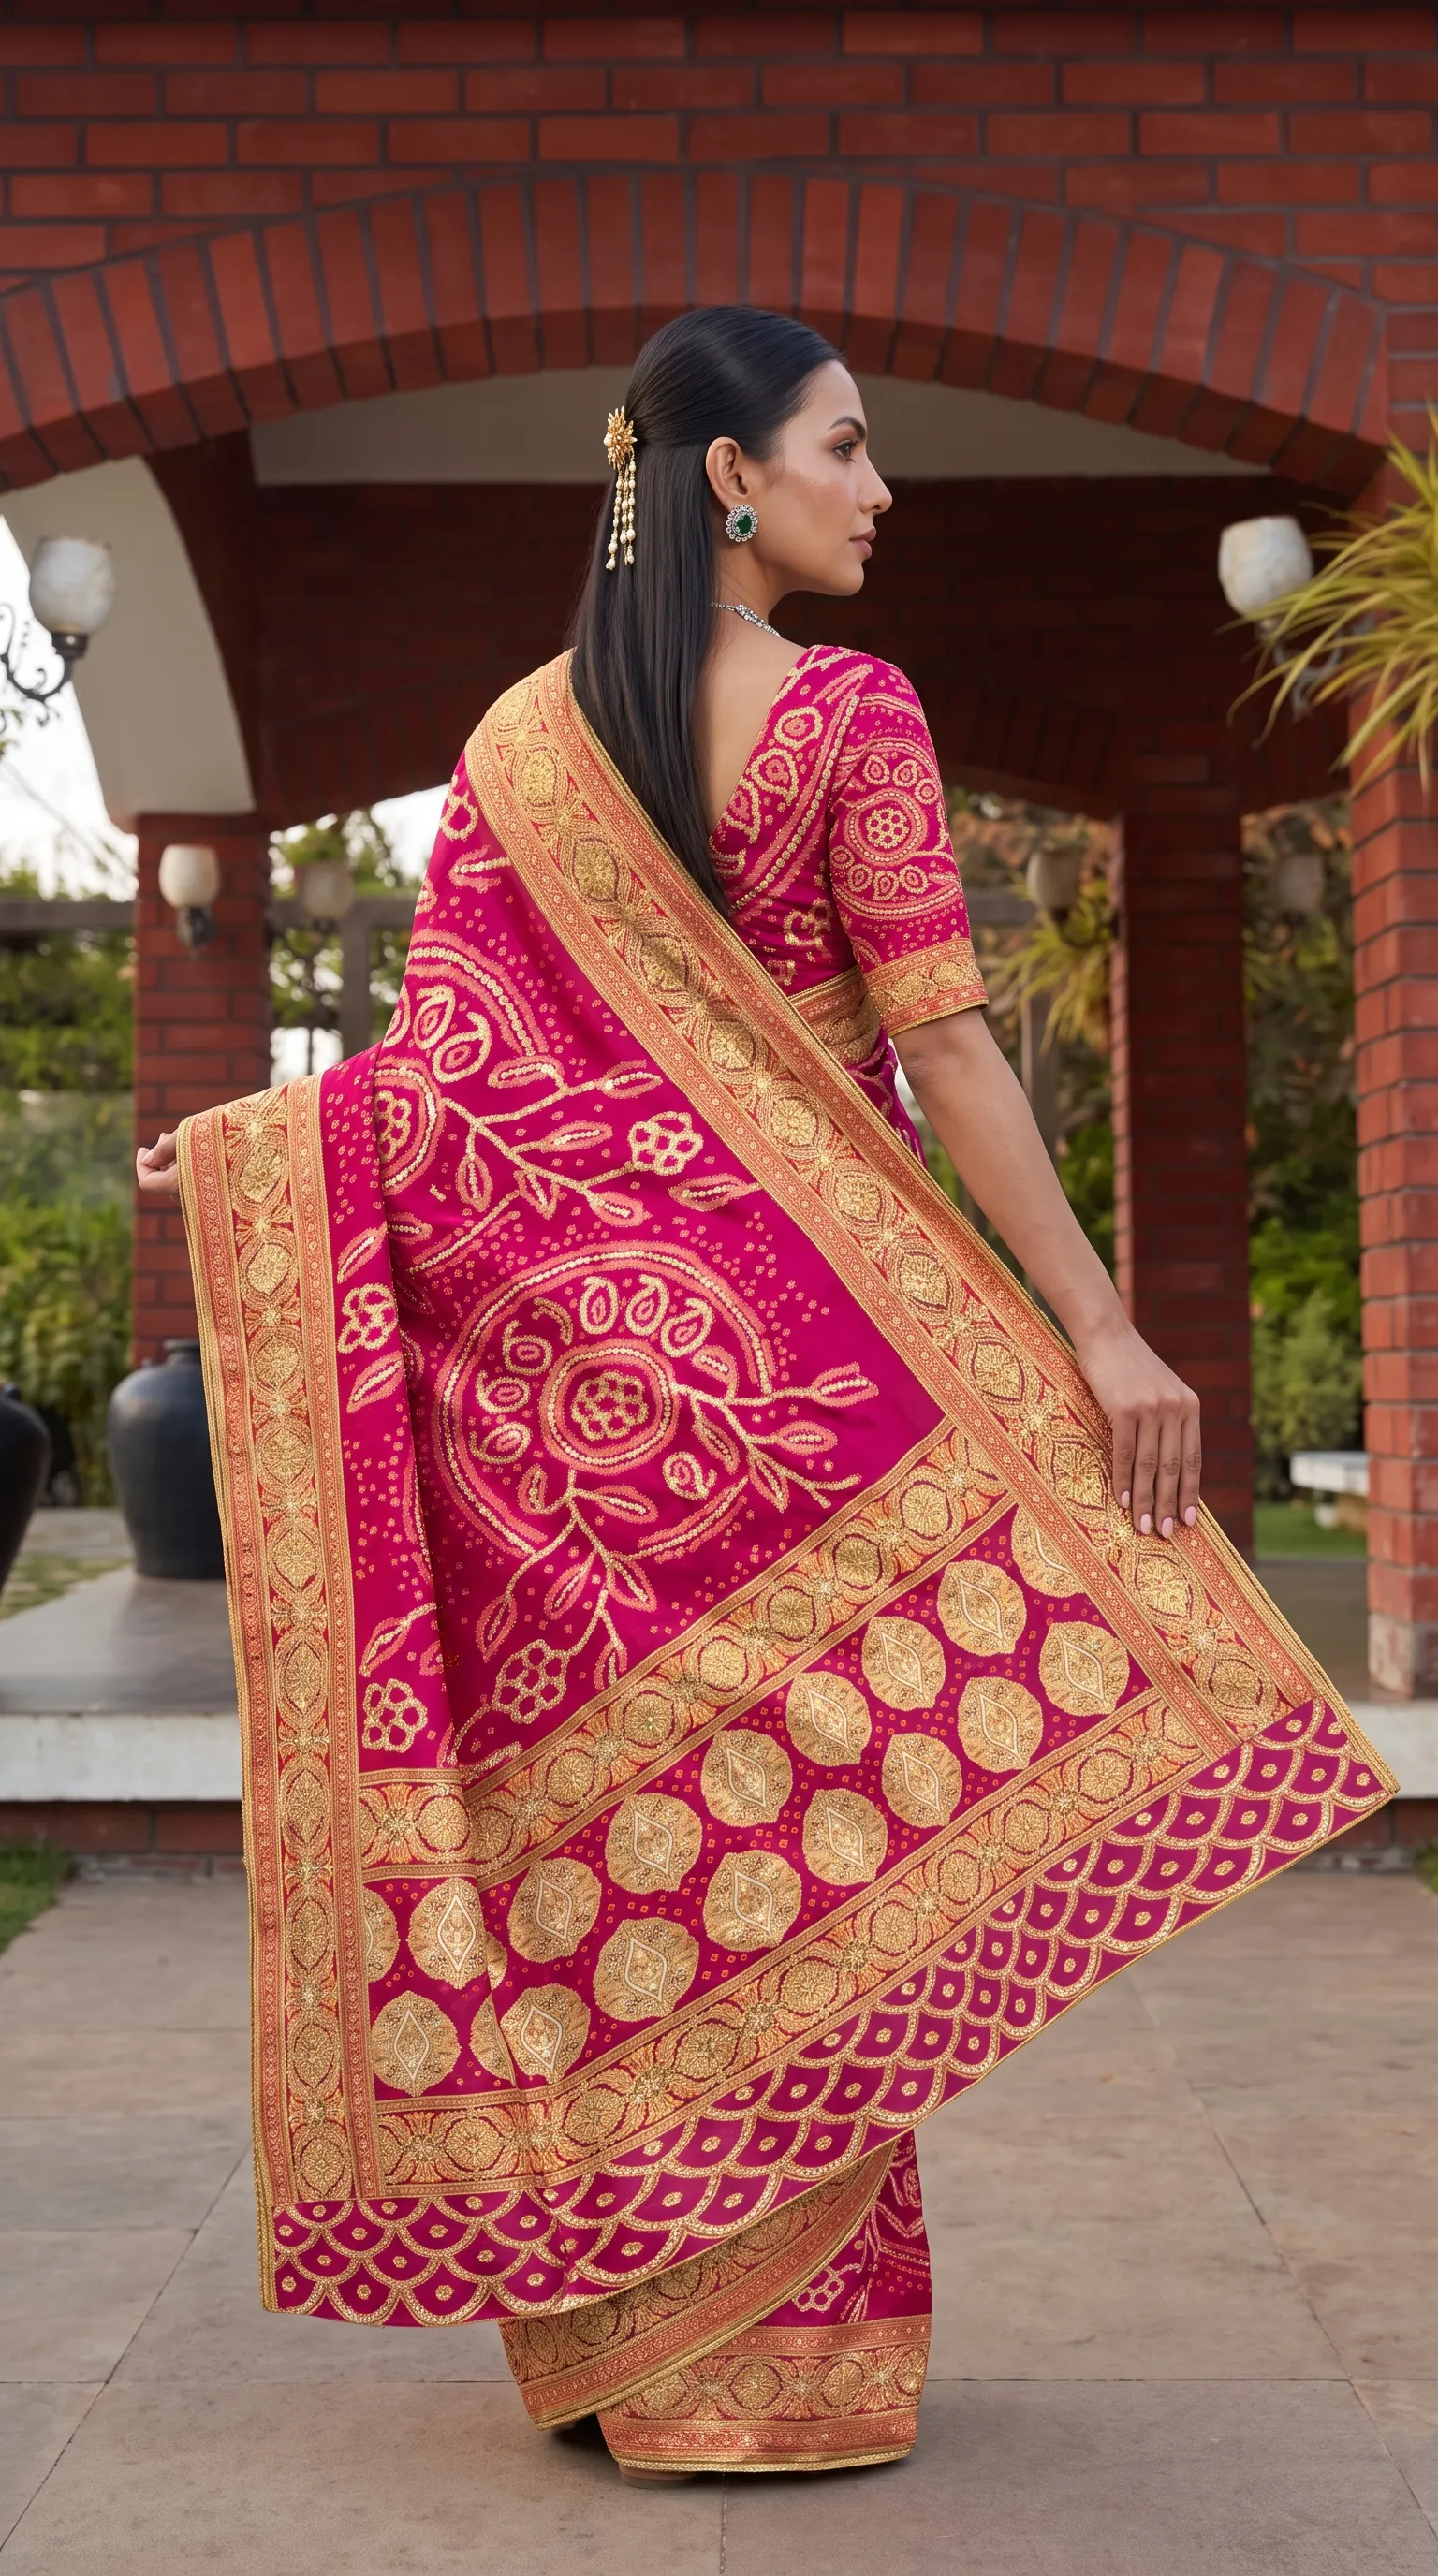 Back view on a model
Left: a saree photographed flat, with the pallu and the borders laid out. Right: a back view on a model. Follow the border pattern and the pallu from the flat photo to the worn saree.
Look at what a back view is doing for the seller. The pallu is held out so the border and the large motifs show, which is the thing a buyer cannot learn from a flat photo. This is also the shot where you check the design the hardest: do the motifs and the border match what you uploaded?
What stays the same across the angles
- The saree: every angle starts from the same photo, cut, pallu line and pattern repeat you set up.
- The model, if you pick one model for the order, and the background, if you pick one background.
- Your logo, if you add it, in the corner, size and opacity you set once.
- The picture shape and size you choose for the order.
Vastralook is built to keep these choices across the shots of an order. Built to keep is the honest wording: it is designed for consistency, it matches your saree as closely as it can, and it is still AI. The pleats, the fall of the cloth and fine detail can differ between shots, so each angle has to be checked.
How to check each angle against your saree
- Put the shot next to your saree photo and compare the border, edge by edge.
- Check the pallu: is it the pallu you uploaded, and is it on the correct side?
- Check the main print: is the motif size right, and does the pattern run across the body?
- Check the colour in daylight. Dark and very bright shades are where a slight shift is most likely.
- Zoom in on zari, sequins or embroidery. Fine metallic work is the first place detail can soften.
- Look at hands, face and feet. If something is off, Recreate it instead of editing around it.
Close-ups of the pallu, border and zari
For close-ups, two things help. First, upload your own close-ups of the zari, lace or border when you set up the saree: these are the detail the studio works from. Second, choose a close-up pose in the Styles tab, which frames the pallu or the border tightly. Check these shots most carefully of all, because a close-up is where a buyer decides whether the weave is as rich as you say.
For a single garment other than a saree, the angles come from Catalogue Studio's pose changer instead. If you also sell kurtis and lehengas, the guide to Catalogue Studio shows how the same idea works for them.
What it costs
Each angle is its own shot. A Create order shot costs from ₹7 at 1K and from ₹10 at 2K, and a Budget order usually takes 4–5 minutes. Three angles for each of fifty sarees at 2K is 150 shots, 1,500 credits, from ₹1,442. Choose the poses you need and see the total before you order. Plans and packs are on the pricing page.
Can I get front, back and side saree photos from one photo?
Yes. You set up the saree once from one flat photo, then choose the poses. Each pose is its own shot, so you choose and pay for the angles you want.
Will the design stay the same across angles?
Your saree photo is the reference for every angle, and Vastralook is built to keep the design and matches it as closely as it can. AI output is not exact, so check each angle against your saree.
How does Drape Studio work out the drape?
It finds the cloth in your photo, you fix the cut and mark the pallu line and the pattern repeat, and you can add the blouse and close-ups. A live drape preview shows what the studio works from.
Can I get a pallu close-up or a zari close-up?
Yes. Add your own close-ups of the zari, lace or border when you set up the saree, and choose a close-up pose. Check these shots closely.
Is there a seated saree pose?
The marketplace packages in the Styles tab include a sitting pose among the front, back, left and right views. The poses on offer can change, so look at the Styles tab.
What photo should I upload?
One flat photo of the whole saree, body and pallu, straight-on in even daylight on a plain floor. Use your original product photo, not an earlier AI image.
How is this different from a general image tool?
A general image tool has to guess how a saree falls and what its back looks like. Drape Studio drapes the fabric you uploaded, with the pallu and the repeat where you marked them.
What if one angle comes out wrong?
Recreate that shot, or ask for half the credits back on a paid shot that missed. You do not have to redo the other angles.
Does it work for marketplace listings?
Choose a marketplace preset to set the background and size, and use its package of poses. Check the marketplace's current rules before you upload.
How long does an order take?
A Budget order usually takes 4–5 minutes.